In this article
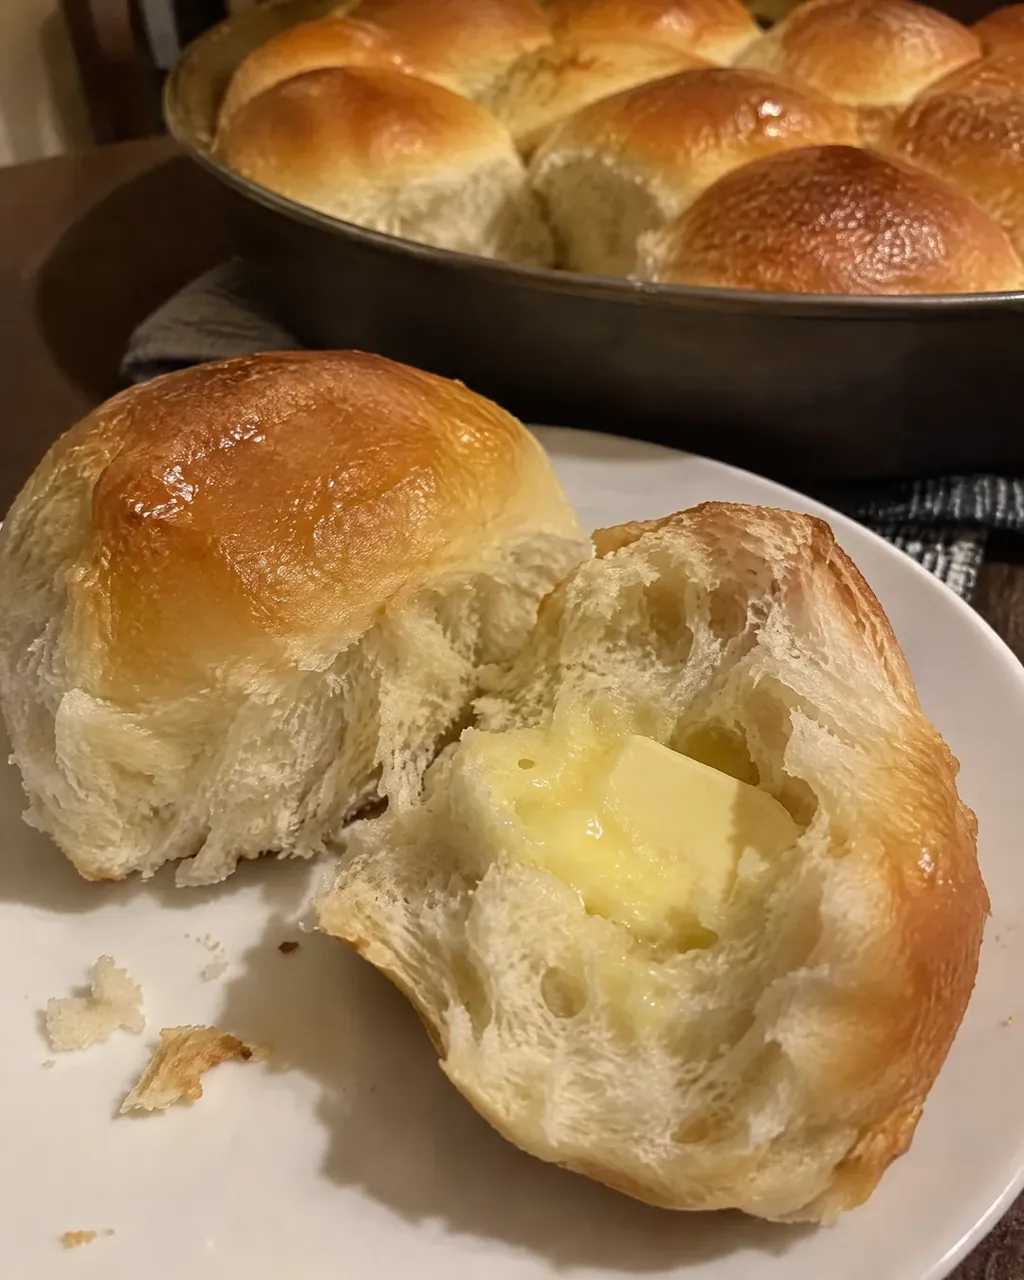
My mother had a way of putting hot rolls on the table that made bread look like no work at all. Nobody ever saw her mix a dough. She would open the refrigerator, lift a towel off a big crockery bowl, pull off a few pieces, and an hour or two later there was a pan of soft, buttery rolls coming out of the oven. The old cookbooks called them icebox rolls, and they were written for a cook who had no afternoon to spare.
The idea is simple. You mix one batch of soft yeast dough when you have a quiet half hour, and then it waits for you. The cold slows the yeast almost to a stop, so the dough keeps for days, and it tastes better on the third day than on the first. This page gives you the measurements, tells you plainly how many days the dough keeps, and shows how to shape the rolls and time the rise from cold so they come out tall and soft every time.
Why this refrigerator rolls works
- A soft, rich dough. Milk, butter, sugar and eggs make a tender dough that stays moist in the cold instead of drying out.
- The cold does the work. A long, slow rise in the refrigerator develops the flavor that a quick dough never has, and it takes the place of most of the kneading.
- Cold dough is easy to shape. Chilled butter in the dough makes it firm and smooth. It does not stick to your fingers and it rolls into neat balls.
- Baked touching. Rolls set close together in the pan hold each other up, rise tall instead of wide, and keep soft sides.
Ingredients
Makes 24 rolls: two 9 inch round pans of 12, or one 9 by 13 inch pan. Bake them all at once or a pan at a time over several days. The measurements are in US cups with grams in brackets.
For the dough
- 1 cup whole milk (240ml)
- 1/2 cup water (120ml)
- 6 tablespoons butter (85g), cut in pieces
- 1/3 cup granulated sugar (65g)
- 2 1/4 teaspoons instant or active dry yeast (7g), one envelope
- 2 large eggs, at room temperature
- 1 1/2 teaspoons salt
- 4 1/2 cups all-purpose flour (565g), plus a little more if needed
For the pan and the tops
- Soft butter for greasing the pans
- 2 tablespoons butter (28g), melted, for brushing
Either kind of dry yeast works here. All-purpose flour gives the softest rolls; bread flour makes them a little chewier and taller. If you use salted butter, cut the salt back to 1 1/4 teaspoons.
How to make refrigerator rolls
Mix the dough
- Warm the milk, water and the 6 tablespoons of butter in a small saucepan over low heat just until the butter has melted. Take it off the heat and let it cool until it feels barely warm on the inside of your wrist, about 105 to 110 degrees (40 to 43°C). Too hot and it will kill the yeast.
- Pour the warm liquid into a large bowl, one big enough for the dough to double. Stir in the sugar and the yeast and leave it for 5 minutes, until the surface looks creamy.
- Beat in the eggs and the salt with a wooden spoon. Add 2 cups of the flour and beat hard for about a minute, until smooth.
- Stir in the rest of the flour, a cup at a time, until you have a soft, slightly sticky dough that pulls away from the side of the bowl. Turn it out on a floured counter and knead for 3 to 4 minutes, just until smooth. It should stay soft. Add no more than 2 or 3 extra tablespoons of flour.
Chill the dough
- Wash and lightly butter the bowl. Put the dough back, turn it over once so the top is greased, and cover the bowl tightly with plastic wrap or a plate.
- Leave the bowl on the counter for 30 minutes to let the yeast get started, then put it in the refrigerator for at least 8 hours or overnight. The dough keeps for up to 5 days. Press it down with your fist once a day.
Shape, rise and bake
- About 2 hours before you want to eat, butter a 9 inch round cake pan for every 12 rolls you plan to bake. Pull off the dough you need and return the rest to the refrigerator.
- Divide the cold dough into pieces the size of a golf ball, about 1 1/2 ounces (45g) each. Roll each one into a smooth ball by tucking the edges underneath, and set them in the pan with the seam down, almost touching: 9 around the outside and 3 in the middle.
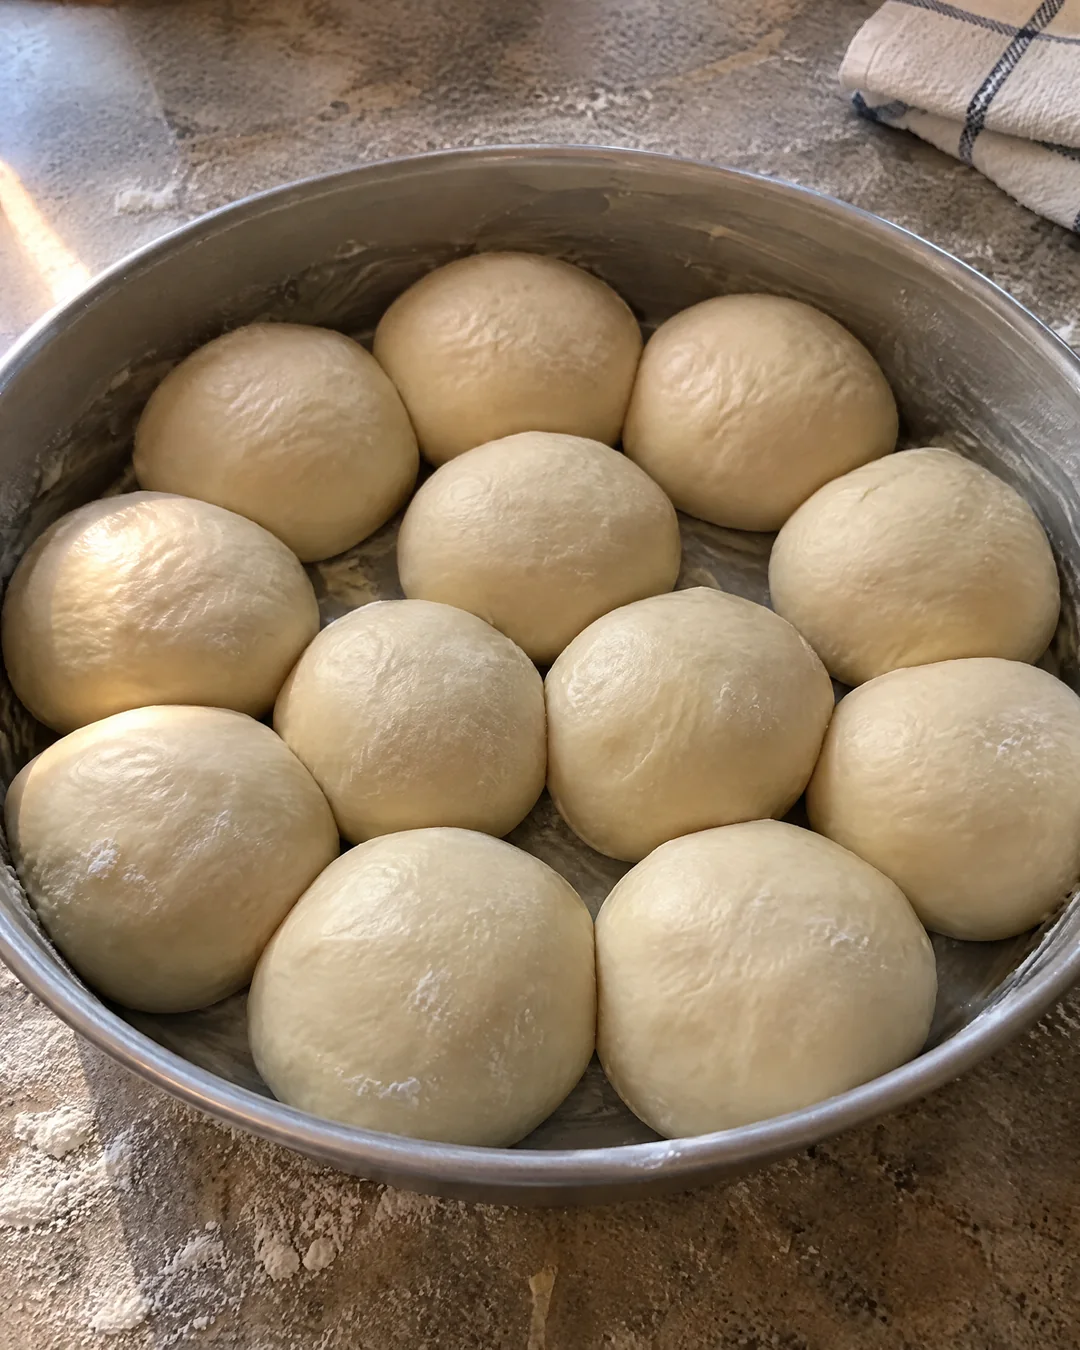
- Cover the pan loosely with a clean towel and leave it in a warm spot until the rolls have doubled, look puffy and are pressing against each other. From cold this takes 1 1/2 to 2 hours.
- Heat the oven to 375 degrees (190°C). Bake the rolls on the middle shelf for 15 to 18 minutes, until they are deep golden brown on top.
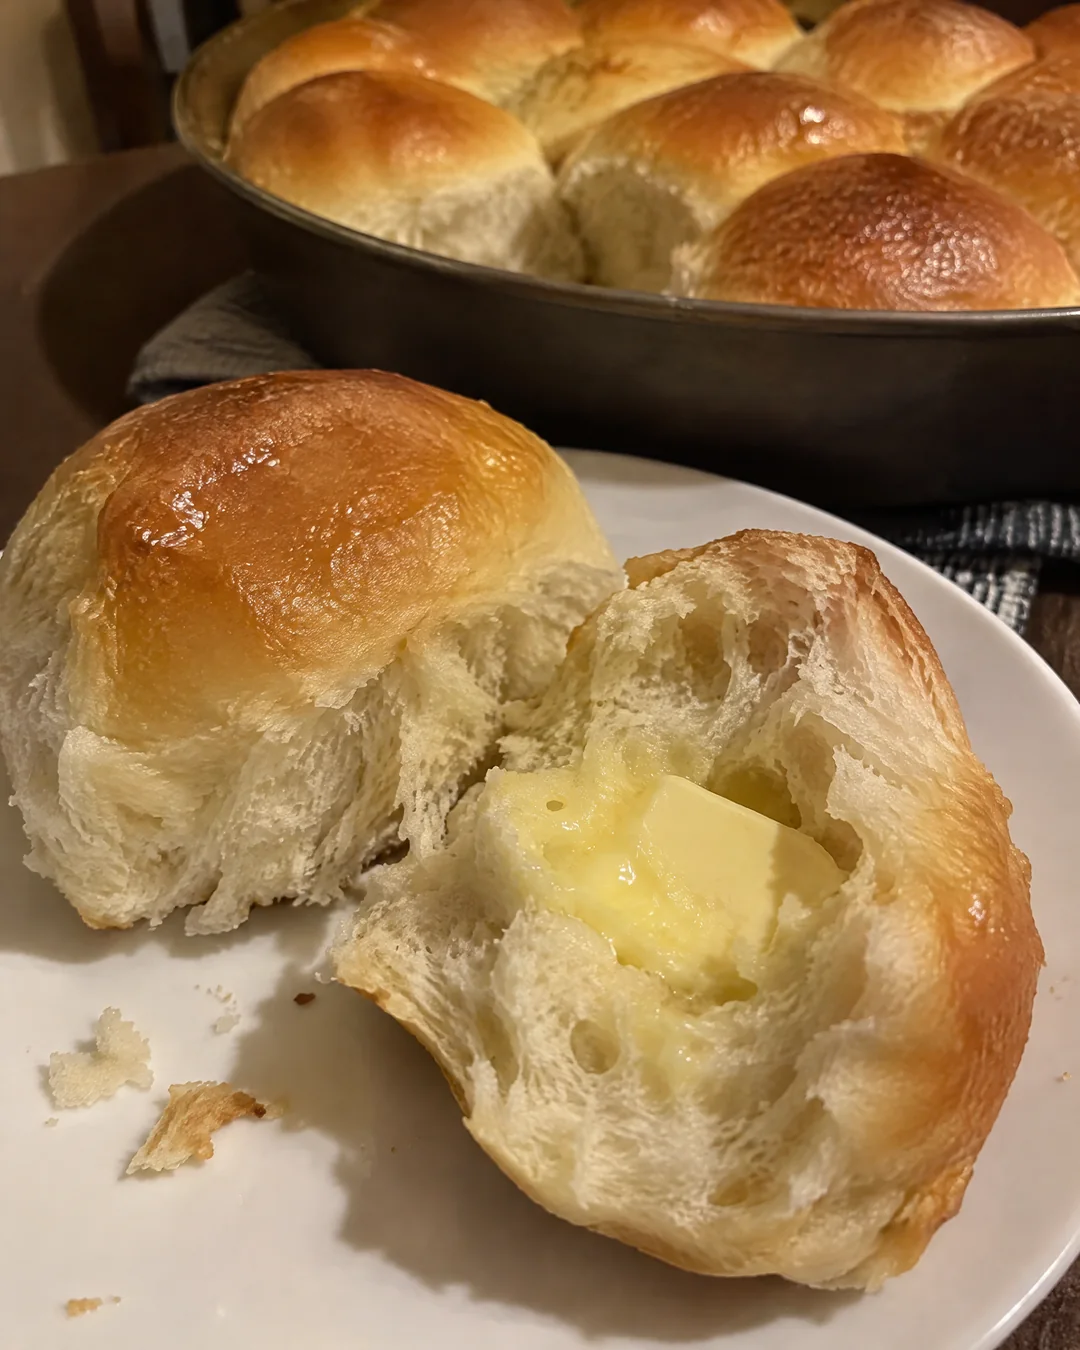
- Brush the tops with the melted butter as soon as the pan comes out of the oven. Let the rolls stand for 5 minutes, then turn them out and pull them apart at the table.
Tips that make the difference
- Use a bowl with plenty of room. The dough keeps rising slowly in the cold for the first day and will lift a loose cover right off a small bowl.
- Press the dough down once a day. It lets out the gas, keeps the dough from turning sour and makes it last the full five days.
- Shape the rolls while the dough is cold. Warm dough goes slack and sticky, and the rolls spread instead of standing up.
- Judge the rise by eye, not by the clock. The rolls are ready for the oven when they have doubled and a floured fingertip pressed gently into one leaves a dent that fills back in slowly.
Variations
- Cloverleaf rolls. Roll the dough into balls the size of a walnut and drop three into each cup of a buttered muffin tin. Bake for 12 to 15 minutes.
- Honey butter rolls. Replace the sugar with 1/4 cup of honey, and brush the hot rolls with 2 tablespoons of melted butter stirred with 1 tablespoon of honey.
Storage and make-ahead
The unbaked dough keeps in the refrigerator, tightly covered, for up to 5 days. It is at its best from the second day to the fourth.
Baked rolls keep in an airtight bag at room temperature for 2 days. Warm them, wrapped in foil, in a 300 degree oven (150°C) for 10 minutes.
To freeze, cool the baked rolls completely, wrap them well and freeze for up to 2 months. Thaw on the counter and rewarm in foil.
Frequently asked questions
How long can the dough really stay in the refrigerator?
Up to 5 days, kept tightly covered and pressed down once a day. Because the dough has milk and eggs in it, do not push it past that. For the best flavor and the tallest rolls, bake it between the second and the fourth day.
Why did my rolls come out flat and heavy?
Most often the rolls went into the oven before they had doubled. Cold dough is slow to wake up, so give it the full 1 1/2 to 2 hours in a warm place.
Can I bake the rolls straight from the refrigerator?
No. Shaped cold dough needs to rise in a warm spot until it has doubled before it is baked. If you put it in the oven cold, the outside browns before the inside has risen and the rolls are dense.
Mix the dough tonight, put the bowl away, and for the rest of the week hot rolls are never more than two hours off.
Refrigerator Dinner Rolls (Icebox Rolls: One Dough, Fresh Rolls All Week)
Old-fashioned refrigerator rolls, also called icebox rolls: a soft, buttery yeast dough that is mixed once, kept cold for up to five days, and shaped and baked a pan at a time whenever fresh dinner rolls are wanted.
Ingredients
- 1 cup whole milk
- 1/2 cup water
- 6 tablespoons butter (85g), cut in pieces
- 1/3 cup granulated sugar
- 2 1/4 teaspoons instant or active dry yeast (7g), one envelope
- 2 large eggs, at room temperature
- 1 1/2 teaspoons salt
- 4 1/2 cups all-purpose flour (565g), plus a little more if needed
- Soft butter for greasing the pans
- 2 tablespoons butter (28g), melted, for brushing
Instructions
- Warm the milk, water and the 6 tablespoons of butter in a small saucepan over low heat just until the butter has melted. Take it off the heat and let it cool until it feels barely warm on the inside of your wrist, about 105 to 110 degrees (40 to 43°C). Too hot and it will kill the yeast.
- Pour the warm liquid into a large bowl, one big enough for the dough to double. Stir in the sugar and the yeast and leave it for 5 minutes, until the surface looks creamy.
- Beat in the eggs and the salt with a wooden spoon. Add 2 cups of the flour and beat hard for about a minute, until smooth.
- Stir in the rest of the flour, a cup at a time, until you have a soft, slightly sticky dough that pulls away from the side of the bowl. Turn it out on a floured counter and knead for 3 to 4 minutes, just until smooth. It should stay soft. Add no more than 2 or 3 extra tablespoons of flour.
- Wash and lightly butter the bowl. Put the dough back, turn it over once so the top is greased, and cover the bowl tightly with plastic wrap or a plate.
- Leave the bowl on the counter for 30 minutes to let the yeast get started, then put it in the refrigerator for at least 8 hours or overnight. The dough keeps for up to 5 days. Press it down with your fist once a day.
- About 2 hours before you want to eat, butter a 9 inch round cake pan for every 12 rolls you plan to bake. Pull off the dough you need and return the rest to the refrigerator.
- Divide the cold dough into pieces the size of a golf ball, about 1 1/2 ounces (45g) each. Roll each one into a smooth ball by tucking the edges underneath, and set them in the pan with the seam down, almost touching: 9 around the outside and 3 in the middle.
- Cover the pan loosely with a clean towel and leave it in a warm spot until the rolls have doubled, look puffy and are pressing against each other. From cold this takes 1 1/2 to 2 hours.
- Heat the oven to 375 degrees (190°C). Bake the rolls on the middle shelf for 15 to 18 minutes, until they are deep golden brown on top.
- Brush the tops with the melted butter as soon as the pan comes out of the oven. Let the rolls stand for 5 minutes, then turn them out and pull them apart at the table.