In this article
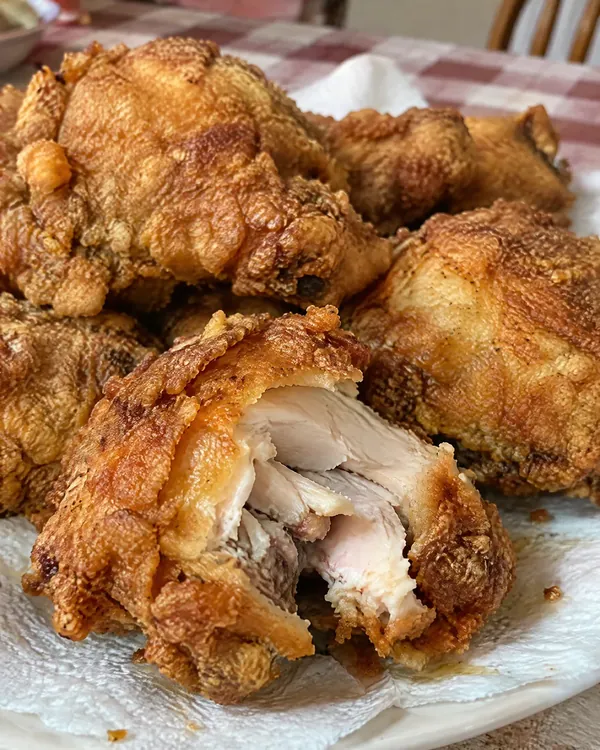
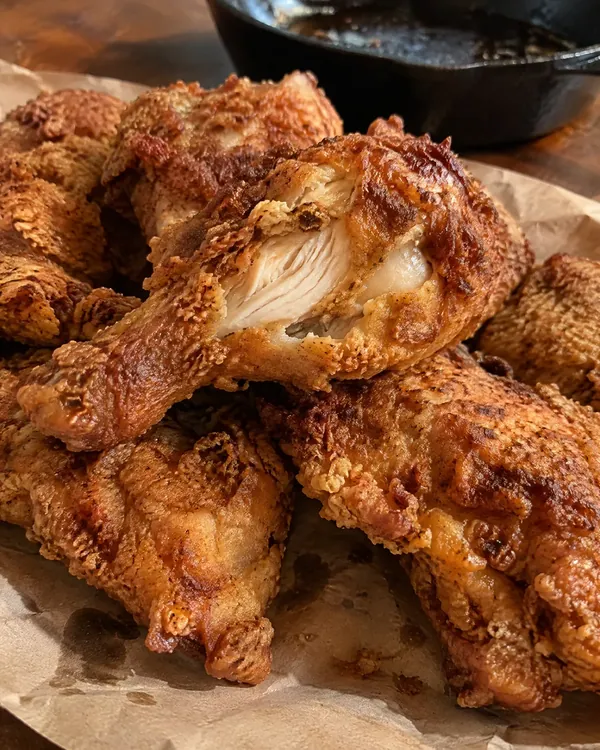
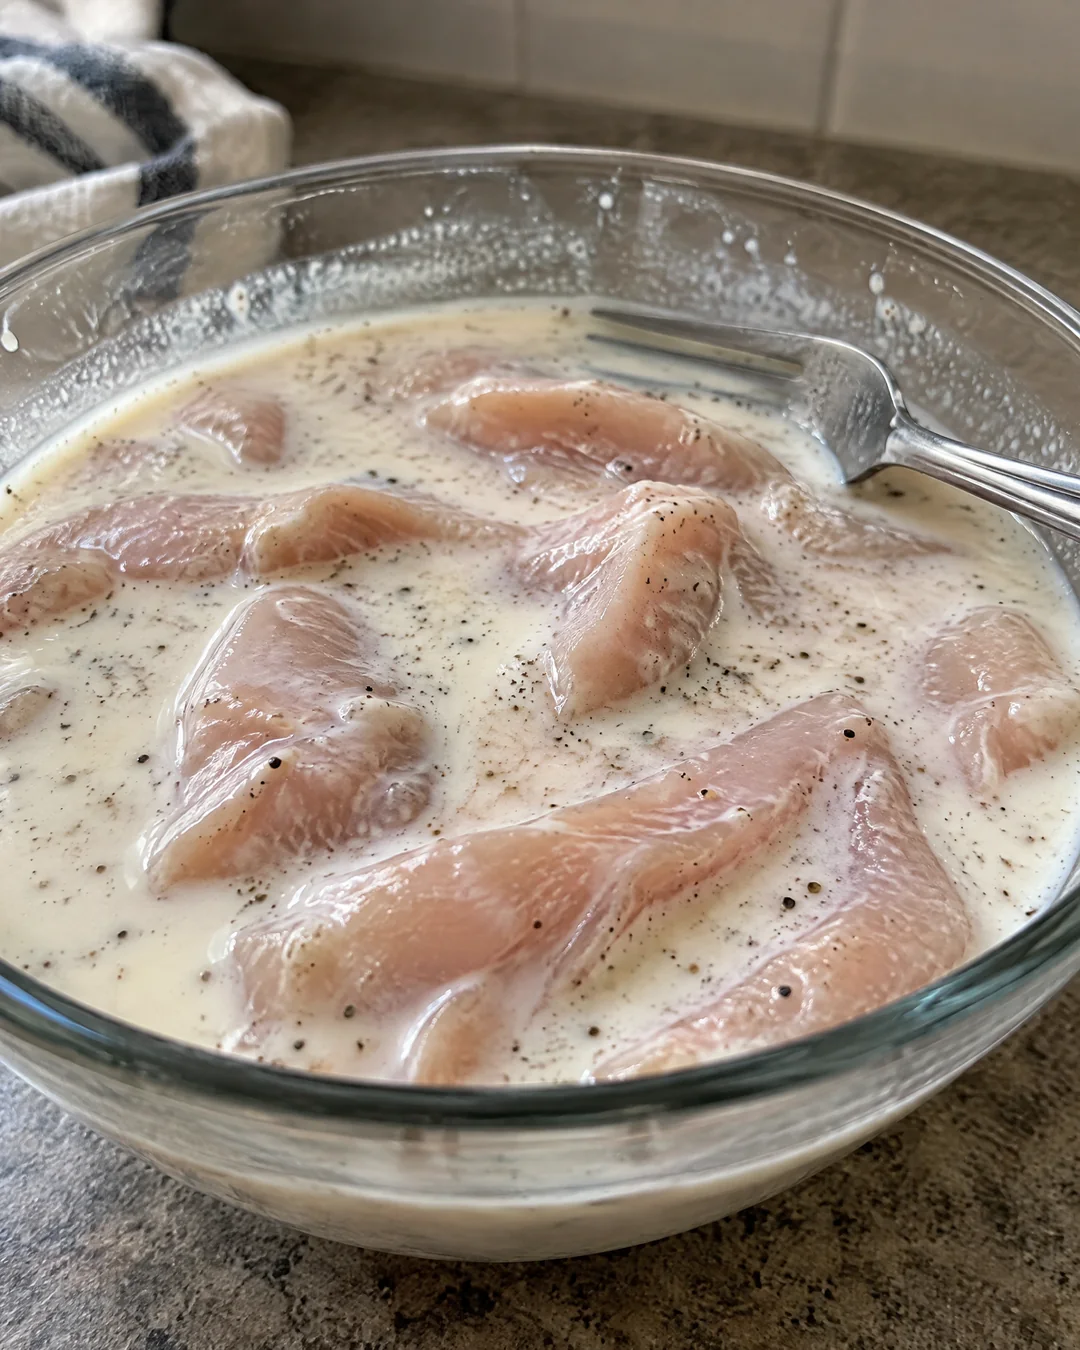
My grandsons will not eat a chicken finger in a restaurant anymore. They tried my mother’s tenders once at my kitchen table and that was the end of it. Her secret started the night before, which is the part nobody wants to hear. She cut chicken breasts into long strips, put them in a bowl, poured buttermilk over them with salt, black pepper and a little garlic, covered the bowl and left it in the refrigerator overnight. The buttermilk tenderizes the chicken gently, seasons it all the way through, and gives the flour something thick to cling to.
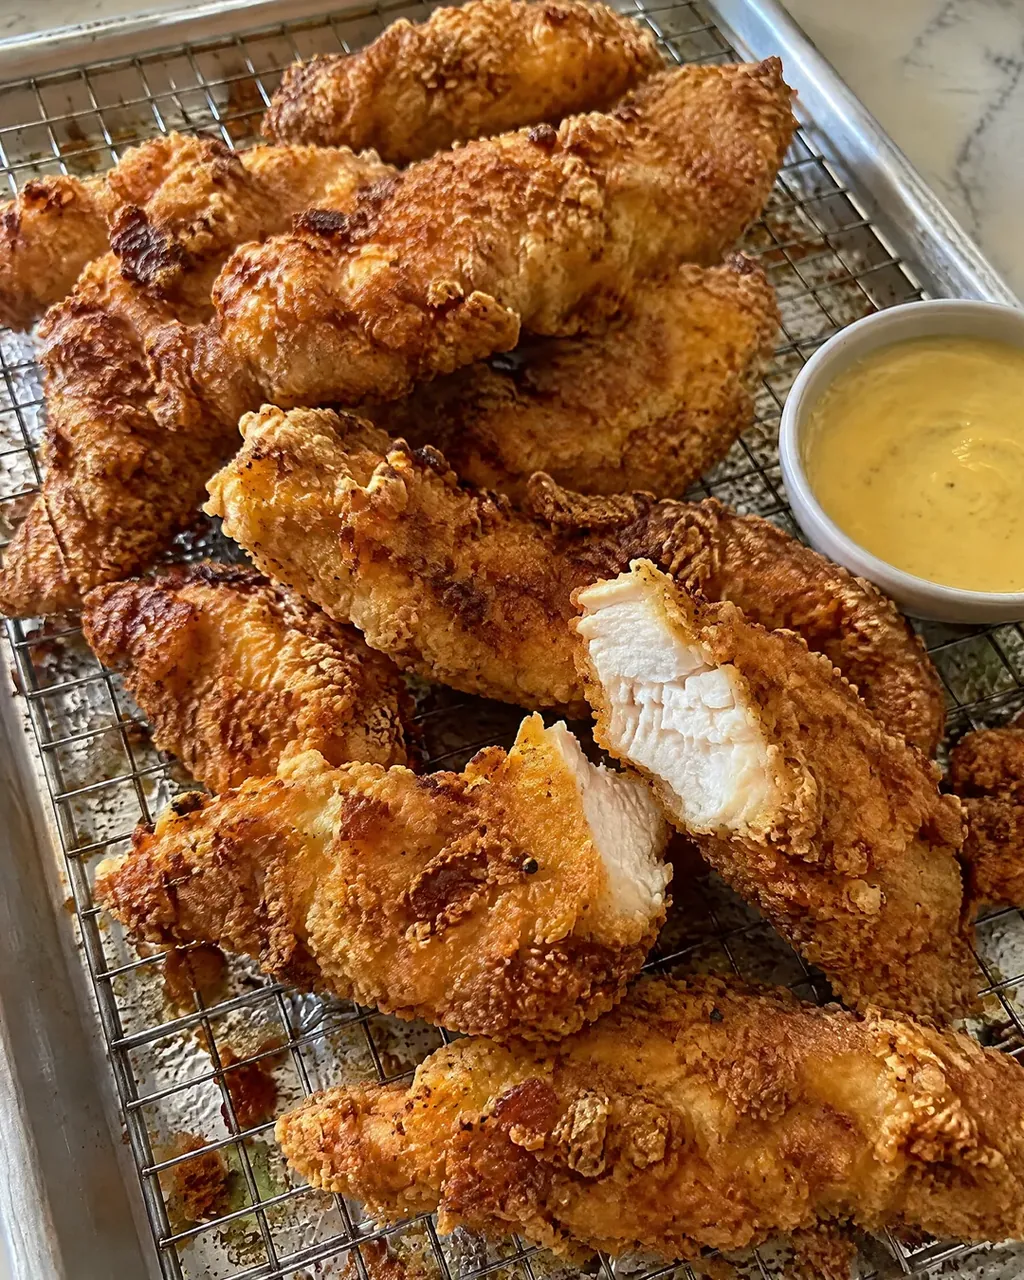
The next afternoon she set out one bowl of seasoned flour, and here is the second secret: every strip went into the flour twice. From the buttermilk into the flour, back into the buttermilk, into the flour again, pressed on hard with her fingers. That double coat is where all the shaggy, crunchy little flakes come from. Then into hot oil, never crowded, until deep golden, and out onto a rack instead of paper. Below is exactly what goes into her seasoned flour, which is the question everyone asks.
Why this buttermilk chicken tenders works
- An overnight buttermilk soak. The mild acid makes the chicken tender and juicy and seasons it right through.
- Seasoned flour. Paprika, garlic, onion, pepper and salt in the flour flavor the crust itself, not just the meat.
- A double dip. Two coats of flour with buttermilk between them build a thick, craggy crust.
- A short rest after coating. The flour hydrates and sticks like glue, so the crust stays on in the oil.
- A rack, not paper. Steam escapes from underneath and the bottom stays as crisp as the top.
Ingredients
Serves 4, about 16 tenders. The measurements are in US cups with grams in brackets. Start the night before.
For the buttermilk soak
- 2 pounds boneless skinless chicken breasts (900g)
- 2 cups buttermilk (480ml)
- 1 1/2 teaspoons fine salt
- 1 teaspoon black pepper
- 1/2 teaspoon garlic powder
For the seasoned flour
- 2 cups all-purpose flour (250g)
- 1/4 cup cornstarch (30g)
- 2 teaspoons fine salt
- 2 teaspoons paprika
- 1 1/2 teaspoons garlic powder
- 1 teaspoon onion powder
- 1 teaspoon black pepper
- 1/2 teaspoon baking powder
- 1/4 teaspoon cayenne pepper (optional)
For frying
- Vegetable or peanut oil, about 1 1/2 inches deep
If you buy ready-cut chicken tenderloins, pull out the white tendon with a fork and paper towel. Cutting your own strips from breasts gives thicker, juicier tenders, about 3/4 inch wide.
How to make buttermilk chicken tenders
The night before
- Cut the chicken breasts lengthwise into strips about 3/4 inch wide.
- Whisk the buttermilk, salt, pepper and garlic powder in a bowl. Add the chicken, stir to coat, cover and refrigerate overnight, or at least 4 hours.
The next day
- Whisk all the seasoned flour ingredients together in a wide shallow bowl.
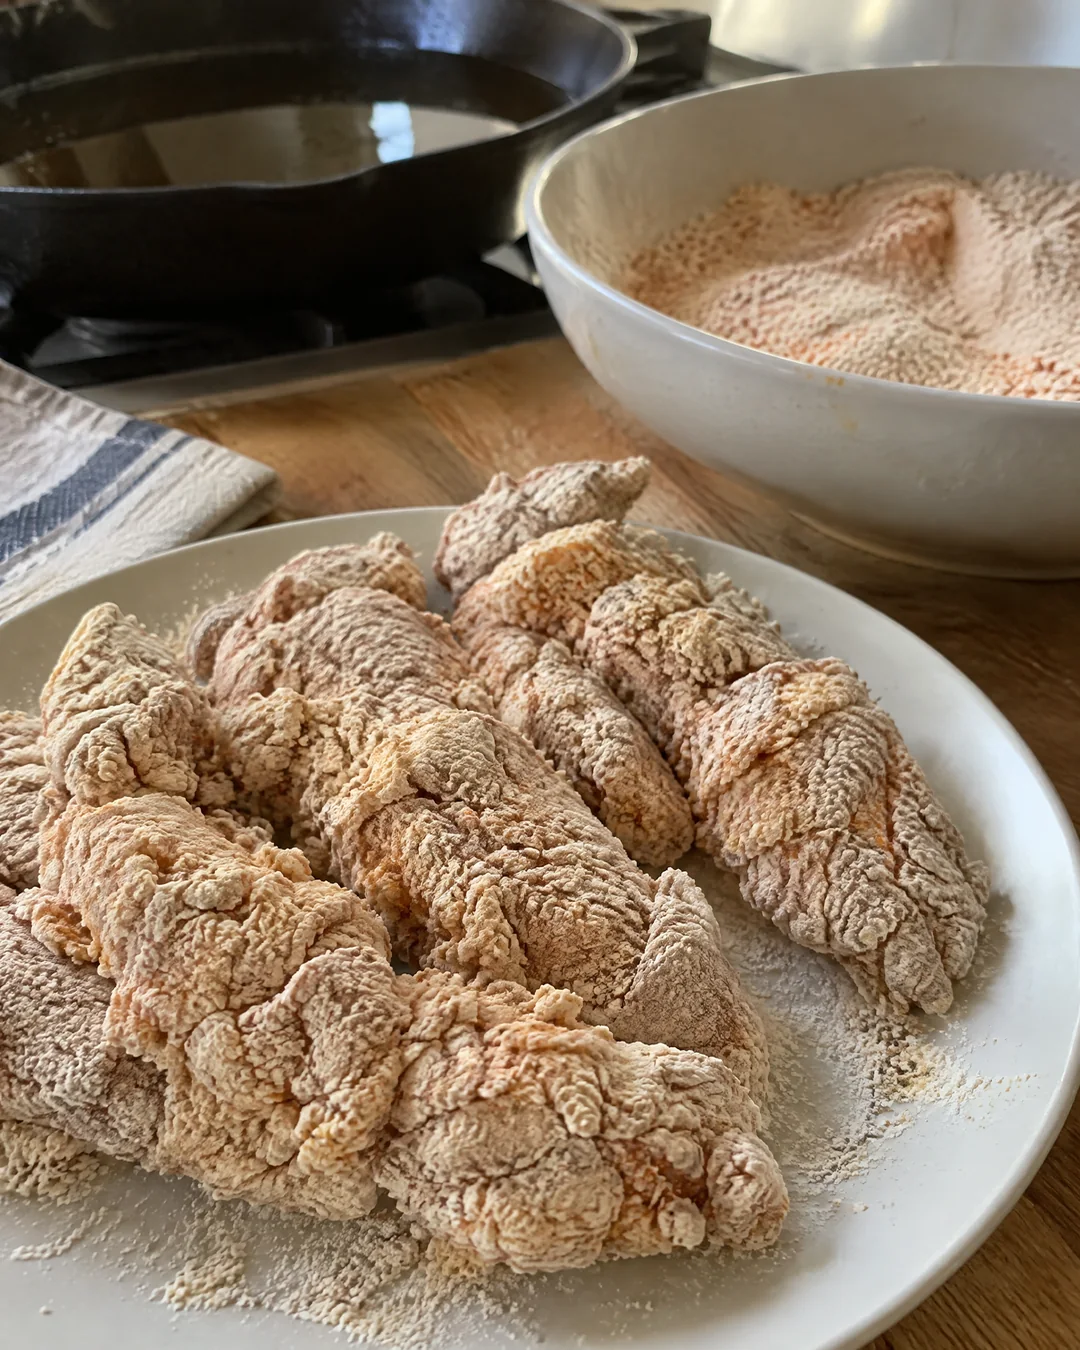
- Lift a strip of chicken out of the buttermilk, let it drip, and roll it in the flour. Dip it back into the buttermilk, then into the flour again, pressing the flour on firmly with your fingers. Set it on a plate and repeat with the rest.
- Let the coated tenders rest for 10 to 15 minutes while the oil heats.
- Heat the oil in a heavy skillet or pot to 350 degrees (175°C).
- Fry the tenders in batches, without crowding, for 5 to 6 minutes, turning once, until deep golden brown and the inside reads 165 degrees on a thermometer.
- Drain on a wire rack set over a sheet pan. Sprinkle with a pinch of salt while hot and serve with your favorite dip.
Tips that make the difference
- Drizzle a few spoonfuls of the buttermilk into the seasoned flour and rub it in with your fingers. The little clumps fry into extra crunchy bits.
- Use one hand for the wet bowl and one for the dry so your fingers do not end up coated in batter.
- Let the oil come back up to 350 degrees between batches.
- Keep finished batches warm on the rack in a 200 degree oven.
Variations
- Spicy. Add a tablespoon of hot sauce to the buttermilk and a full teaspoon of cayenne to the flour.
- Oven baked. Spray the double-coated tenders well with oil and bake on a rack at 425 degrees for 18 to 22 minutes, turning once.
- Honey mustard dip. Stir together equal parts mayonnaise, yellow mustard and honey.
- Sandwiches. Tuck two tenders into a soft bun with pickles and a little mayonnaise.
Storage and make-ahead
Keep leftover tenders in the refrigerator for up to 3 days in a covered container.
Reheat on a rack in a 400 degree oven for 8 to 10 minutes to bring back the crunch.
Freeze cooked tenders on a tray, then bag them, for up to 2 months. Reheat from frozen at 400 degrees for about 15 minutes.
Frequently asked questions
Do I really need to soak them overnight?
Four hours works. Overnight is better: the chicken is more tender and seasoned all the way through. Do not go past 24 hours or it turns soft.
Why did my coating fall off?
The coated chicken did not rest before frying, or the tenders were moved too soon in the oil. Let them rest 10 minutes and turn them only once.
What if I have no buttermilk?
Stir 2 tablespoons of lemon juice into 2 cups of whole milk and let it sit 10 minutes. It works almost as well.
Can I use chicken thighs?
Yes. Boneless thighs cut into strips stay even juicier; fry them a minute longer.
A night in buttermilk, two coats of seasoned flour and a wire rack. Make a double batch, because they get eaten standing at the stove.
Buttermilk Chicken Tenders, Soaked Overnight and Coated Twice
Crispy fried buttermilk chicken tenders: strips of chicken breast soaked overnight in seasoned buttermilk, dipped twice in seasoned flour for craggy crunchy flakes, and fried at 350 degrees until deep golden.
Ingredients
- 2 pounds boneless skinless chicken breasts
- 2 cups buttermilk
- 1 1/2 teaspoons fine salt
- 1 teaspoon black pepper
- 1/2 teaspoon garlic powder
- 2 cups all-purpose flour
- 1/4 cup cornstarch
- 2 teaspoons fine salt
- 2 teaspoons paprika
- 1 1/2 teaspoons garlic powder
- 1 teaspoon onion powder
- 1 teaspoon black pepper
- 1/2 teaspoon baking powder
- 1/4 teaspoon cayenne pepper
- Vegetable or peanut oil, about 1 1/2 inches deep
Instructions
- Cut the chicken breasts lengthwise into strips about 3/4 inch wide.
- Whisk the buttermilk, salt, pepper and garlic powder in a bowl. Add the chicken, stir to coat, cover and refrigerate overnight, or at least 4 hours.
- Whisk all the seasoned flour ingredients together in a wide shallow bowl.
- Lift a strip of chicken out of the buttermilk, let it drip, and roll it in the flour. Dip it back into the buttermilk, then into the flour again, pressing the flour on firmly with your fingers. Set it on a plate and repeat with the rest.
- Let the coated tenders rest for 10 to 15 minutes while the oil heats.
- Heat the oil in a heavy skillet or pot to 350 degrees (175°C).
- Fry the tenders in batches, without crowding, for 5 to 6 minutes, turning once, until deep golden brown and the inside reads 165 degrees on a thermometer.
- Drain on a wire rack set over a sheet pan. Sprinkle with a pinch of salt while hot and serve with your favorite dip.