In this article
My aunt served a pie one Sunday afternoon and my mother, who took pride in her crusts, asked her what she had done for the pastry. My aunt said nothing. She meant it literally. There was no pastry. My mother did not speak to her until the pie was gone, and then she asked for the recipe.
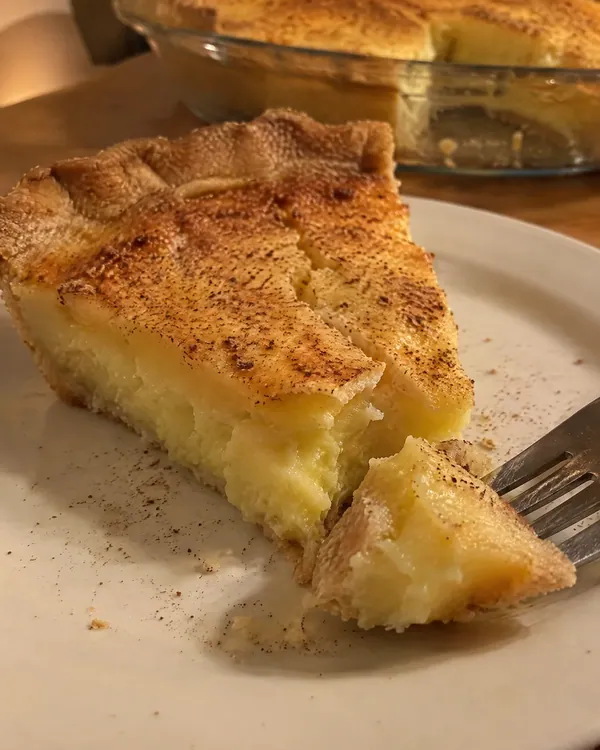
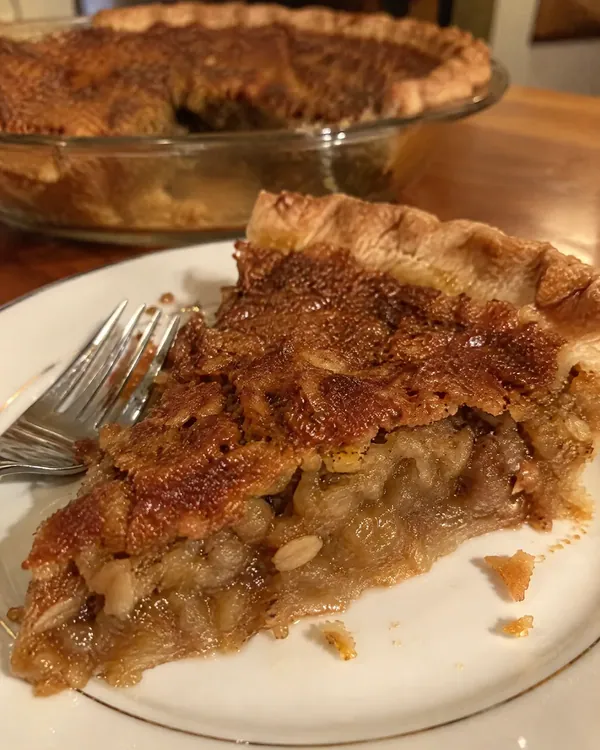
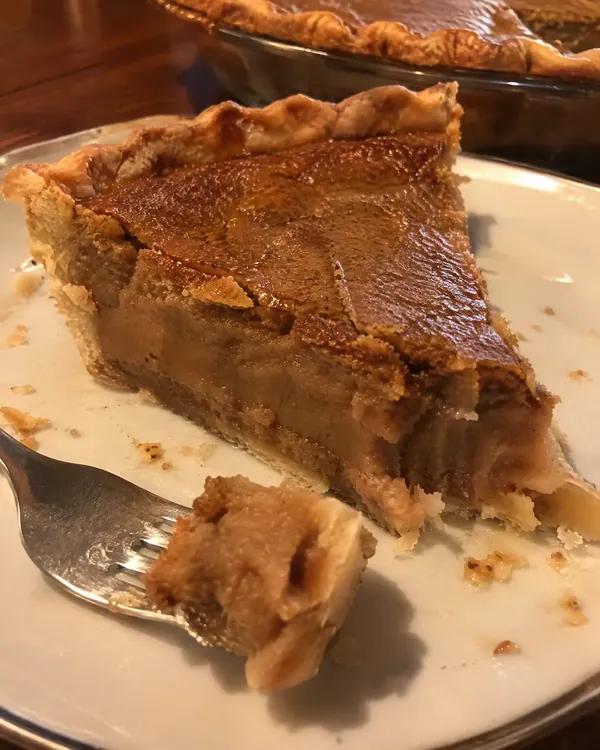
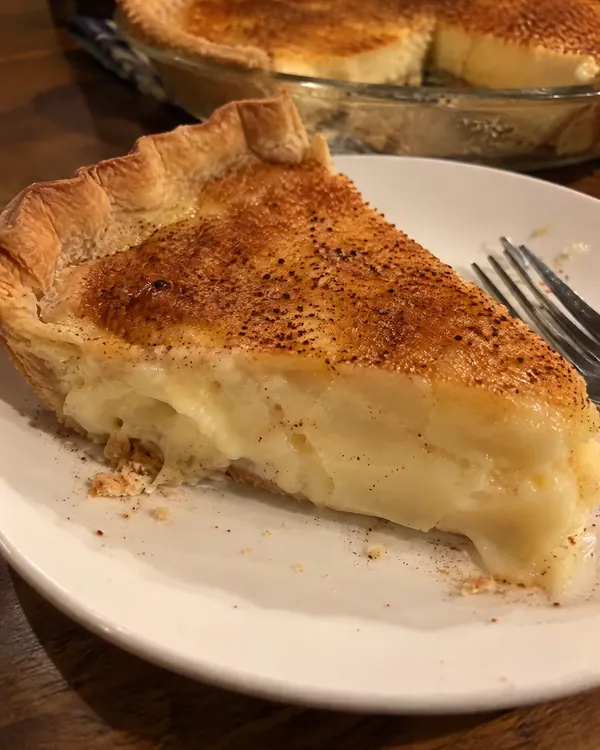
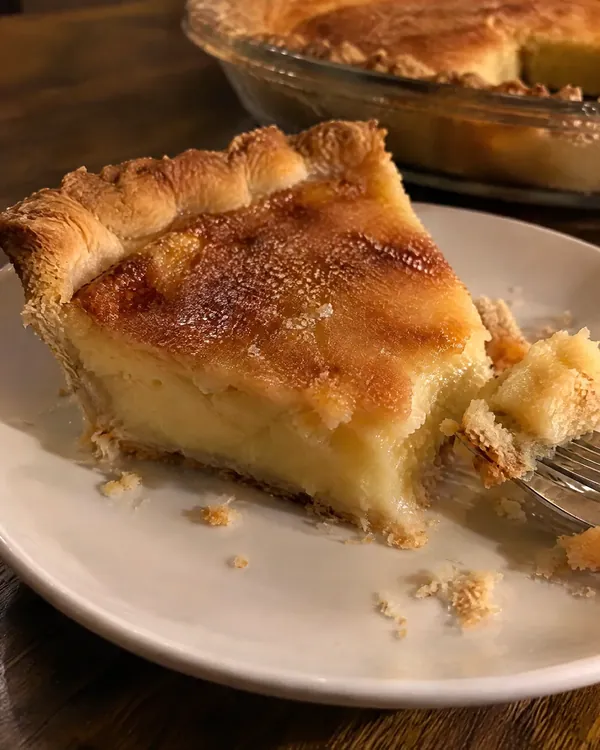
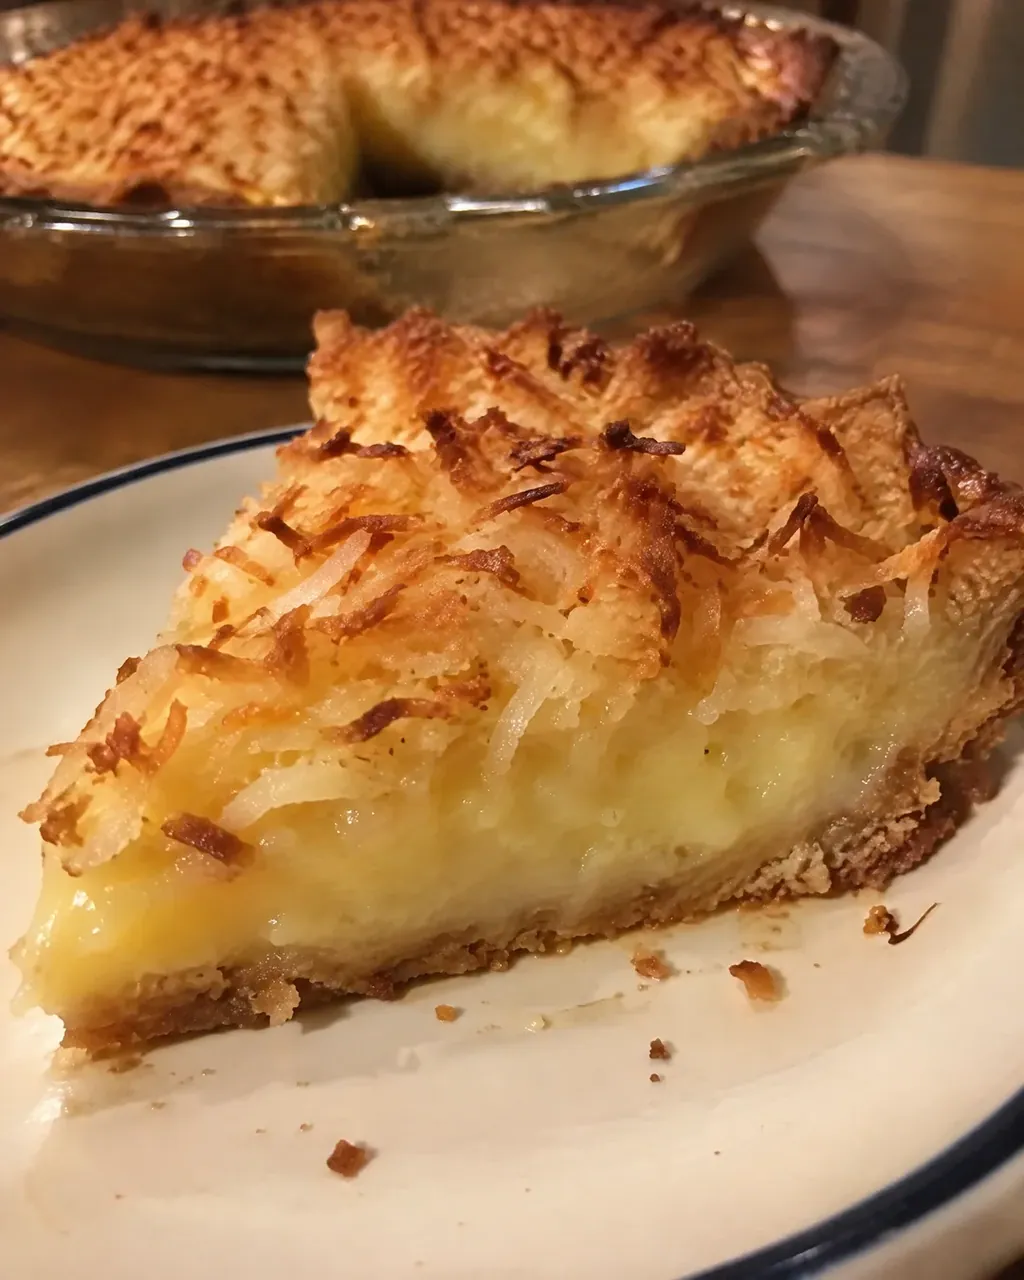
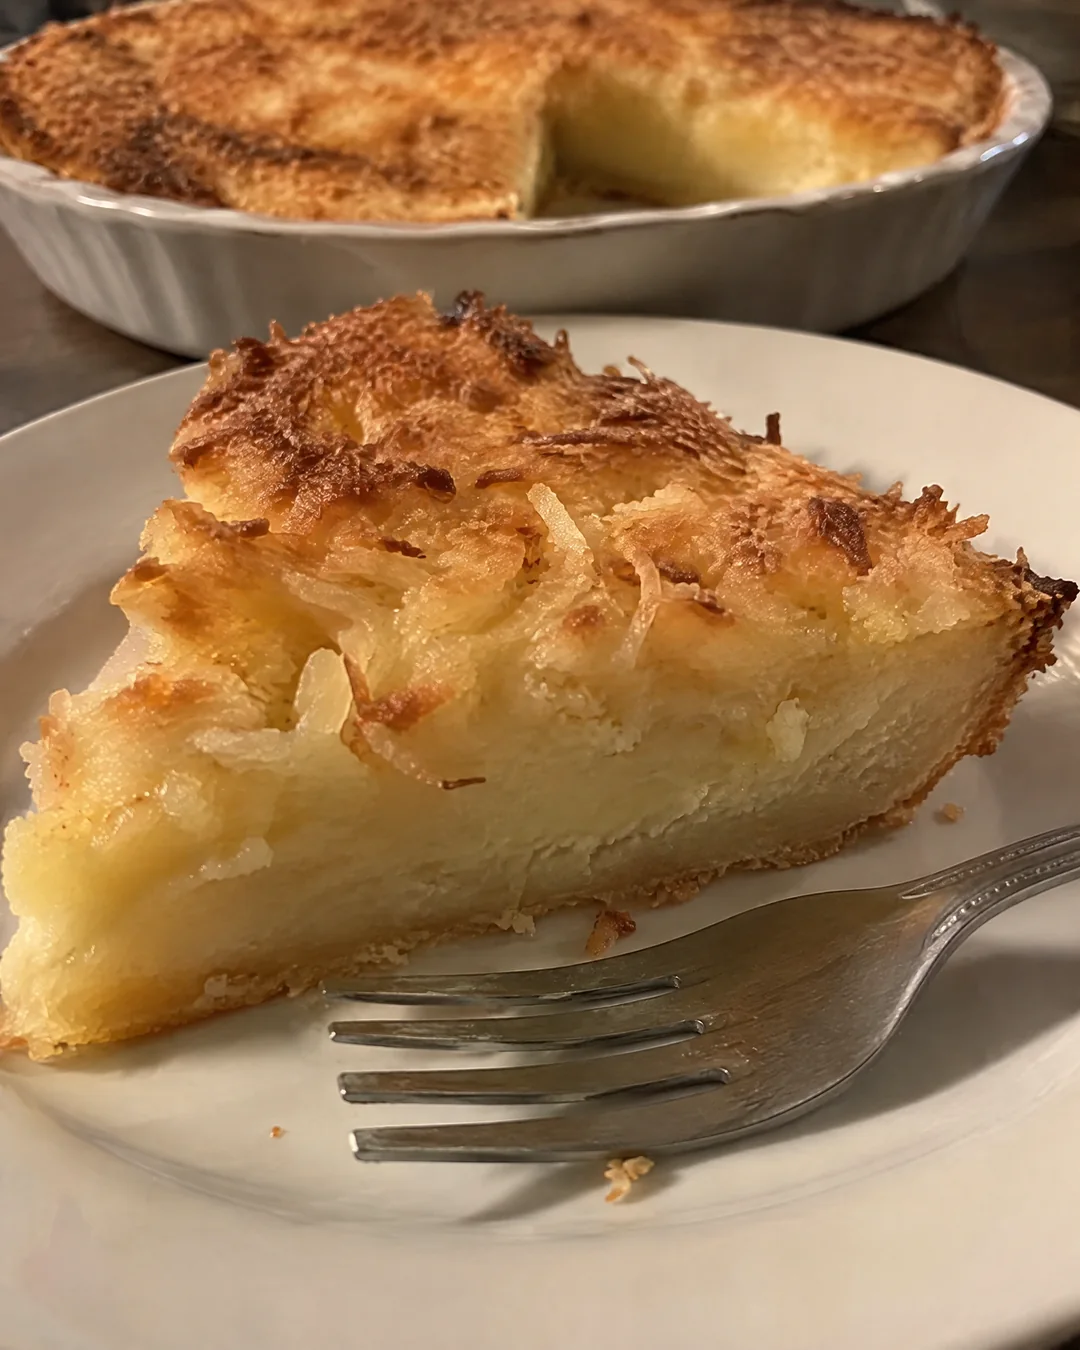
Impossible pie is the most famous of the no-crust pies, and it went through every community cookbook in the country in the seventies. Milk, eggs, sugar, melted butter, vanilla, coconut and half a cup of baking mix go into a blender and are poured into a greased pie plate with no crust in it. In the oven the batter sorts itself out. The baking mix, with its flour and shortening and leavening, sinks and sets into a thin, firm layer that looks and cuts exactly like a crust. The coconut floats up and toasts golden. Everything in between becomes custard. Three layers from one bowl of batter. My mother called it cheating. She also made it every other week for the rest of her life, and hers is the one written out below.
Why this impossible coconut pie works
- Half a cup of baking mix. It carries flour, fat and leavening in one scoop, sinks through the thin batter and bakes into the layer that everybody swears is a crust.
- A blender, not a whisk. Thirty seconds on high breaks the baking mix up completely so the crust layer bakes smooth instead of lumpy.
- Coconut added last. Pulsed or stirred in after the rest is smooth, the flakes stay whole, float to the top and toast in the oven.
- A moderate oven and a full hour of cooling. At 350°F the custard sets gently without curdling, and the layers firm up as the pie cools, which is when it becomes sliceable.
Ingredients
Makes one 9-inch pie, 8 slices. The measurements are in US cups with grams in brackets.
- 2 cups whole milk (480ml)
- 4 large eggs
- 3/4 cup granulated sugar (150g)
- 1/4 cup unsalted butter (57g), melted and cooled a little
- 1 1/2 teaspoons vanilla extract
- 1/4 teaspoon fine salt
- 1/2 cup baking mix (60g), the all-purpose kind with the shortening and leavening already in it
- 1 cup sweetened flaked coconut (85g)
- Butter for the pie plate
Whole milk gives the softest custard; low-fat milk works but the pie sets looser. Sweetened flaked coconut is the classic. Unsweetened toasts the same way but the pie will want 2 more tablespoons of sugar.
How to make impossible coconut pie
- Heat the oven to 350°F (175°C) with a rack in the middle. Butter a 9-inch pie plate generously, all the way up the sides. There is no crust, so the butter is what keeps the pie from sticking.
- Put the ingredients into the blender in this order: milk, eggs, sugar, melted butter, vanilla, salt, and last the baking mix. Blend on high for 30 seconds, until completely smooth and a little frothy, with no lumps of baking mix left.
- Add the coconut and pulse the blender two or three times, just enough to mix it in without chopping the flakes fine. Or pour the batter into a bowl and stir the coconut in with a spoon. The flakes should stay whole so they float and toast.
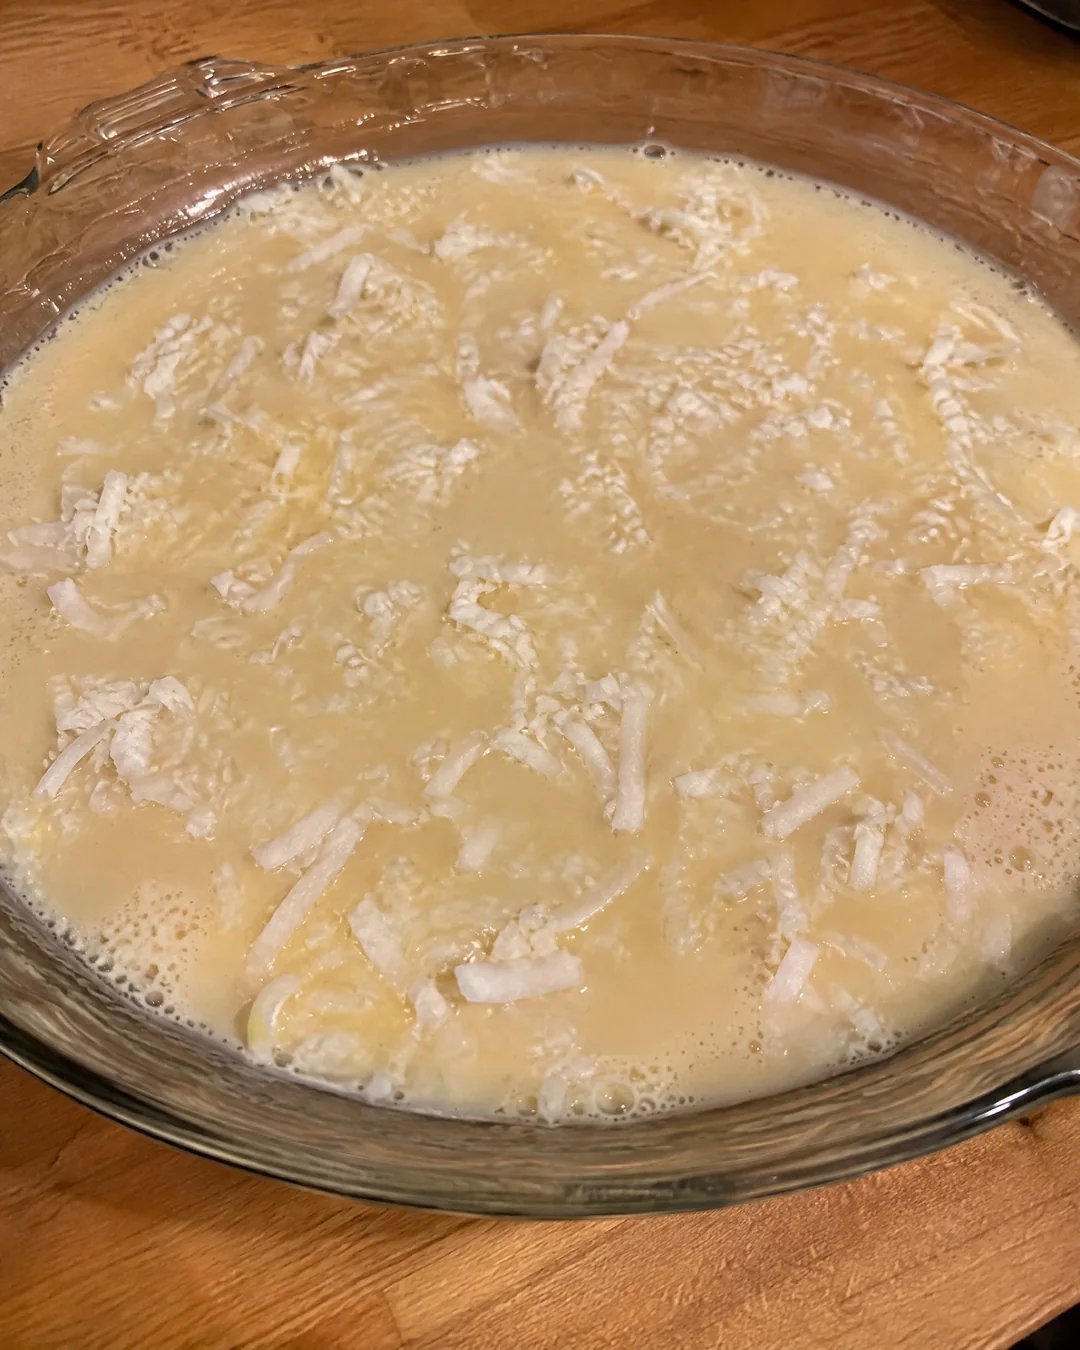
- Pour the batter into the buttered pie plate. It will look thin and the coconut will drift to the top. That is right. Do not stir it once it is in the plate.
- Bake on the middle rack at 350°F for 45 to 50 minutes, until the top is golden brown, the edges are puffed and set, and the center wobbles only slightly when you nudge the plate. A knife inserted 1 inch from the center should come out clean. If the coconut is browning too fast, lay a piece of foil loosely over the top for the last 10 minutes.
- Cool the pie on a rack for at least 1 hour. It puffs in the oven and settles as it cools, and the layers firm up in that hour. Slice it into 8 wedges and serve slightly warm or cold, plain or with a spoonful of whipped cream.
Tips that make the difference
- Spoon the baking mix into the cup and level it. Half a cup gives a crust; more makes the whole pie cakey.
- Let the melted butter cool a minute before it meets the eggs, or it can cook them into strings.
- Use a standard 9-inch pie plate, not deep-dish. In a deep plate the layers are thinner and the center takes longer to set.
- Do not cut it hot. Warm from the oven the crust layer has not firmed yet. Give it the full hour.
Variations
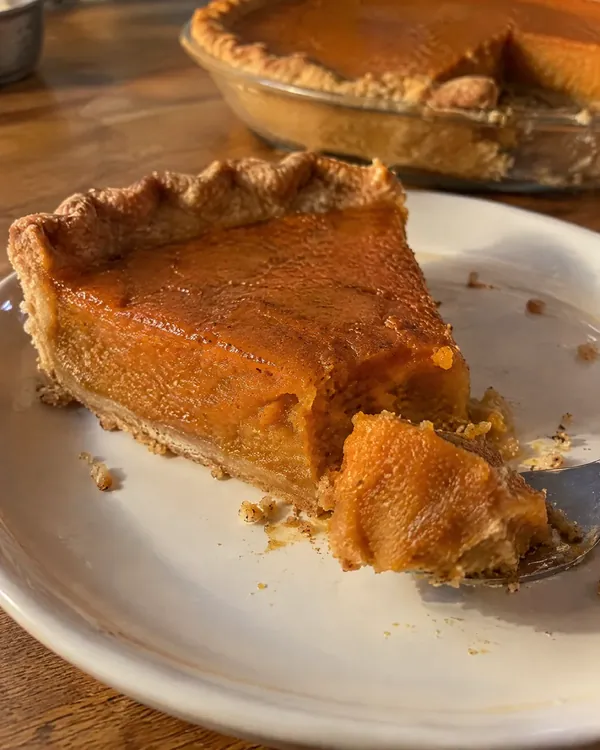
- Impossible pumpkin pie. Replace 1 cup of the milk with 1 cup pumpkin puree (240g), leave out the coconut, and add 1 1/2 teaspoons cinnamon and 1/2 teaspoon nutmeg. Bake 50 to 55 minutes.
- Lemon coconut. Add the finely grated zest of one lemon and 1 tablespoon lemon juice to the blender. It cuts the sweetness and brightens the whole pie.
- Toasted almond. Replace 1/2 teaspoon of the vanilla with 1/2 teaspoon almond extract and sprinkle 1/4 cup sliced almonds (25g) over the top before baking.
- Two pies. Double everything and blend in two batches. It bakes the same, and a second pie is never wasted at a family reunion.
Storage and make-ahead
The pie keeps, covered, in the refrigerator for 4 days. It is a custard pie, so it lives in the cold once cool. Many people prefer it on the second day, when the crust layer has firmed.
It can be baked a day ahead for a potluck. Cool it completely, cover it with plastic, and take it straight from the refrigerator to the table. Served cold, the slices hold their shape beautifully.
It does not freeze well; the custard weeps when it thaws. Bake it fresh.
Frequently asked questions
How does impossible pie make its own crust?
The baking mix is heavier than the rest of the batter, so it settles to the bottom of the plate as the pie heats and bakes into a thin, firm, faintly biscuit-like layer. The coconut floats up and toasts on top, and the eggs and milk between set into custard. Nothing about it is difficult, which is the joke in the name.
Can I make it without baking mix?
Yes. Use 1/2 cup all-purpose flour (63g) plus 3/4 teaspoon baking powder and add 1 tablespoon more melted butter. The crust layer is a little thinner but the pie is the same.
Why is my pie watery in the middle?
It came out too early, or it was cut before it cooled. The center should barely wobble and a knife 1 inch from the center should come out clean at 45 to 50 minutes. Then it needs a full hour on the rack. Deep pie plates also leave the center soft; use a standard 9-inch plate.
What is the difference between impossible pie and coconut custard pie?
A coconut custard pie has a rolled pastry crust. Impossible pie has no pastry at all; the baking mix forms its own bottom layer in the oven. The taste is very close. The work is not.
Blend it, pour it into a buttered plate, and let the oven sort the layers out. You can call it cheating on the way to the table, and go back for a second slice like everybody else.
Impossible Coconut Pie (The Blender Pie That Makes Its Own Crust)
The famous impossible coconut pie: milk, eggs, sugar, melted butter, vanilla, sweetened flaked coconut and half a cup of baking mix whirled in a blender, poured into a greased 9 inch pie plate with no crust, and baked at 350°F for 45 to 50 minutes until it separates into a crust, a custard and a toasted coconut top.
Ingredients
- 2 cups whole milk
- 4 large eggs
- 3/4 cup granulated sugar
- 1/4 cup unsalted butter (57g), melted and cooled a little
- 1 1/2 teaspoons vanilla extract
- 1/4 teaspoon fine salt
- 1/2 cup baking mix (60g), the all-purpose kind with the shortening and leavening already in it
- 1 cup sweetened flaked coconut
- Butter for the pie plate
Instructions
- Heat the oven to 350°F (175°C) with a rack in the middle. Butter a 9-inch pie plate generously, all the way up the sides. There is no crust, so the butter is what keeps the pie from sticking.
- Put the ingredients into the blender in this order: milk, eggs, sugar, melted butter, vanilla, salt, and last the baking mix. Blend on high for 30 seconds, until completely smooth and a little frothy, with no lumps of baking mix left.
- Add the coconut and pulse the blender two or three times, just enough to mix it in without chopping the flakes fine. Or pour the batter into a bowl and stir the coconut in with a spoon. The flakes should stay whole so they float and toast.
- Pour the batter into the buttered pie plate. It will look thin and the coconut will drift to the top. That is right. Do not stir it once it is in the plate.
- Bake on the middle rack at 350°F for 45 to 50 minutes, until the top is golden brown, the edges are puffed and set, and the center wobbles only slightly when you nudge the plate. A knife inserted 1 inch from the center should come out clean. If the coconut is browning too fast, lay a piece of foil loosely over the top for the last 10 minutes.
- Cool the pie on a rack for at least 1 hour. It puffs in the oven and settles as it cools, and the layers firm up in that hour. Slice it into 8 wedges and serve slightly warm or cold, plain or with a spoonful of whipped cream.