

Nostalgic Beginnings & First Steps
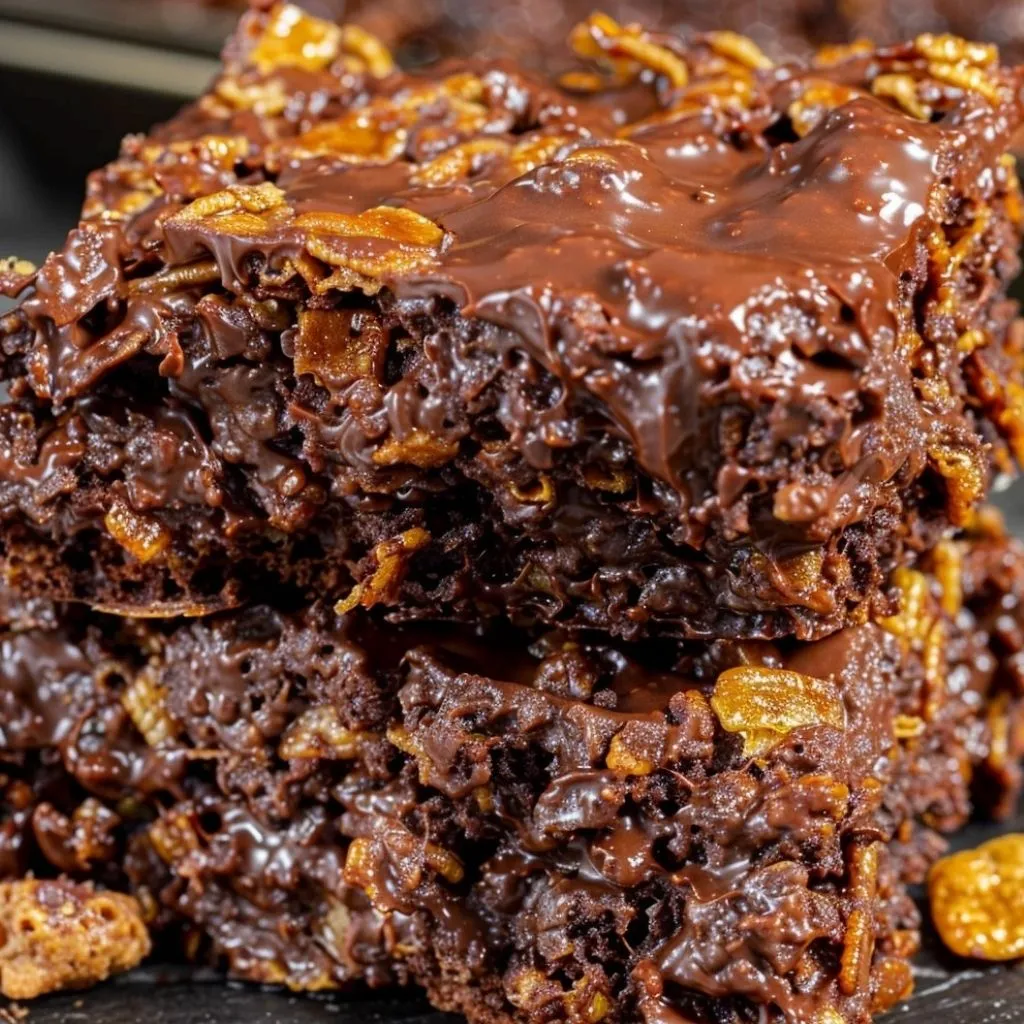
There’s something so comforting about recipes that remind us of school days and family kitchens, isn’t there? For me, the Chocolate Cornflake Traybake Cake is one of those classics that always brings back memories. It’s the kind of no-bake treat that feels indulgent but couldn’t be easier to make—perfect when you’re craving something sweet but don’t want to fuss with the oven.
This recipe is all about simplicity and nostalgia: melt a few pantry staples together, stir in crunchy cornflakes, chill, and slice. That’s it! And yet, what you end up with is a tray full of rich, glossy chocolate squares that always disappear faster than you expect. It’s sweet, crispy, chocolatey, and oh-so-satisfying.
I love that this traybake works in so many situations. Need a quick dessert for a potluck? Done. Want a fun recipe to make with kids? This one’s practically foolproof. Looking for an edible gift that’s thoughtful without being complicated? Wrap up a few squares with parchment and twine, and you’ve got something adorable.
So let’s dive into how to make this Chocolate Cornflake Traybake Cake—step by step.
Ingredients You’ll Need

-
Dark chocolate – 200 g, roughly chopped
-
Unsalted butter – 100 g
-
Golden syrup – 3 tbsp
-
Cornflakes – 150 g
-
Mini marshmallows – 50 g (optional, for extra squidge)
Step 1: Melt the Chocolate Mix
Start with the base of this traybake: the glossy chocolate sauce. In a small saucepan, add the chopped dark chocolate, butter, and golden syrup. Keep the heat low—this is really important so the chocolate melts gently without seizing. Stir often until everything combines into a smooth, shiny sauce that looks utterly irresistible.
A little tip: if you’re nervous about melting chocolate on the stove, you can use the double boiler method instead. Just set a heatproof bowl over a pan of simmering water and melt everything slowly.
Step 2: Coat the Cornflakes
Once your chocolate mix is melted and smooth, remove it from the heat. Tip in the cornflakes and stir well, making sure every flake gets coated. The goal here is to avoid dry patches, so take your time folding the flakes through.
If you’re adding mini marshmallows, now’s the time to stir them in. They’ll give you little pops of softness in the middle of all that crunch—like surprise bites of squidge that kids especially love.
Pressing, Chilling, and Delicious Variations
With the chocolate-coated cornflakes ready to go, it’s time to turn them into the traybake we all know and love. This step is where the magic happens—those crunchy flakes and rich chocolate come together to form a solid slab of goodness that slices beautifully.
Step 3: Press into the Tin
Line a 20 × 20 cm square tin with baking parchment. Don’t skip this step—the parchment makes it so much easier to lift the traybake out later without it sticking.
Spoon the mixture into the lined tin, spreading it out evenly. Use the back of a spoon to press it down firmly into the corners and edges. The more compact you press it, the neater your slices will be once it’s chilled. If you leave it too loose, you risk crumbly squares that fall apart when you cut them.
Step 4: Chill Until Set
Pop the tray into the fridge and let it set for at least 1 hour. This is the hardest part—waiting! But trust me, it’s worth it. Once it’s firm to the touch, you can lift the slab out, peel away the parchment, and admire your work.
Now grab a sharp knife and cut it into 16 neat squares. If you want smaller bites (great for kids or for snacking), you can cut them into 20 or even 25 mini squares.
Tips & Twists
Here are a few ways to customize your traybake:
-
Extra crunch: Stir through 50 g chopped nuts (hazelnuts or almonds are lovely) or a handful of Rice Krispies.
-
Sweeter option: Swap dark chocolate for milk chocolate, or do a 50:50 mix of dark and milk if you want a balanced sweetness.
-
Festive flair: Add sprinkles, crushed candy canes, or even a dusting of icing sugar on top before chilling.
-
Gift-ready: Wrap individual squares in parchment paper and tie with string for a homemade gift that feels thoughtful without being fussy.
Serving Information
-
Prep Time: 10 minutes
-
Chill Time: 1 hour
-
Servings: 16 squares
-
Calories: ~150 per square
This is one of those recipes you’ll find yourself making again and again—not just because it’s quick and easy, but because everyone always asks for seconds.
FAQ & Final Thoughts

Before we wrap up, let’s go through some common questions you might have about this recipe.
FAQ
1. Can I use honey instead of golden syrup?
Yes, but it will slightly change the flavor. Honey is stronger and not as neutral as golden syrup. If you like honey, go for it—but golden syrup gives the best classic taste.
2. What if I only have milk chocolate?
You can absolutely use milk chocolate. Just keep in mind it will be sweeter, so you might want to cut smaller squares.
3. How long will these traybake squares last?
Stored in an airtight container in the fridge, they’ll keep for about a week. Though honestly, they usually disappear within a couple of days!
4. Can I freeze them?
Yes! Wrap the squares individually in parchment, pop them into a freezer bag, and freeze for up to 2 months. Defrost in the fridge before serving.
5. How do I stop the chocolate from seizing?
Always melt on low heat and avoid getting any water into the pan. A splash of water can cause the chocolate to go grainy.
6. Can kids help make this recipe?
Absolutely! The only part that needs adult supervision is melting the chocolate. After that, kids can stir the cornflakes in, press the mix into the tin, and even cut shapes once it’s set.
Final Thoughts
This Chocolate Cornflake Traybake Cake is one of those recipes that feels like a hug in dessert form. It’s quick, simple, and wonderfully nostalgic—the kind of treat that always brings a smile. Whether you make it for a family dessert, a bake sale, or just because you fancy something sweet, it’s a guaranteed crowd-pleaser.
So next time you’re craving a retro bite of chocolatey crunch, give this traybake a try. And when you do, don’t forget to come back and let me know how it turned out—I’d love to hear if you added your own twists!
Print
Chocolate Cornflake Traybake Cake – A No-Bake Retro Treat Everyone Loves
- Total Time: 1 hour 10 minutes
Description
This Chocolate Cornflake Traybake Cake is the ultimate retro no-bake dessert. Made with rich melted chocolate, golden syrup, and crunchy cornflakes, it’s quick, easy, and irresistibly nostalgic. Perfect for kids, bake sales, or a sweet afternoon pick-me-up, this traybake is ready in just 10 minutes (plus chill time). Add marshmallows for extra squidge or swap in milk chocolate for a sweeter twist.
Ingredients
-
200 g dark chocolate, roughly chopped
-
100 g unsalted butter
-
3 tbsp golden syrup
-
150 g cornflakes
-
50 g mini marshmallows (optional, for extra squidge)
Instructions
-
Melt the mix – In a small saucepan over low heat, melt the chocolate, butter, and golden syrup together. Stir until smooth and glossy.
-
Fold in the crunch – Remove from heat. Stir in the cornflakes until fully coated. Fold through marshmallows if using.
-
Press & chill – Line a 20 × 20 cm square tin with parchment. Spoon in the mixture, press down firmly into an even layer, and chill for at least 1 hour.
-
Slice & serve – Lift from the tin, peel away the parchment, and cut into 16 neat squares.
Notes
-
Swap dark chocolate for milk or a mix of both for a sweeter flavor.
-
Add chopped nuts, Rice Krispies, or sprinkles for extra texture and fun.
-
Wrap squares in parchment and string for homemade gifts.
-
Store in an airtight container in the fridge for up to 1 week, or freeze for up to 2 months.
- Prep Time: 10 minutes
- Cook Time: 1 hour


")