

Introduction & Getting Started
There are some recipes that never go out of style, and Scottish shortbread is absolutely one of them. With its crumbly, melt-in-your-mouth texture and rich buttery flavor, this timeless treat has been loved for centuries—and for good reason! It’s the kind of biscuit that feels fancy enough for a holiday cookie tray, but simple enough to whip up on a cozy Sunday afternoon with a cup of tea.
I still remember the first time I made shortbread at home. I was surprised by how few ingredients it actually takes—just butter, sugar, and flour with a little cornstarch to lighten things up. No eggs, no milk, no complicated steps. Yet somehow, the result feels special, indulgent, and honestly a little addictive. You’ll find yourself reaching for “just one more” before you know it.
What makes this recipe extra wonderful is its versatility. Stick to the traditional version for a truly authentic Scottish experience, or give it a twist with chocolate chunks, citrus zest, or even a sprinkle of sea salt on top. However you make it, you’ll end up with a biscuit that’s equal parts rustic and elegant.
So, let’s roll up our sleeves and get started on this classic treat. Don’t worry—if you’re new to baking, this recipe is as forgiving as it gets. And if you’re an experienced baker, you’ll appreciate the timeless simplicity.

Ingredients You’ll Need
Here’s what goes into making authentic Scottish shortbread:
-
Unsalted butter: 250g, softened
-
Caster sugar: 100g
-
Plain flour: 300g
-
Cornflour (cornstarch): 50g
-
Salt: just a pinch
That’s it! Five ingredients you probably already have in your pantry. The magic really lies in how these humble ingredients come together.
Step 1: Cream the Butter and Sugar
Start by grabbing a large mixing bowl. Add in your softened unsalted butter and caster sugar, then beat them together until they’re light and fluffy. This step is important—it’s what gives your shortbread its lovely crumbly texture. If your butter is too cold, it won’t cream properly, so make sure to let it sit out for a little while before you start.
Tip: I like to use an electric hand mixer for this step, but you can absolutely do it by hand with a sturdy wooden spoon if you’re feeling traditional.
Step 2: Add the Flours
Next, sift in the plain flour, cornflour, and that little pinch of salt. Sifting helps keep the dough nice and light, so don’t skip this part if you can. Gently mix everything together until it forms a soft dough.
Now, here’s the important part: don’t overwork the dough. The more you handle it, the tougher your shortbread will be. You’re looking for a soft, smooth dough that just holds together. If it feels a little crumbly at first, that’s okay—just press it gently until it comes together.
Shaping, Baking & Tips
Now that you’ve got your dough ready, it’s time to give it that signature shortbread look and texture. This part is almost as fun as eating it, because you get to play around with shapes and designs.
Step 3: Roll and Shape
Lightly flour your work surface and roll the dough out to about 1cm thick. Shortbread is all about that chunky, buttery bite, so don’t roll it too thin.
At this point, you’ve got some choices:
-
Shape it into a rectangle and cut into classic finger biscuits.
-
Shape into a round and score into triangles (a traditional Scottish look).
-
Or even press the dough into a shortbread mold if you have one for that beautiful embossed finish.
Whatever shape you go with, transfer your dough onto a baking tray lined with parchment paper. Press it down gently so the surface is even.
Step 4: Score and Prick
Use a sharp knife to score lines where you’ll cut the shortbread after baking. This makes it easier to slice cleanly later. Then, grab a fork and prick the dough all over. Not only does this help the shortbread bake evenly, but it also gives that classic “dotted” look we all recognize.
Step 5: Bake Gently
Shortbread needs a gentle bake. Preheat your oven to 150°C (fan) and bake for 45–50 minutes. You’re not looking for golden-brown here—the goal is a pale, buttery color with just a hint of golden at the edges. If it browns too much, it can lose that melt-in-the-mouth texture.
Your kitchen will smell absolutely amazing while it bakes—rich, buttery, and just a little bit sweet. It’s one of those smells that instantly feels comforting.
Step 6: Cool and Slice
Once the shortbread is done, let it cool right in the tin. This helps it firm up without crumbling. When it’s fully cooled, slice along the scored lines. You’ll get those neat edges and perfect pieces.
Step 7: Serve and Enjoy
Now comes the best part—eating! Traditional Scottish shortbread is perfect on its own, but I love it with a hot cup of tea or coffee. It also makes a lovely homemade gift when wrapped in parchment and tucked inside a tin tied with ribbon.
Helpful Tips & Variations
-
Use high-quality butter: This is the star of the recipe, so choose the best butter you can. European-style butters often have a higher fat content, which gives richer flavor.
-
Add-ins: Fancy a twist? Stir in some chopped dark chocolate, toasted nuts, or grated lemon zest. Shortbread is a blank canvas for creativity.
-
Storage: Keep your shortbread in an airtight tin at room temperature. It stays fresh for up to a week, though in my house it rarely lasts that long.
-
Make-ahead: You can also freeze the raw dough. Just wrap tightly, freeze, then thaw before rolling and baking.
FAQ & Conclusion
Before we wrap up, let’s tackle a few common questions that come up when making shortbread at home.
FAQ
1. Why is my shortbread dough crumbly?
That’s actually normal at first. Shortbread dough can look a little dry, but once you press it together gently, it should hold. Avoid adding extra liquid, as that can change the texture.
2. Can I use salted butter instead of unsalted?
Yes, but skip the pinch of added salt in the recipe. Unsalted butter gives you better control over the flavor, but salted butter works in a pinch.
3. How do I know when shortbread is baked?
Look for a pale golden color around the edges. The center should look set but not browned. Remember—it continues to firm up as it cools.
4. Can I make this gluten-free?
Yes! Swap the plain flour for a good-quality gluten-free flour blend. Just make sure it includes a binder like xanthan gum to help the dough hold together.
5. Can I double this recipe?
Absolutely. Just double all ingredients and use a larger baking tray, or bake in batches. Shortbread keeps really well, so making extra is always a good idea.
6. What’s the best way to store shortbread for gifting?
Once cooled, layer the biscuits between sheets of parchment in a decorative tin. They’ll stay fresh for several days, and the presentation makes them feel extra special.
7. Why do I need to prick the dough with a fork?
This helps the steam escape during baking, so your shortbread doesn’t puff up. It also gives that traditional dotted finish we all love.
Conclusion
And there you have it—classic Scottish shortbread in all its buttery glory! With just a handful of ingredients and a little patience in the oven, you get a biscuit that’s crumbly, rich, and oh-so comforting.
Whether you’re baking these as a weekend treat, a holiday tradition, or a thoughtful homemade gift, shortbread never disappoints. It’s one of those recipes that reminds us that simple is often best.
So, next time you’re craving something sweet but not overly fussy, pull out some butter and flour, and give this recipe a try. I promise, once you taste that first bite, you’ll understand why this humble biscuit has stood the test of time.
Now, I’d love to hear from you—have you tried making shortbread before? Do you stick to the traditional version, or do you like to add your own twists? Drop a comment below and let’s swap ideas—I’m always looking for new variations to try!
Print
Traditional Scottish Shortbread Recipe: Buttery, Crumbly, and Perfect for Tea Time
- Total Time: 1 hour
Description
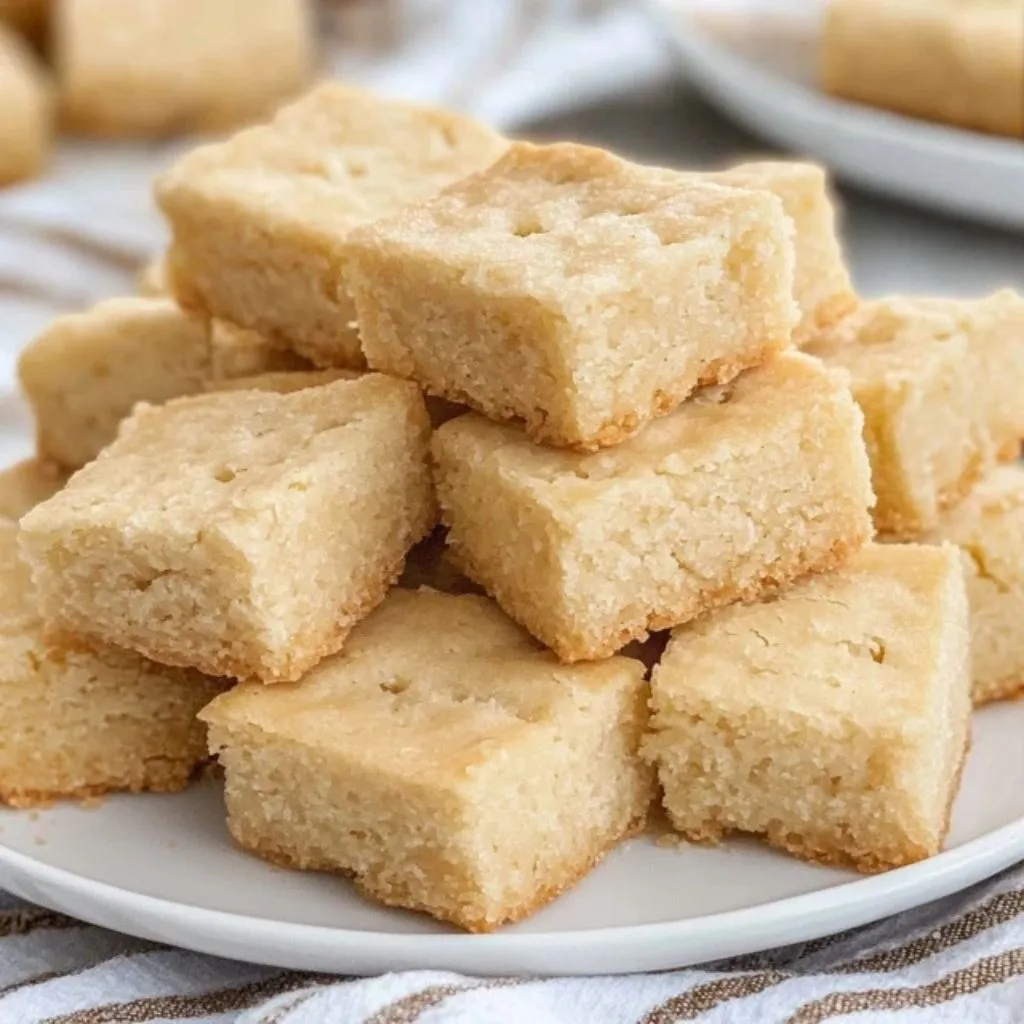
This traditional Scottish shortbread recipe is buttery, crumbly, and melts in your mouth. With only five simple ingredients, you can create a timeless biscuit that’s perfect for tea time, festive trays, or gifting in a pretty tin. This classic shortbread is easy to make, requires no eggs, and delivers that authentic flavor we all love.
Ingredients
-
250g unsalted butter, softened
-
100g caster sugar
-
300g plain flour
-
50g cornflour (cornstarch)
-
A pinch of salt
Instructions
-
Cream the butter and sugar: In a large bowl, beat the softened butter and caster sugar together until light and fluffy.
-
Add the flours: Sift in the plain flour, cornflour, and salt. Gently mix until a soft dough forms. Do not overwork.
-
Roll and shape: On a lightly floured surface, roll the dough to about 1cm thick. Shape into a rectangle or round and transfer to a lined baking tray.
-
Score and prick: Score into fingers or wedges, then prick the surface with a fork for a classic shortbread finish.
-
Bake: Preheat oven to 150°C (fan) and bake for 45–50 minutes, until pale golden but not browned.
-
Cool and slice: Allow to cool in the tin, then cut along the scored lines.
-
Serve: Enjoy with tea, coffee, or package in a tin for gifting.
Notes
-
Use high-quality butter for the best flavor.
-
For a twist, add dark chocolate chunks, lemon zest, or even a sprinkle of sea salt.
-
Store in an airtight tin for up to 7 days.
-
Dough can be made ahead and frozen; thaw before baking.
- Prep Time: 15 minutes
- Cook Time: 45 minutes


")