

A Cozy Bite of Yorkshire History
There’s just something special about a recipe that’s stood the test of time. These Oaty Yorkshire Biscuits aren’t flashy or over-the-top—they’re simple, comforting, and packed with nostalgia. If you’ve ever spent time in a Yorkshire kitchen (or wish you had!), you’ll know that these crisp-edged, golden oat biscuits are a staple that never goes out of style.
I remember the first time I made these in my grandma’s kitchen—well, more like watched and waited (impatiently) by the oven door. They filled the house with that warm, buttery smell that just smells like home. And while many biscuits have come and gone through my baking rotation, these are the ones I always come back to. They’re reliable, they’re easy, and they have the kind of crunch that makes a cup of tea taste ten times better.
And best of all? You probably already have everything you need in your kitchen.
Let’s dive right in.
🛒 Ingredients You’ll Need:
Here’s what you’ll need for about 18 biscuits:
-
Plain flour – 85g (3oz)
-
Bicarbonate of soda – ½ level tsp
-
Caster sugar – 85g (3oz)
-
Rolled oats – 85g (3oz)
-
Butter – 85g (3oz)
-
Milk – 1 tbsp
-
Golden syrup – 1 tbsp
These quantities are beautifully balanced—nothing fancy, just good honest ingredients that work together to make magic.
Step-by-Step: Let’s Start Baking
Step 1: Preheat and Prep
Set your oven to 150°C (fan) / 160°C (conventional) / Gas Mark 3.
Line two baking trays with parchment paper or lightly grease them. These biscuits can spread a little, so give them some space to breathe.
Step 2: Dry Ingredients First
Sift flour and bicarbonate of soda into a mixing bowl. Stir in the caster sugar and rolled oats. At this point, it already smells a bit like flapjack heaven.
Step 3: Melt the Good Stuff
In a small saucepan, gently melt the butter, milk, and golden syrup over low heat. The key here is gentle. You’re not making toffee—no bubbling allowed. Just melt everything down until it’s smooth and combined.
Step 4: Bring It All Together
Pour the warm, syrupy mixture into your dry ingredients. Stir with a wooden spoon until you’ve got a thick, sticky dough. It will smell ridiculously good right about now.
Shaping, Baking & All the Best Tips
Once your dough is mixed, it’s time to shape those delicious little biscuits.

Step 5: Shape Your Biscuits
Grab a tablespoon and scoop out even portions of the dough—about 18 in total. Roll each into a small ball using your hands and space them out evenly on the trays. The dough is sticky but manageable. If it’s too warm, chill it for 10 minutes and try again.
Tip: Wet your hands slightly if the dough sticks too much. No need for flour here—it can dry out the dough.
Step 6: Flatten and Get Baking
Take the back of a spoon (or just use your fingers) and gently flatten each dough ball into a disc shape. Not too thin—you want them to be about ½ inch thick, so they bake up with a soft center and crisp edge.
Pop the trays into the preheated oven and bake for 25 minutes, or until they’re a rich golden brown and slightly crisp at the edges.
Your kitchen will smell like a bakery by now—don’t be surprised if the neighbours show up “just to say hi.”
Step 7: Cool to Perfection
Let the biscuits cool on the tray for 2 minutes to firm up a bit (they’re fragile when hot). Then transfer them to a wire rack to cool completely.
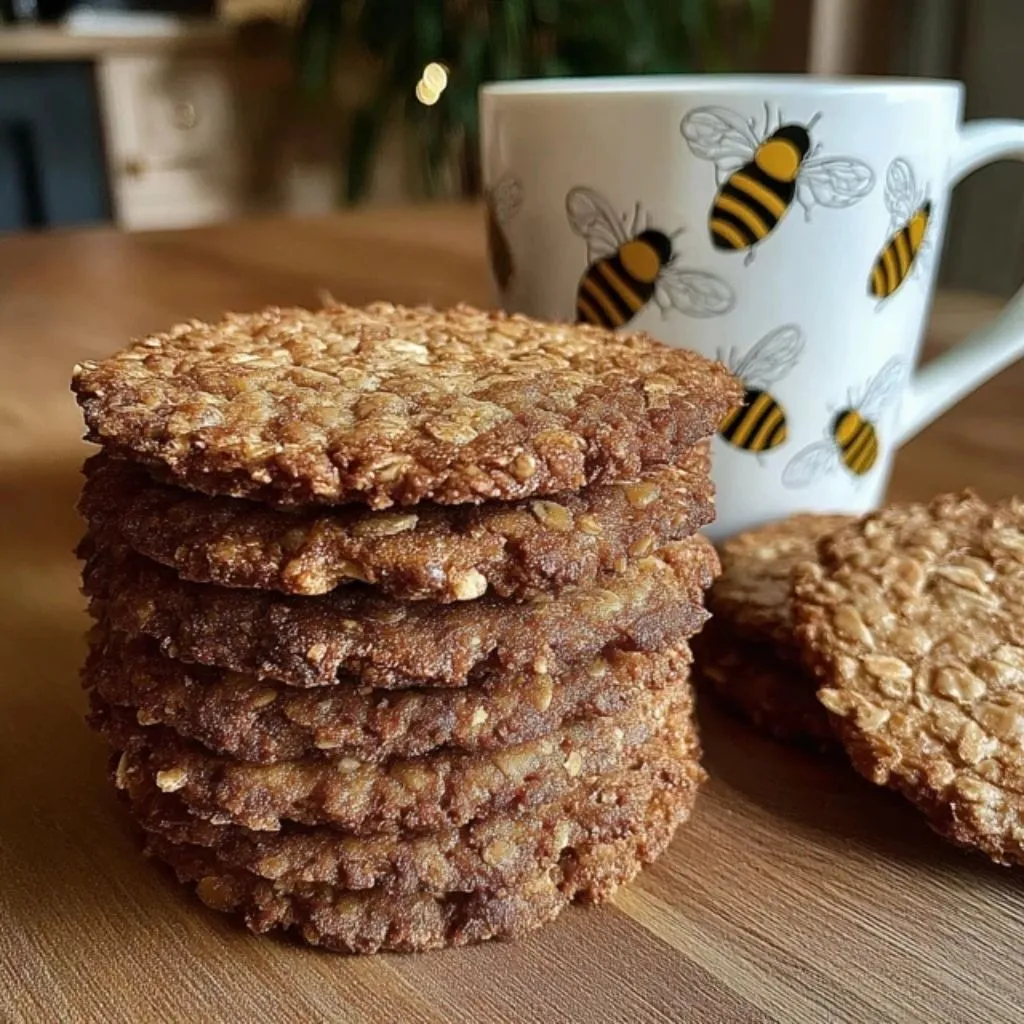
Once cooled, they’re crisp, chewy, and full of that toasted oat flavor that just screams “one more, please!”
⭐ Tips & Flavor Ideas
Now that you’ve nailed the basic recipe, here are a few ways to customize your biscuits:
-
Add cinnamon – Just a pinch in the dry mix adds a warm, autumnal vibe.
-
Toss in chocolate chips – A modern twist that works beautifully with oats and golden syrup.
-
Go nutty – Stir through a handful of chopped hazelnuts, pecans, or walnuts.
-
Toast the oats – For deeper flavor, toast them in a dry pan for a few minutes before mixing in.
And don’t forget: these biscuits store like a dream. Pop them into an airtight tin and they’ll stay crisp for up to a week (if they last that long).
FAQs & Final Thoughts
Let’s answer a few common questions you might have before diving into your own batch of Oaty Yorkshire Biscuits.
🍪 Frequently Asked Questions
1. Can I use quick oats instead of rolled oats?
Yes, but the texture will be a bit finer and less chewy. Rolled oats give the best crunch.
2. What if I don’t have golden syrup?
You can substitute honey or light corn syrup, but golden syrup gives that classic rich flavor.
3. Are these biscuits gluten-free?
Not as written. But you can try using a 1:1 gluten-free flour blend and certified gluten-free oats.
4. Can I freeze the dough or baked biscuits?
You sure can! Freeze the dough balls on a tray, then bag them up once solid. Bake straight from frozen, adding 1–2 minutes extra.
5. Why are my biscuits too soft?
Make sure they’re baked until golden and cooled fully on a rack. If they’re still soft, pop them back in a warm oven for 5 minutes to crisp up.
6. How do I make them vegan?
Swap the butter for vegan margarine and use a plant-based milk. Make sure your golden syrup is vegan too (most are).
7. Can I double the recipe?
Absolutely! This recipe doubles (or even triples) easily—perfect for gifting or holiday baking.
Final Thoughts: Bake, Share & Repeat!
These Oaty Yorkshire Biscuits are the kind of treat that makes you fall in love with baking all over again. No fancy mixers, no complicated techniques—just simple ingredients, mixed by hand, and baked with love.
Whether you’re whipping up a batch for teatime, lunchboxes, or just because you want something sweet and crunchy to nibble on, this recipe won’t let you down.
And if you do try a variation—maybe a cinnamon-chocolate-chip combo or a nutty version—drop a comment below and let me know how it turned out. I love hearing all the little tweaks you come up with!
Now, go put the kettle on and enjoy one (or three) of these golden beauties. Happy baking!


")