Decadent Red Velvet Cheesecake Swirl Brownies: The Ultimate Indulgence
There’s just something so special about red velvet—it’s vibrant, rich, and always feels a little more luxurious than your average dessert. Combine that with the creamy tang of cheesecake, and you have a match made in dessert heaven! These Red Velvet Cheesecake Swirl Brownies are the perfect treat for any occasion, whether it’s a holiday, a bake sale, or just a cozy night at home.
I still remember the first time I made these brownies. My kitchen smelled like a dreamy combination of chocolate and sweet cream, and when I cut into that first piece and saw the gorgeous marbled swirl, I couldn’t help but feel a little proud. Plus, the taste? Absolute perfection—fudgy, tangy, and so indulgent. And the best part? You don’t have to be a professional baker to create this masterpiece.
Ready to wow your friends, family, or just yourself? Let’s dive in!
Why You’ll Love These Brownies
This isn’t your typical brownie recipe. Here’s what makes these Red Velvet Cheesecake Swirl Brownies stand out:
- Bold, Vibrant Layers: The deep red velvet base is as visually stunning as it is delicious.
- Creamy Cheesecake Swirl: Tangy cream cheese pairs perfectly with the cocoa-rich brownie, creating a balanced, decadent flavor.
- Foolproof Recipe: Even if baking isn’t your strongest skill, this step-by-step guide will make it easy to succeed.
Let’s Gather the Ingredients
Before we get started, make sure you have everything you need. Here’s your shopping list:
For the Red Velvet Brownie Layer:
- ¾ cup unsalted butter, melted (because everything’s better with butter!)
- 1 cup granulated sugar
- 2 large eggs
- 2 teaspoons vanilla extract
- 1 tablespoon red food coloring (go bold for that classic red velvet look!)
- 1 teaspoon white vinegar
- 1 ¼ cups all-purpose flour
- ¼ cup unsweetened cocoa powder
- ¼ teaspoon salt
For the Cheesecake Swirl:
- 8 ounces cream cheese, softened (the creamier, the better!)
- ¼ cup granulated sugar
- 1 large egg
- ½ teaspoon vanilla extract
Step 1: Prep Your Workspace
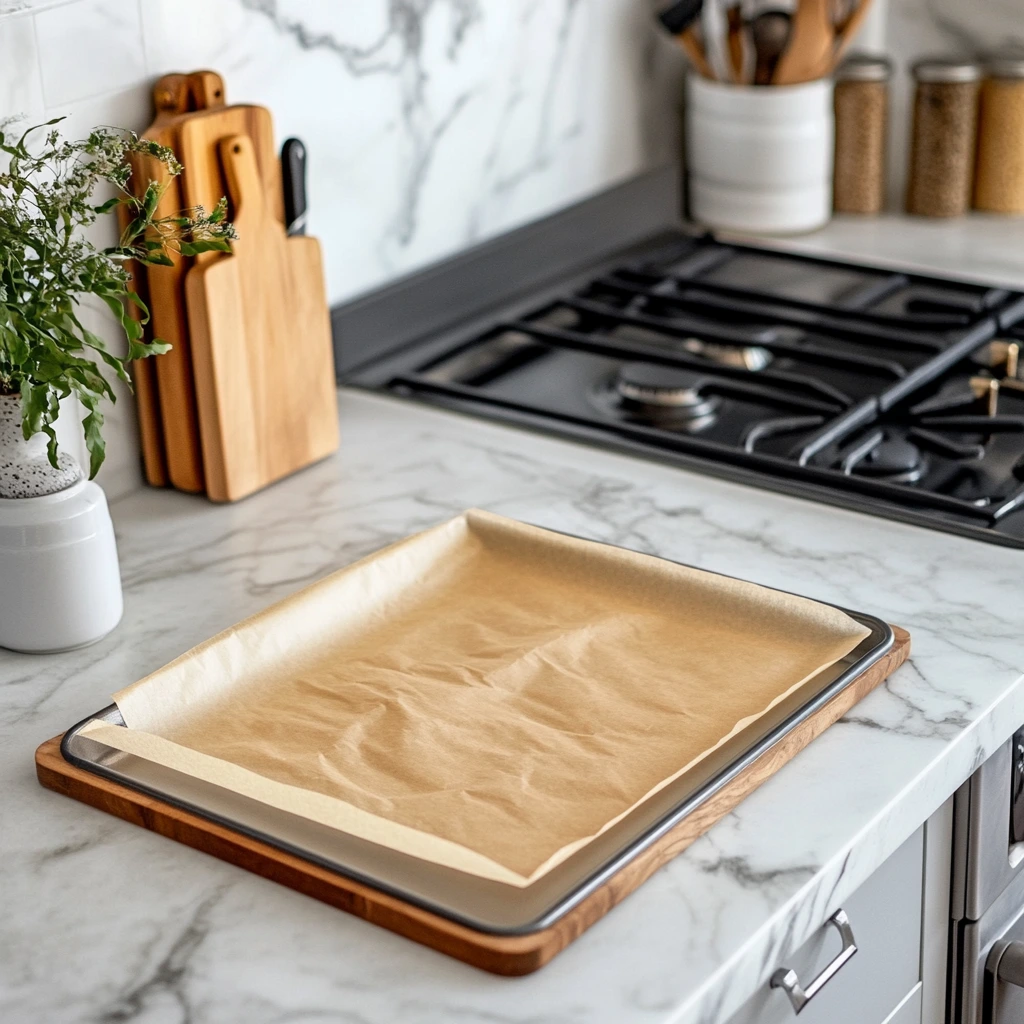
First things first, preheat your oven to 350°F (175°C). Proper prep is key to baking success, and this recipe starts with a well-prepared pan. Line an 8×8-inch baking pan with parchment paper, leaving a bit of overhang. This trick makes it so much easier to lift your brownies out once they’re baked, ensuring clean edges and avoiding any disasters when it’s time to cut.
If you don’t have parchment paper, you can grease the pan thoroughly with butter or a non-stick spray. But trust me, parchment paper will make your life so much easier!
Step 2: Whisk Up the Red Velvet Base
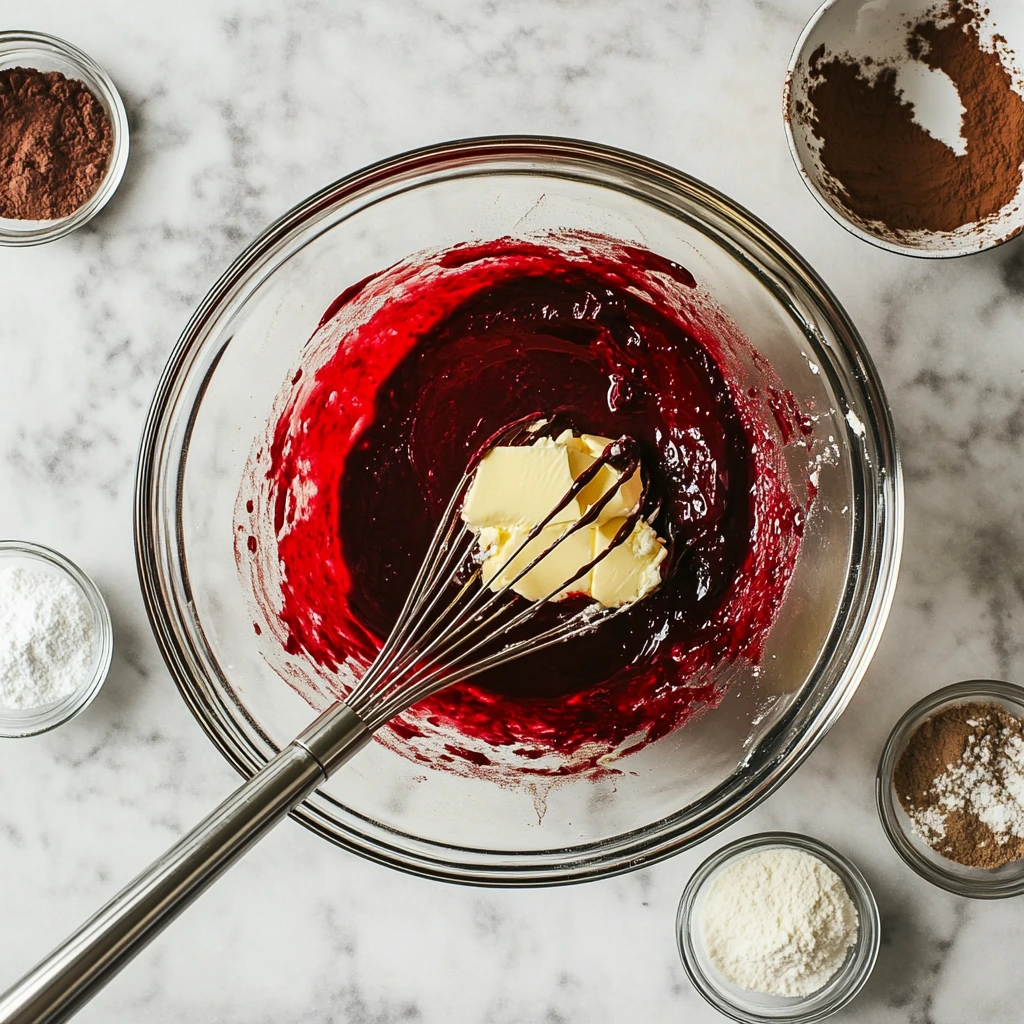
In a large bowl, whisk together your melted butter and sugar until smooth. This step is where you start building that classic brownie texture. Next, add in the eggs, vanilla extract, red food coloring, and white vinegar, and keep whisking until the mixture is velvety and vibrant. (Pro tip: Use a silicone whisk or spatula to scrape down the sides as you go, so everything is evenly mixed.)
Now it’s time for the dry ingredients. Sift together the flour, cocoa powder, and salt, then gently fold them into the wet ingredients. Take care not to overmix here—just stir until the batter comes together. Overmixing can lead to tougher brownies, and we’re aiming for soft and fudgy perfection!
Step 3: Reserve Batter for Swirling
Once your brownie batter is ready, pour most of it into your prepared pan. Hold back about ¼ cup of batter—this will be used later to create that beautiful swirl with the cheesecake layer. Smooth out the surface with a spatula to create an even base.
Why Vinegar in Brownies?
You might be wondering why we’re adding vinegar to a dessert recipe. It’s a classic ingredient in red velvet recipes! The vinegar reacts with the cocoa powder, enhancing its flavor while also contributing to the unique red velvet texture—soft, tender, and a little tangy.
Assembling and Baking the Perfect Red Velvet Cheesecake Swirl Brownies
Now that your red velvet brownie base is ready, it’s time to add the star of the show: the cheesecake swirl! This layer not only adds a tangy, creamy contrast to the rich brownie base but also gives the finished product that stunning marbled appearance. Trust me, this step is where the magic truly happens.
Step 4: Whipping Up the Cheesecake Swirl

For the cheesecake layer, grab a medium bowl and your mixer. You’ll need these simple ingredients:
- 8 oz cream cheese, softened
- ¼ cup granulated sugar
- 1 large egg
- ½ teaspoon vanilla extract
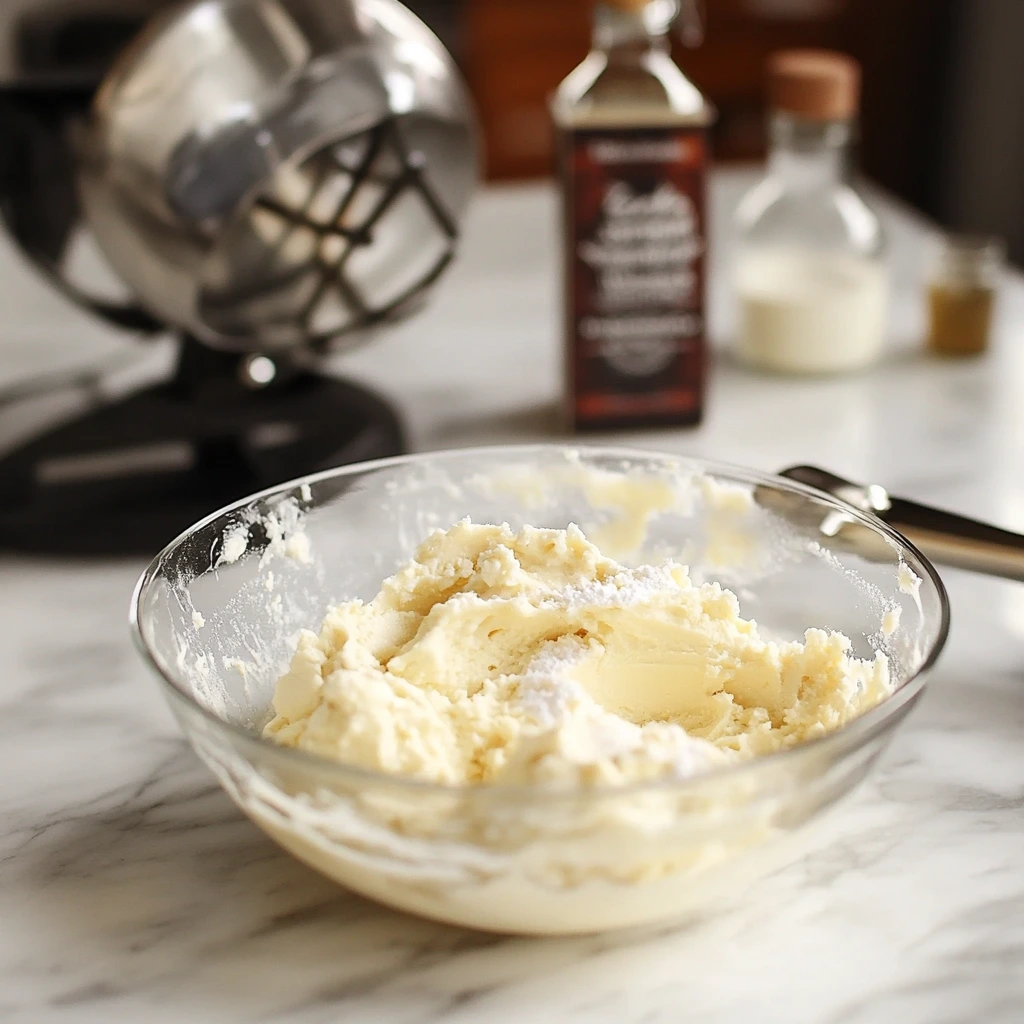
Start by beating the softened cream cheese and sugar together until the mixture is smooth and free of any lumps. It’s important that the cream cheese is fully softened—if it’s still cold, it won’t blend properly, and you might end up with clumps in your swirl.
Next, add the egg and vanilla extract, then continue mixing until the mixture is creamy and velvety. This luscious cheesecake layer will create the perfect balance of richness and tanginess.
Step 5: Layer and Swirl

Now that you’ve got both components ready, it’s time to assemble your brownies. Spread the cheesecake mixture evenly over the red velvet brownie batter that’s already in your pan. Be patient and use a spatula to ensure an even layer—it’s worth the effort for those gorgeous, defined swirls later.
With the cheesecake layer in place, take the reserved ¼ cup of brownie batter and drop spoonfuls over the top. The goal here isn’t precision, so don’t stress if the dollops aren’t perfectly spaced.
To create the swirl, take a toothpick, knife, or skewer and gently drag it through the dollops of brownie batter and cheesecake layer in a swirling motion. Work slowly to create a marbled effect, but try not to over-swirl; you want distinct ribbons of red velvet and cheesecake for that dramatic visual contrast.
Step 6: Bake to Perfection
With your masterpiece assembled, it’s time to bake! Place the pan in your preheated oven (350°F/175°C) and bake for 25-30 minutes. Keep a close eye during the last few minutes of baking—overbaking can lead to dry brownies, and we’re aiming for that perfect fudgy texture.
You’ll know your brownies are done when:
- The edges are set and slightly pulling away from the pan.
- The center is just set but still has a slight jiggle.
- A toothpick inserted into the middle comes out with a few moist crumbs (not wet batter).
Resist the urge to leave them in “just a little longer.” Remember, the brownies will continue to cook slightly as they cool.
Step 7: Cool and Slice
Here’s where patience truly pays off: Let the brownies cool completely in the pan. This step allows the cheesecake layer to firm up and makes slicing much easier. If you try to cut them while they’re still warm, you might end up with a gooey mess (although, let’s be honest, it would still taste amazing).
Once cooled, use the parchment paper overhang to gently lift the brownies out of the pan. Place them on a cutting board and slice into squares or bars, depending on your preference. For clean, sharp edges, dip your knife in hot water, wipe it clean, and cut slowly.
Pro Tips for Success
- Room Temperature Ingredients Are Key: Make sure your cream cheese, eggs, and butter are at room temperature. This ensures smooth mixing and consistent baking.
- Choose the Right Pan: An 8×8-inch metal pan works best for this recipe. Glass pans can cause the edges to cook faster than the center.
- Don’t Over-Swirl: While it’s tempting to go swirl-crazy, less is more. Over-swirling can muddy the colors and mix the layers too much.
- Cool Completely Before Slicing: This might be the hardest step, but it’s crucial for getting clean slices and letting the flavors fully develop.
Serving Suggestions
These brownies are a showstopper on their own, but here are a few ways to take them to the next level:
- Serve with a scoop of vanilla ice cream for an over-the-top dessert.
- Drizzle with melted white chocolate for extra flair.
- Pair with a cup of coffee or tea for a cozy afternoon treat.
FAQ and Final Touches for Your Red Velvet Cheesecake Swirl Brownies
You’ve mixed, swirled, baked, and cooled—now it’s time to enjoy the fruits of your labor! But before we wrap up, let’s address some common questions about these Red Velvet Cheesecake Swirl Brownies to ensure your experience is as smooth as the cheesecake layer itself.
FAQ: Everything You Need to Know
1. Can I use natural food coloring instead of the classic red food coloring?
Absolutely! Natural food coloring or beet juice works as a substitute, though the color may be less vibrant. The flavor, however, remains just as amazing.
2. How do I store these brownies?
Store your brownies in an airtight container in the refrigerator for up to 5 days. If you’re planning to enjoy them later, you can freeze them for up to 3 months. Just thaw in the fridge overnight before serving.
3. Can I make these ahead of time?
Yes! These brownies are perfect for prepping in advance. In fact, their flavor intensifies after a day, making them even more irresistible.
4. What’s the secret to getting clean slices?
For sharp, clean edges, use a knife dipped in hot water. Wipe the blade clean between each cut for a polished finish.
5. Can I double the recipe?
Definitely! Use a 9×13-inch pan and adjust the baking time to 35–40 minutes. Keep an eye on the brownies, as ovens can vary slightly.
6. Is there a substitute for cream cheese in the swirl?
If you’re out of cream cheese or need a dairy-free option, you can try using a thick, dairy-free cream cheese alternative or even mascarpone cheese for a slightly different flavor.
7. What’s the best way to customize this recipe?
Feel free to get creative! Add chocolate chips to the brownie batter for an extra layer of indulgence, or sprinkle crushed cookies on top of the cheesecake layer for added texture.
Conclusion: Why These Brownies Will Be Your New Go-To Dessert
These Red Velvet Cheesecake Swirl Brownies are more than just a dessert—they’re an experience. The combination of the fudgy red velvet base with the creamy cheesecake swirl creates a harmony of flavors that feels indulgent yet balanced. Plus, the stunning marbled effect makes them a guaranteed hit at parties, gatherings, or simply as a treat to yourself.
So, what are you waiting for? Head to your kitchen, preheat that oven, and get baking! Whether you’re a seasoned baker or a newbie, this recipe is approachable and sure to impress. And don’t forget—we love seeing your creations! Snap a photo, share it on social media, and tag us. We can’t wait to see how your brownies turn out.
Happy baking, and enjoy every bite of these decadent brownies! ❤️
Print
Decadent Red Velvet Cheesecake Swirl Brownies: A Dessert Lover’s Dream
Description
These Red Velvet Cheesecake Swirl Brownies are the ultimate treat! Featuring a vibrant red velvet base and a creamy cheesecake swirl, they are visually stunning and irresistibly delicious. Perfect for holidays, parties, or as an everyday indulgence, this recipe is simple to follow and yields show-stopping results. Enjoy the perfect blend of cocoa-rich brownie and tangy cheesecake flavors in every bite.
Ingredients
For the Red Velvet Brownie Layer:
- ¾ cup unsalted butter, melted
- 1 cup granulated sugar
- 2 large eggs
- 2 teaspoons vanilla extract
- 1 tablespoon red food coloring
- 1 teaspoon white vinegar
- 1 ¼ cups all-purpose flour
- ¼ cup unsweetened cocoa powder
- ¼ teaspoon salt
For the Cheesecake Swirl:
- 8 ounces cream cheese, softened
- ¼ cup granulated sugar
- 1 large egg
- ½ teaspoon vanilla extract
Instructions
- Preheat the Oven: Preheat your oven to 350°F (175°C). Line an 8×8-inch baking pan with parchment paper, leaving an overhang for easy removal, or grease the pan thoroughly.
- Prepare the Red Velvet Brownie Batter:
- In a large bowl, whisk together melted butter and sugar until smooth.
- Add eggs, vanilla extract, red food coloring, and vinegar. Whisk until fully combined.
- Sift in the flour, cocoa powder, and salt, then fold gently until just combined. Avoid overmixing.
- Pour most of the batter into the prepared pan, reserving ¼ cup for swirling.
- Make the Cheesecake Swirl:
- In a medium bowl, beat softened cream cheese and sugar until smooth.
- Add the egg and vanilla extract, mixing until the mixture is creamy and lump-free.
- Assemble and Swirl:
- Spread the cheesecake mixture evenly over the red velvet brownie layer.
- Drop spoonfuls of the reserved brownie batter on top. Using a knife or toothpick, swirl the brownie and cheesecake layers together to create a marbled effect.
- Bake:
- Bake in the preheated oven for 25–30 minutes, or until the center is set and a toothpick inserted comes out with a few moist crumbs. Avoid overbaking.
- Cool and Serve:
- Allow the brownies to cool completely in the pan. Lift them out using the parchment paper overhang and slice into squares. Enjoy!
Notes
- Storage: Store in an airtight container in the refrigerator for up to 5 days or freeze for up to 3 months.
- Swirling Tip: For distinct swirls, avoid over-mixing the layers when swirling the batter and cheesecake.
- Customizations: Add chocolate chips or sprinkles for an extra flair, or substitute natural food coloring for a more subtle red tone.
- Double the Recipe: To make a larger batch, use a 9×13-inch pan and increase the baking time to 35–40 minutes.


