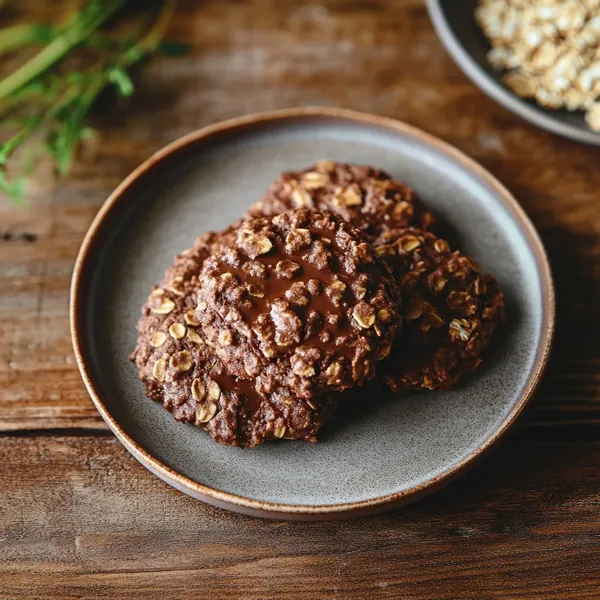
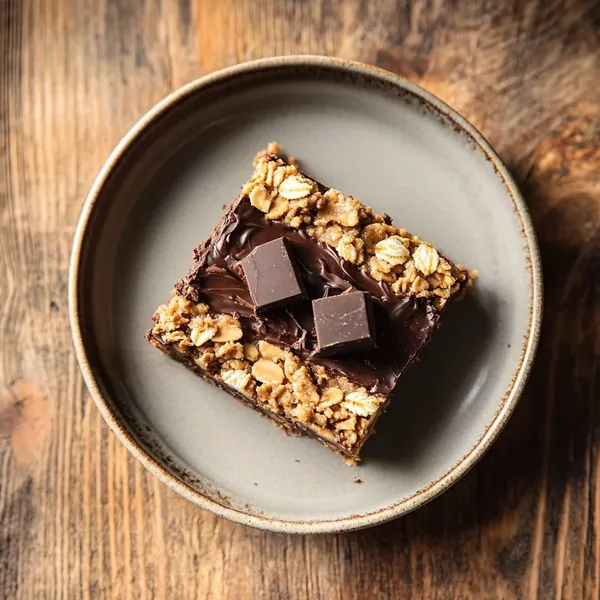
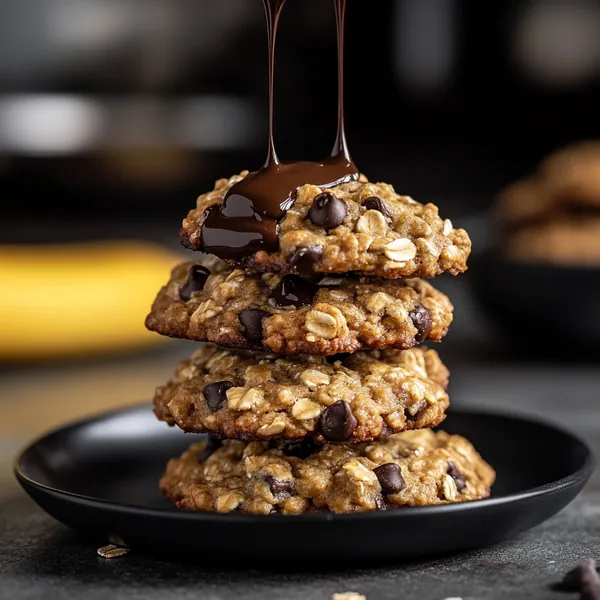
These no-bake chocolate oatmeal bars are the answer to that 4 p.m. craving when you need something sweet, fast, and with zero oven heat. My daughter once declared them ‘better than the store kind’ after sneaking a corner piece while they were still setting. That’s the magic right there.
They’re the kind of treat that feels like a secret shortcut. A chewy, chocolate-packed bar that comes together with a bowl, a spoon, and a little patience while the fridge does the work. Here’s why this recipe works: the combination of melted butter and honey creates a sticky syrup that binds the oats into a perfect, sliceable texture, while the chocolate layer stays soft and fudgy against the crisp oat base.
Jump to:
Why You’ll Love These No-Bake Oatmeal Bars
Let’s talk texture. The bottom layer is dense and chewy, almost like a soft granola bar. Then you hit that smooth, rich chocolate middle. It’s a contrast that makes every bite interesting.

They’re genuinely no-fuss. You don’t need to cream butter and sugar or worry about overmixing. Just melt, stir, press, and chill. It’s the kind of project you can start while the kettle boils for tea.
They travel beautifully. Wrap one in parchment for a lunchbox, or pack a few for a picnic. They hold their shape without crumbling, unlike some baked bars.
And the customization is endless. I’ll give you some fun twists later, but the base recipe is a blank canvas. It reminds me of the simplicity of our 3-Ingredient Peanut Butter Cookies — minimal effort, maximum reward.
Ingredients for No-Bake Chocolate Oatmeal Bars
Gather these simple things. The quality of the chocolate chips really shines here, so use one you enjoy eating straight from the bag.
- 3 cups old-fashioned rolled oats (not quick oats — we need the hearty chew)
- 1/2 cup honey
- 1/2 cup packed brown sugar
- 1/2 cup unsalted butter
- 1 teaspoon pure vanilla extract
- 1/4 teaspoon fine sea salt
- 1 1/2 cups semi-sweet chocolate chips
- 2/3 cup creamy peanut butter (or sunflower seed butter for a nut-free version)
A quick note on the oats: old-fashioned give these no-bake chocolate oatmeal bars their signature substance. If you only have quick oats, the texture will be softer, more like a dense truffle. Still good, but different.
How to Make Your No-Bake Chocolate Oatmeal Bars
Line an 8×8 inch baking pan with parchment paper, letting the edges hang over for easy lifting later. This is your one smart move for clean slices.
- Toast the oats (optional but recommended). Spread the oats on a dry baking sheet and toast in a 350°F oven for 8-10 minutes, until they smell warm and nutty. This deepens their flavor and helps the bars hold together better. Let them cool slightly before using.
- In a medium saucepan, combine the honey, brown sugar, butter, and salt. Cook over medium heat, stirring frequently, until the butter melts and the mixture comes to a gentle bubble. Let it bubble for exactly one minute — you’ll see it thicken slightly and become glossy. This syrup is the glue for your no-bake chocolate oatmeal bars.
- Remove the pan from the heat. Stir in the vanilla extract carefully — it might sizzle a bit. Immediately pour this hot syrup over the oats in a large mixing bowl. Stir with a sturdy spatula until every single oat is thoroughly coated and glistening. The mixture will be very thick and sticky.
- Press half of the oat mixture firmly into the bottom of your prepared pan. Use the bottom of a measuring cup or a glass to press it into an even, compact layer. Really pack it down — this prevents crumbly bars.
- Now for the chocolate layer. In a microwave-safe bowl or using a double boiler, melt the chocolate chips and peanut butter together in 30-second bursts, stirring well between each. Stop when it’s just smooth and melted. Pour this over the pressed oat base and spread it gently to the edges with an offset spatula or the back of a spoon.
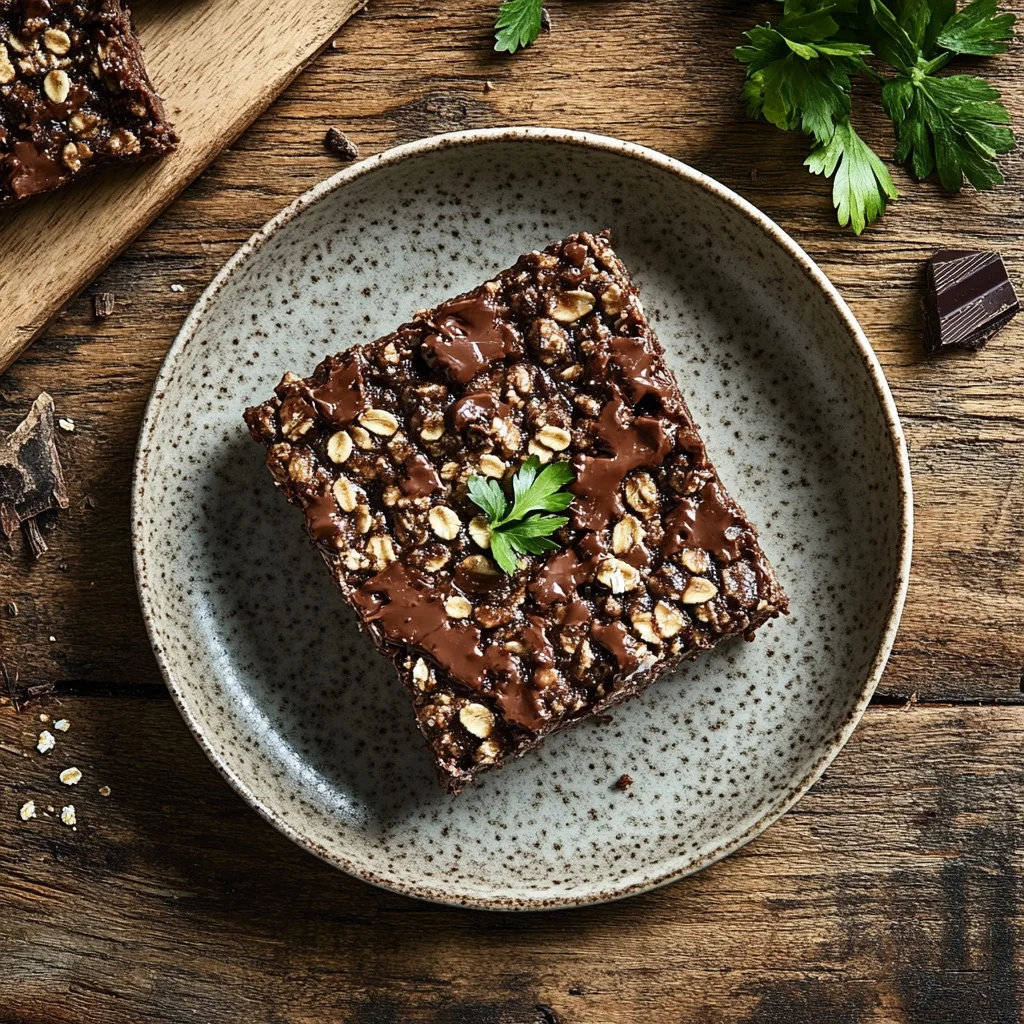
- Sprinkle the remaining oat mixture evenly over the chocolate layer. Gently press it down with your hands so it adheres. Don’t worry if some chocolate peeks through — that’s part of the charm. This top layer gives your no-bake chocolate oatmeal bars their finished look.
- Refrigerate for at least 3 hours, or until completely firm. I often let mine set overnight. The wait is the hardest part. You’ll know they’re ready when the top is firm to a gentle touch and the chocolate layer doesn’t give when you press it.
- Use the parchment paper ‘handles’ to lift the whole slab onto a cutting board. Slice into bars or squares with a sharp knife. For super clean cuts, wipe the knife blade with a hot, damp cloth between slices.
Tips & Variations for the Perfect Bars
Storage is simple. Keep these bars in an airtight container in the refrigerator for up to a week. They also freeze beautifully for up to 3 months. Just layer them between sheets of parchment in a freezer-safe container.
For a fun twist, stir 1/2 cup of toasted coconut or chopped dried cherries into the oat mixture. The tart cherries against the sweet chocolate is a dream.
If you’re out of peanut butter, any nut or seed butter works. Almond butter adds a lovely depth. For a truly decadent version, use the filling from a trusted source like Lilly’s Bites as inspiration for a flavored chocolate ganache.
Make them gluten-free by ensuring your oats are certified gluten-free. That’s the only swap needed. For a dairy-free version, use a plant-based butter and dairy-free chocolate chips.
When pressing the layers, dampen your fingers or the bottom of your pressing tool slightly. This prevents the sticky oat mixture from clinging to you instead of the pan. A little water is your friend here.
Remember, the key to perfect no-bake chocolate oatmeal bars is letting them chill fully. Rushing this step leads to messy slices. Set a timer, walk away, and let the magic happen.
I hope you make a pan of these soon. They’re the treat that proves the best things don’t always require an oven. Share a picture on your feed when you do — I love seeing your versions.
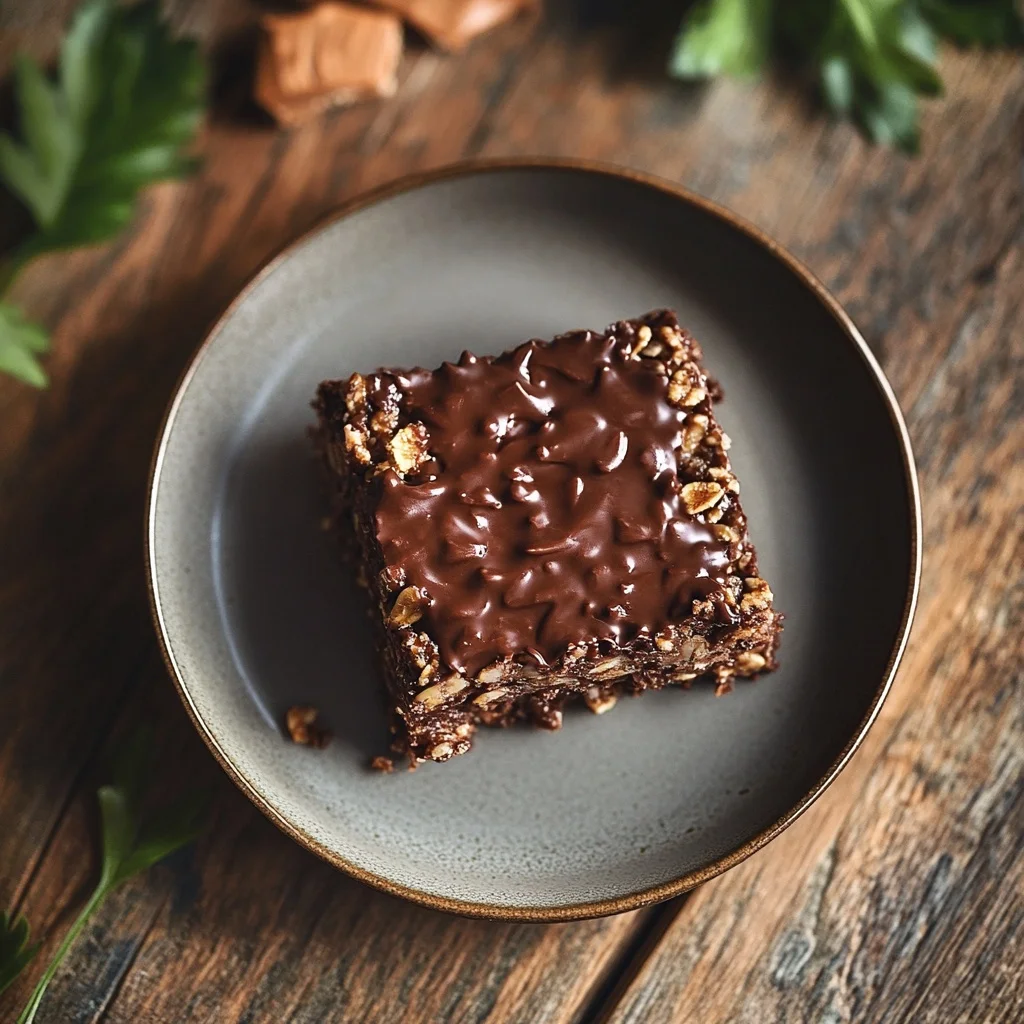
No-Bake Chocolate Oatmeal Bars
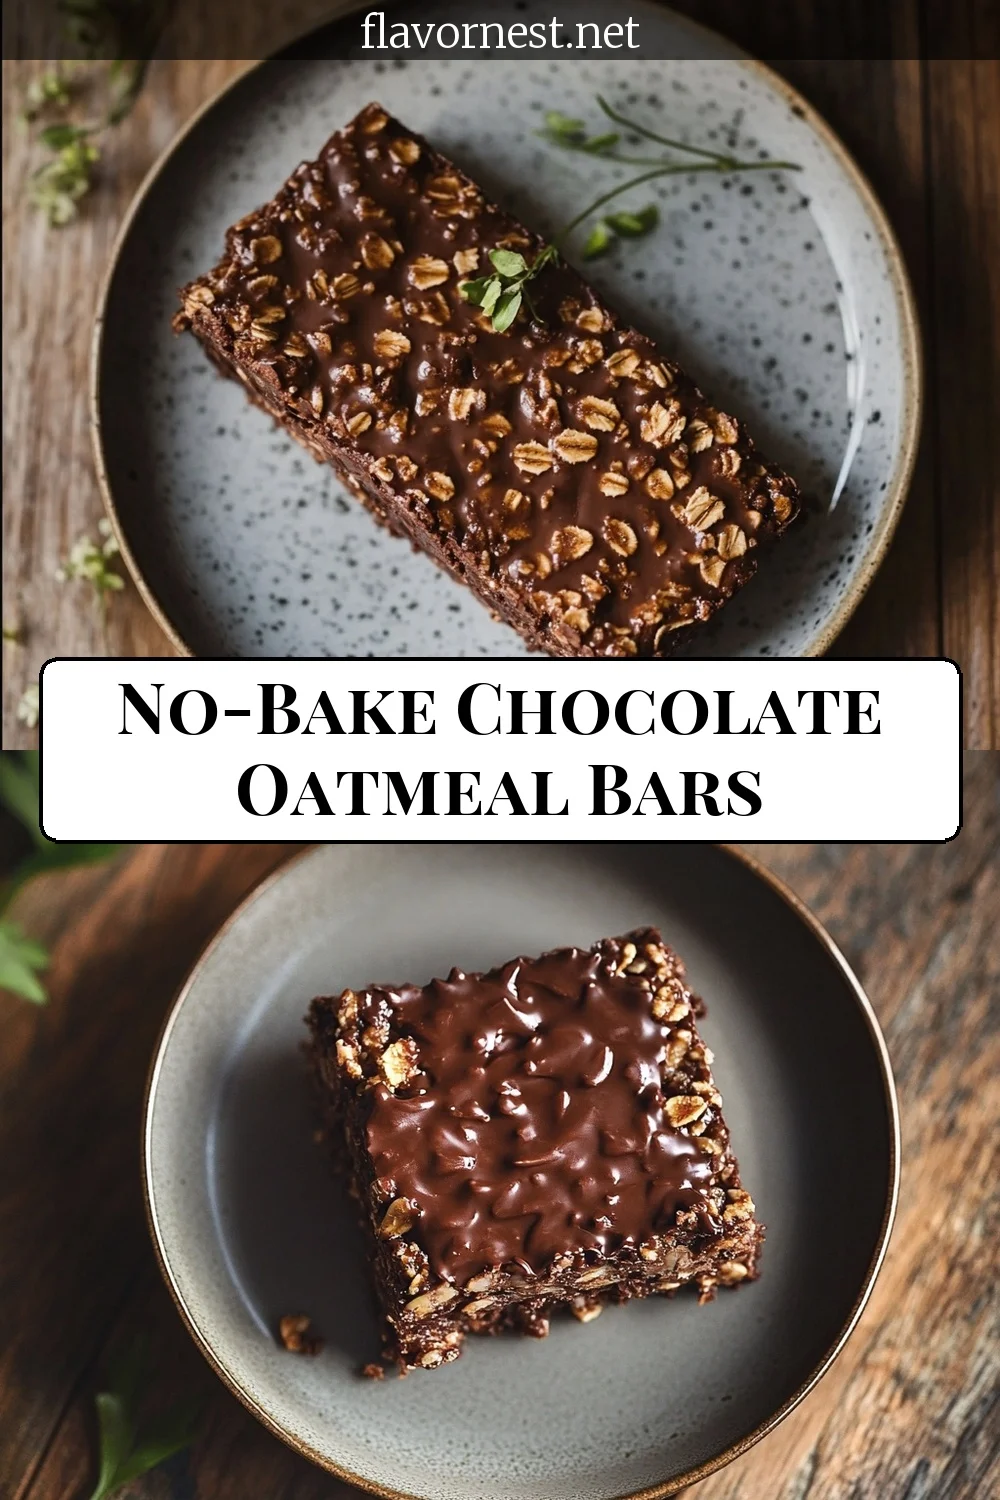
Make these no-bake chocolate oatmeal bars for a rich, chewy treat that sets in the fridge. Perfect for last-minute cravings or lunchbox surprises.
Ingredients
- 3 cups old-fashioned rolled oats
- 1/2 cup honey
- 1/2 cup packed brown sugar
- 1/2 cup unsalted butter
- 1 teaspoon pure vanilla extract
- 1/4 teaspoon fine sea salt
- 1 1/2 cups semi-sweet chocolate chips
- 2/3 cup creamy peanut butter
Instructions
- Toast the oats (optional but recommended). Spread the oats on a dry baking sheet and toast in a 350°F oven for 8-10 minutes, until they smell warm and nutty. Let them cool slightly before using.
- In a medium saucepan, combine the honey, brown sugar, butter, and salt. Cook over medium heat, stirring frequently, until the mixture comes to a gentle bubble. Let it bubble for exactly one minute until slightly thickened and glossy.
- Remove the pan from the heat. Stir in the vanilla extract carefully. Immediately pour this hot syrup over the oats in a large mixing bowl. Stir until every oat is thoroughly coated and glistening.
- Press half of the oat mixture firmly into the bottom of a parchment-lined 8×8 inch pan. Use the bottom of a measuring cup to press it into an even, compact layer.
- Melt the chocolate chips and peanut butter together in a microwave-safe bowl in 30-second bursts, stirring well between each, until just smooth. Pour this over the pressed oat base and spread gently to the edges.
- Sprinkle the remaining oat mixture evenly over the chocolate layer. Gently press it down with your hands so it adheres.
- Refrigerate for at least 3 hours, or until completely firm. The top should be firm to a gentle touch.
- Use the parchment paper ‘handles’ to lift the slab onto a cutting board. Slice into bars with a sharp knife, wiping the blade clean between slices for neat cuts.
Nutrition
- Serving
- 1 portion
- Calories
- 280 calories