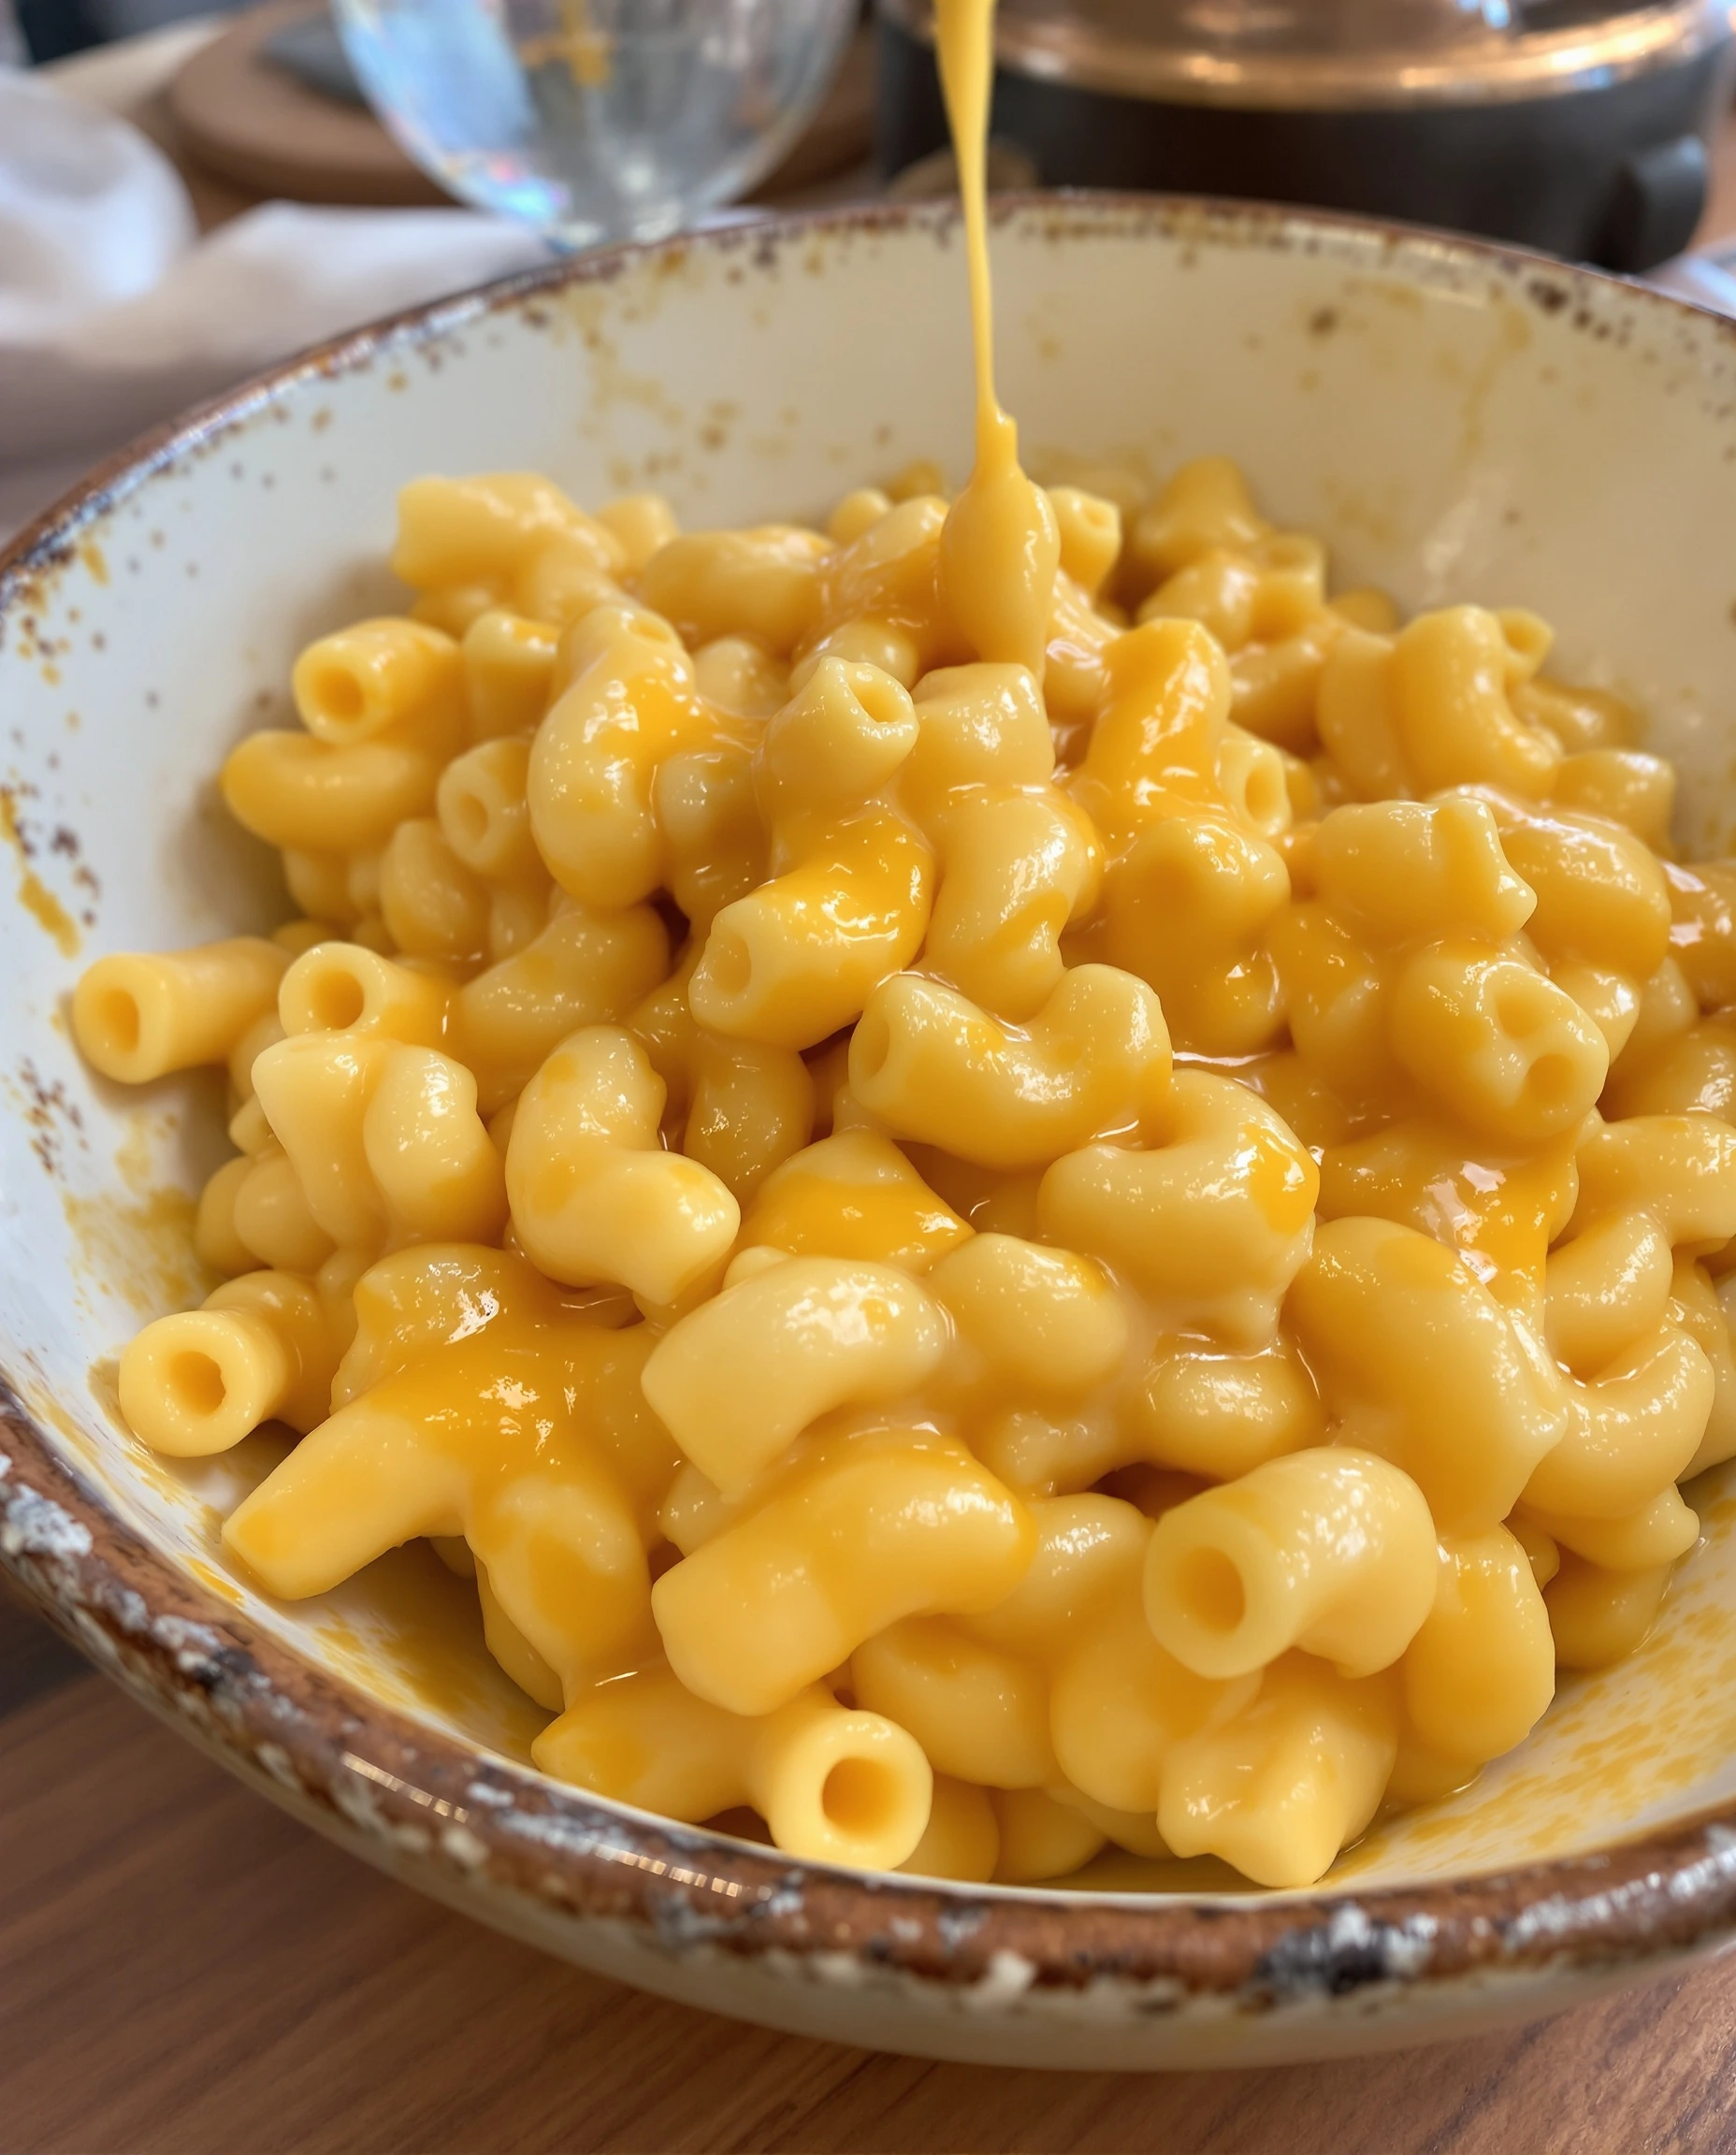
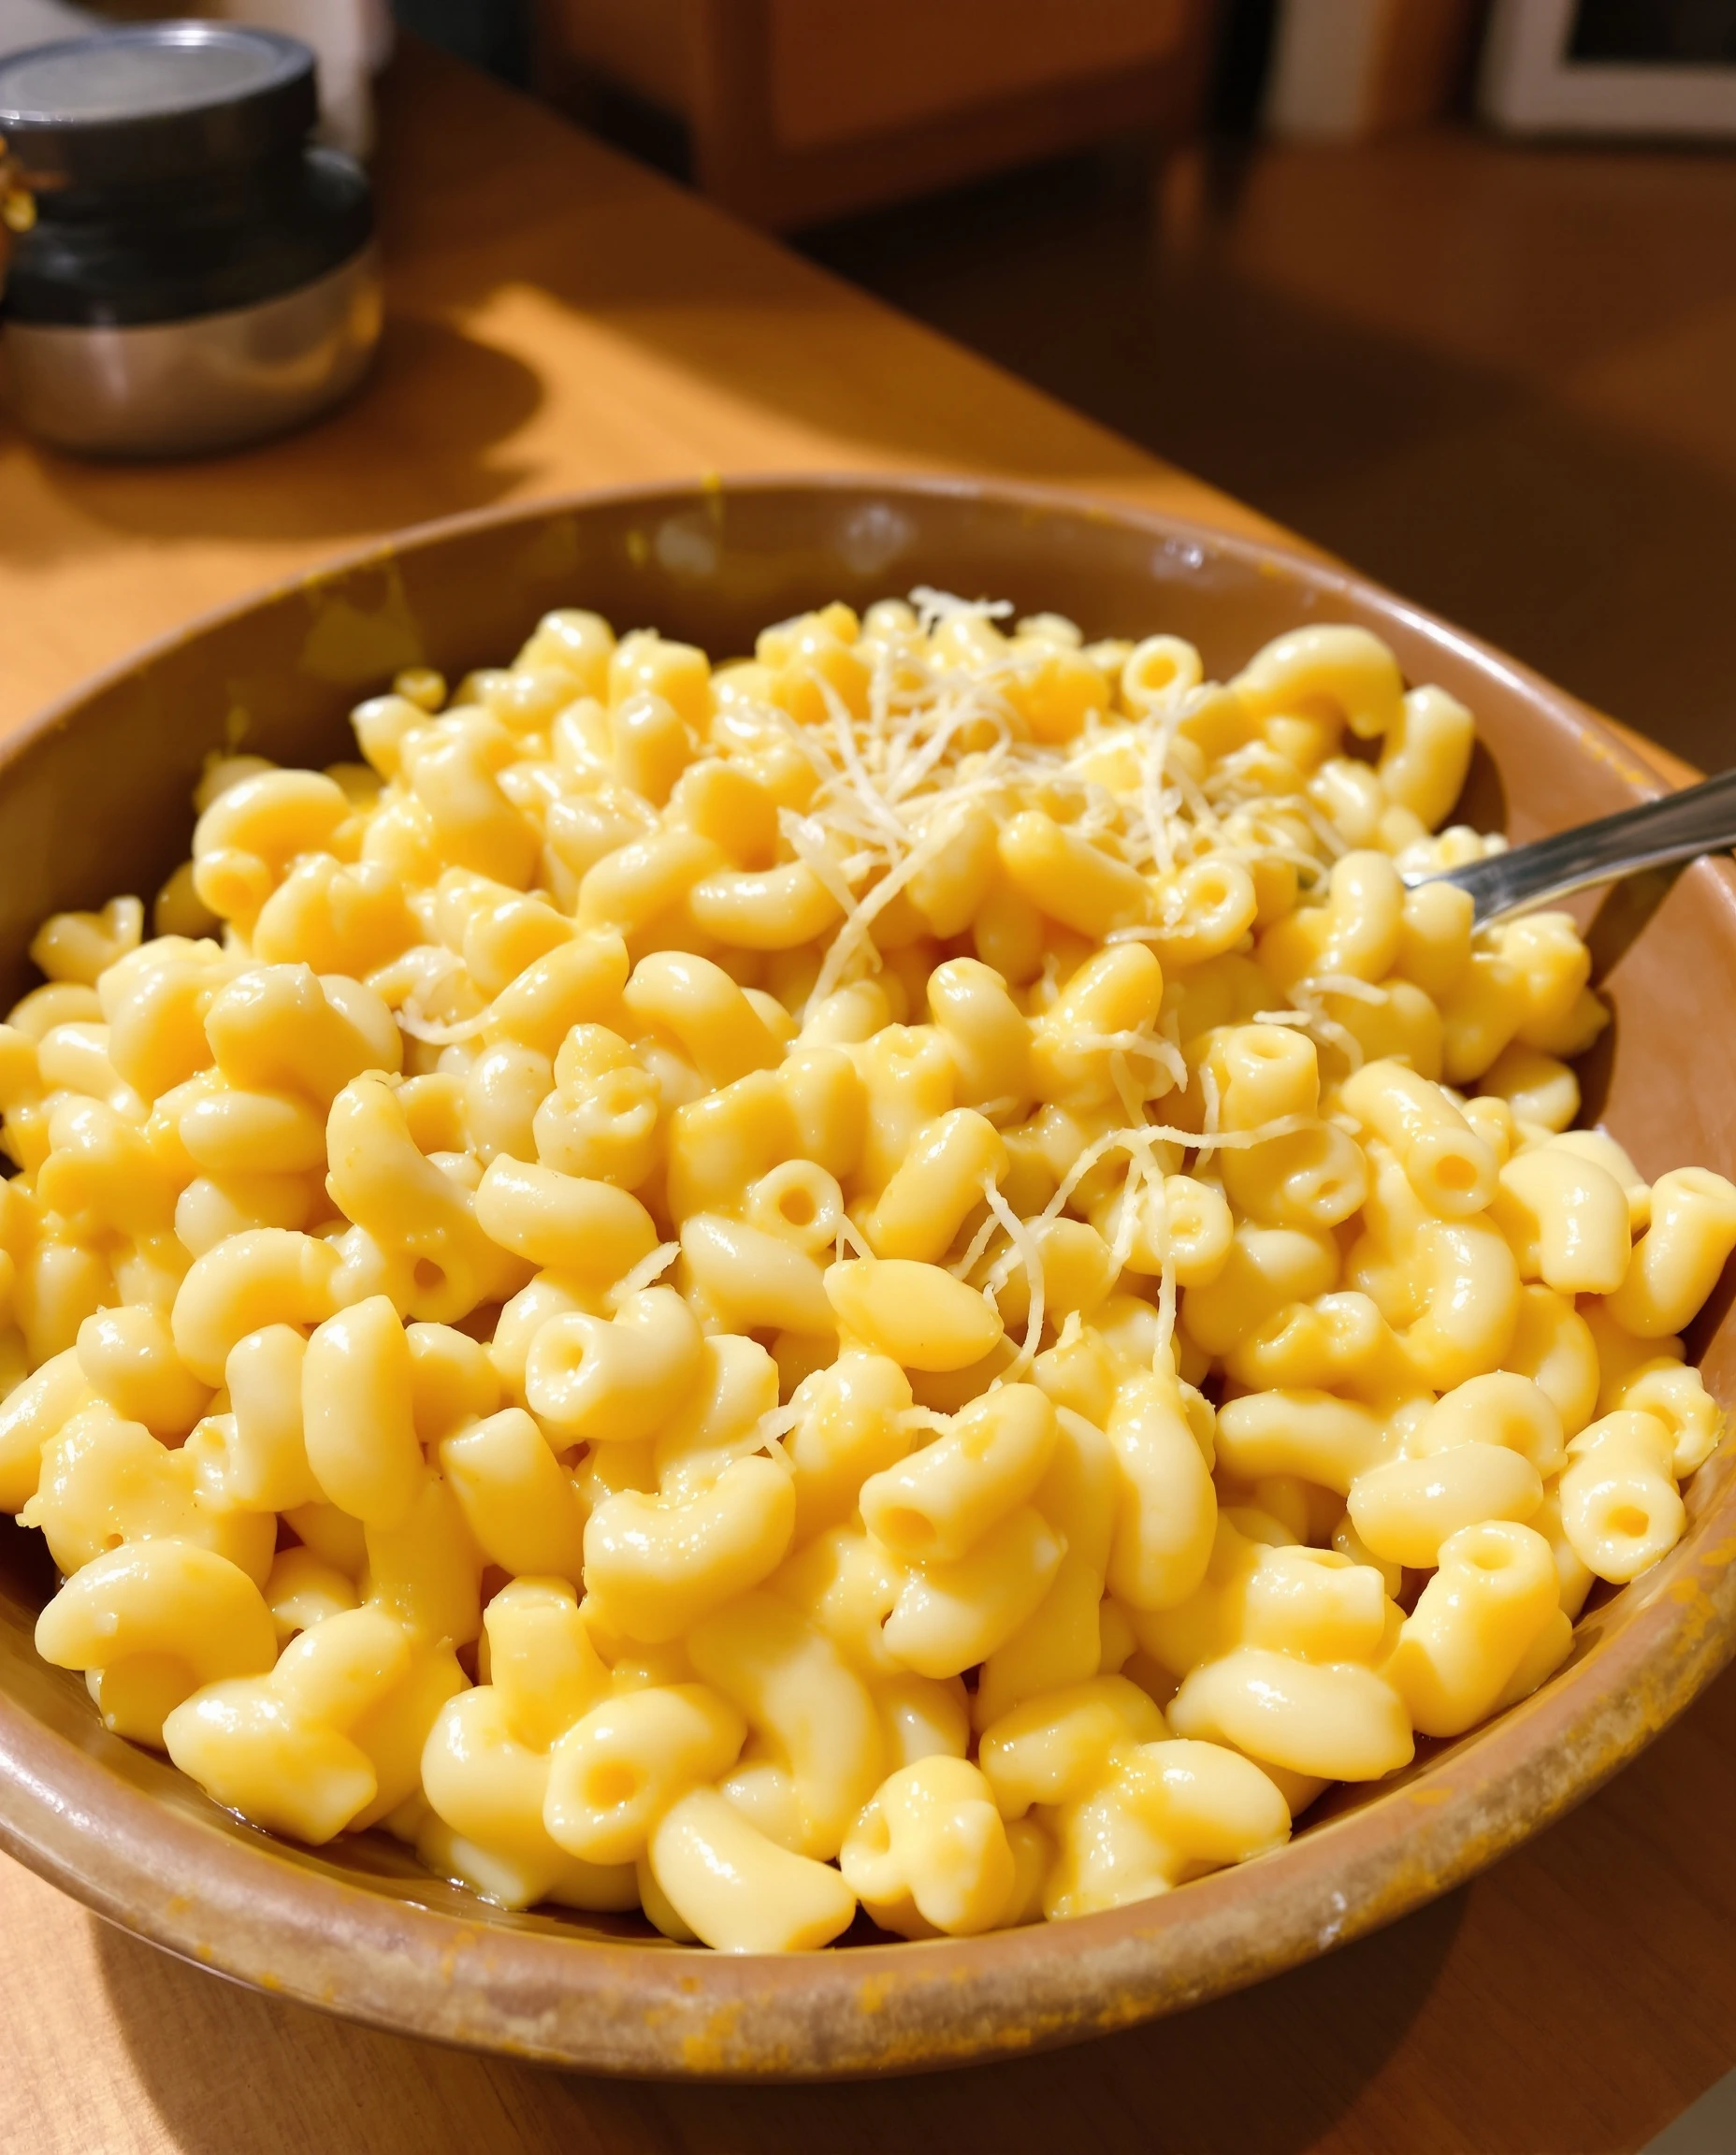
So, here’s the deal: I’ve been craving Creamy Mac and Cheese like it’s the last good meal on earth. You know that feeling when payday hits, and you want to splurge a little? Well, I just got paid, and my fridge is looking bare. I mean, I could order takeout, but let’s be real—I’m trying to be better than that. Plus, I came across this quick mac and cheese video on TikTok that made it look way too easy to pass up. Let’s cook some comfort food!
Now, picture this: I’m in my tiny kitchen, which is basically a glorified closet. The stove is cramped, and my counter space is a joke. I’ve got pots and pans crammed into cabinets like sardines, and I’m still figuring out where I put everything. But hey, the challenge is on! I’m armed with a few ingredients, a somewhat reliable recipe, and a decent amount of determination. My cooking skills? Let’s just say I’m still in the “I hope this doesn’t burn” phase of my culinary journey.
Why This Recipe is Actually Worth Your Time : Creamy Mac and Cheese
Look, I get it. Mac and cheese can be seen as a basic dish, something you whip up when you’re too tired to care. But this isn’t just any mac and cheese; it’s a creamy, dreamy bowl of goodness that makes you forget about the chaos of your day. I mean, who doesn’t want to dive into a cheesy, comforting hug at the end of a long workday?
I stumbled upon this recipe after a friend told me about her attempts to make it healthier. Honestly, that just made me want the classic version even more! I realized that cooking doesn’t have to be complicated; it can be straightforward and delicious at the same time. This recipe is perfect for anyone, whether you’re a kitchen novice or a seasoned pro looking for a no-fuss meal.
For me, it’s all about the process. I learned that making a roux—a fancy word for a mixture of flour and fat—can elevate your cheese sauce from “meh” to “wow.” Plus, this recipe doesn’t require any fancy ingredients. Just your basic staples that won’t break the bank. So, let’s get cooking!
Before we dive in, here’s what you’re going to need for this Creamy Mac and Cheese:
-
- 8 oz elbow macaroni
-
- 2 cups sharp cheddar cheese, shredded
-
- 2 cups whole milk
-
- 4 tbsp unsalted butter
-
- 2 tbsp all-purpose flour
-
- 1 cup panko bread crumbs
Now, a little commentary here: if sharp cheddar isn’t your jam, you can totally swap it for a milder cheese. Just know that it might not pack the same flavor punch. I also recommend keeping an eye on prices—cheese can get pricey, but grocery stores often have sales or store brands that won’t put a dent in your wallet. And hey, I’ve even used turkey bacon to add a smoky flavor if you’re into that!
Let’s Figure This Out Together
Alright, let’s get to the fun part. Here’s how we’re going to make this happen:
-
- Cook the Pasta: Start by bringing a large pot of salted water to a boil. Toss in the elbow macaroni and cook it until it’s al dente, which should take about 7-8 minutes. You want it to have a little bite to it. Trust me, nobody likes mushy pasta. Drain it and set it aside. Sometimes I forget this step and leave the pasta in the pot too long—don’t be like me!
-
- Make the Roux: In a saucepan over medium heat, melt the butter until it’s bubbly. Whisk in the flour until it’s smooth and keep it on the heat for about a minute. This is where I first messed up; I was too eager and cranked the heat up, which made my roux clump. Just keep it steady and whisk away!
-
- Add Milk: Now, here’s the magic moment. Gradually pour in the milk while whisking constantly. You’ll notice it thickens slightly, which is what you want. It should look like a creamy sauce, and the smell? Oh man, it’s heavenly!
-
- Add Cheese: Take the saucepan off the heat and stir in the shredded cheddar cheese. It should melt beautifully into that creamy sauce. If it doesn’t, don’t panic. Just give it a little more time off the heat and stir until it’s all smooth and delicious.
-
- Combine Pasta and Sauce: Now, let’s bring it all together. Fold the cooked macaroni into the cheese sauce, making sure every noodle is coated. It should look rich and creamy, with that cheesy goodness sticking to the pasta.
-
- Bake: Transfer this glorious mixture into a greased baking dish, sprinkle with panko bread crumbs for that perfect crunch, and bake at 350°F (175°C) for 20-25 minutes. You want the top to be golden brown and crispy. This is where I get a little impatient and peek in the oven too often—don’t do that! You might let out all the heat.
So, there you have it! This is our little journey through the mac and cheese process. Just imagine that cheesy aroma wafting through your small kitchen. It’s like a comforting hug that makes the cramped space feel like home.
Real Talk: What Actually Works
Here’s the thing: shortcuts are totally allowed. If you’re in a rush (and let’s be real, who isn’t?), you can use pre-shredded cheese, but be aware it sometimes contains anti-caking agents that can affect the melting texture. And if you want to up the ante, try adding cooked chicken or sautéed veggies into the mix. I’ve thrown in some spinach before, and it was a surprisingly good twist!
And let’s not forget about those apartment kitchen hacks. If you don’t have a baking dish, no worries! You can use any oven-safe dish, even a cast-iron skillet if you have one. Just remember to adjust cooking times if you’re using a different size or type of dish.
Leftovers and Storage Reality
Now, let’s be real about leftovers. If you’re like me, living alone, you might just end up with a whole lot of mac and cheese staring back at you. Here’s what I do: I portion it out into containers, and it keeps well in the fridge for about 3-4 days. It’s perfect for those busy weeknights when you just can’t even.
When reheating, I recommend adding a splash of milk to keep it creamy. Microwaving can dry it out, and we don’t want that. Just cover it and pop it in for a minute or two, stirring halfway through.
Questions I’ve Actually Gotten
Can I use different types of pasta?
Absolutely! While elbow macaroni is the classic choice, you can use any shape you like. Just adjust the cooking time according to the pasta type.
Why do I need to make a roux?
Making a roux helps thicken the cheese sauce and gives it that creamy texture. Without it, you might end up with a watery mess. Trust me; I’ve been there!
What if I don’t have panko bread crumbs?
No biggie! Regular breadcrumbs work just fine, or you can skip the topping altogether if you’re not feeling it. It’ll still be delicious!
Can I freeze this mac and cheese?
Yes, you can! Just make sure to let it cool completely before transferring it to a freezer-safe container. It should last about 2-3 months in the freezer. Just remember to add a little milk when reheating to bring it back to life!Closing thoughts: Honestly, I’m already thinking about the next time I can make this. It’s not just food; it’s a little moment of comfort in a bowl. Maybe I’ll add some crispy bacon next time or try a different cheese blend. Whatever it is, I’m excited to keep experimenting. Until then, happy cooking, my friend!

Minute Creamy Mac and Cheese: Ultimate Comfort Food
Description
A creamy, comforting mac & cheese baked to golden perfection — rich cheese sauce envelops tender pasta, finished with a crunchy breadcrumb topping.
Ingredients
-
8 oz (≈ 225 g) elbow macaroni
-
2 cups sharp cheddar, shredded
-
2 cups whole milk
-
4 Tbsp unsalted butter
-
2 Tbsp all-purpose flour
-
1 cup panko bread crumbs
Instructions
-
Preheat oven to 350 °F (175 °C).
-
Cook pasta in salted boiling water until al dente (7–8 min), then drain.
-
Melt butter in a saucepan; whisk in flour and cook ~1 min.
-
Slowly whisk in milk, stirring until sauce thickens slightly.
-
Remove from heat and stir in shredded cheddar until melted.
-
Mix cooked pasta with cheese sauce until evenly coated.
-
Transfer to a greased baking dish; top with panko bread crumbs.
-
Bake 20–25 minutes until bubbly and golden on top.
Notes
-
Grate your own cheese (rather than pre-shredded) for better melting.
-
Undercook pasta slightly (a minute less) so it doesn’t become too soft after baking.
-
Store leftovers in an airtight container in the fridge for up to 3 days.
-
Reheat gently (in oven or microwave), adding a splash of milk if needed to restore creaminess.
-
You can mix in extras: cooked bacon, vegetables (e.g. broccoli), or different cheeses (gruyère, mozzarella) for variation.


