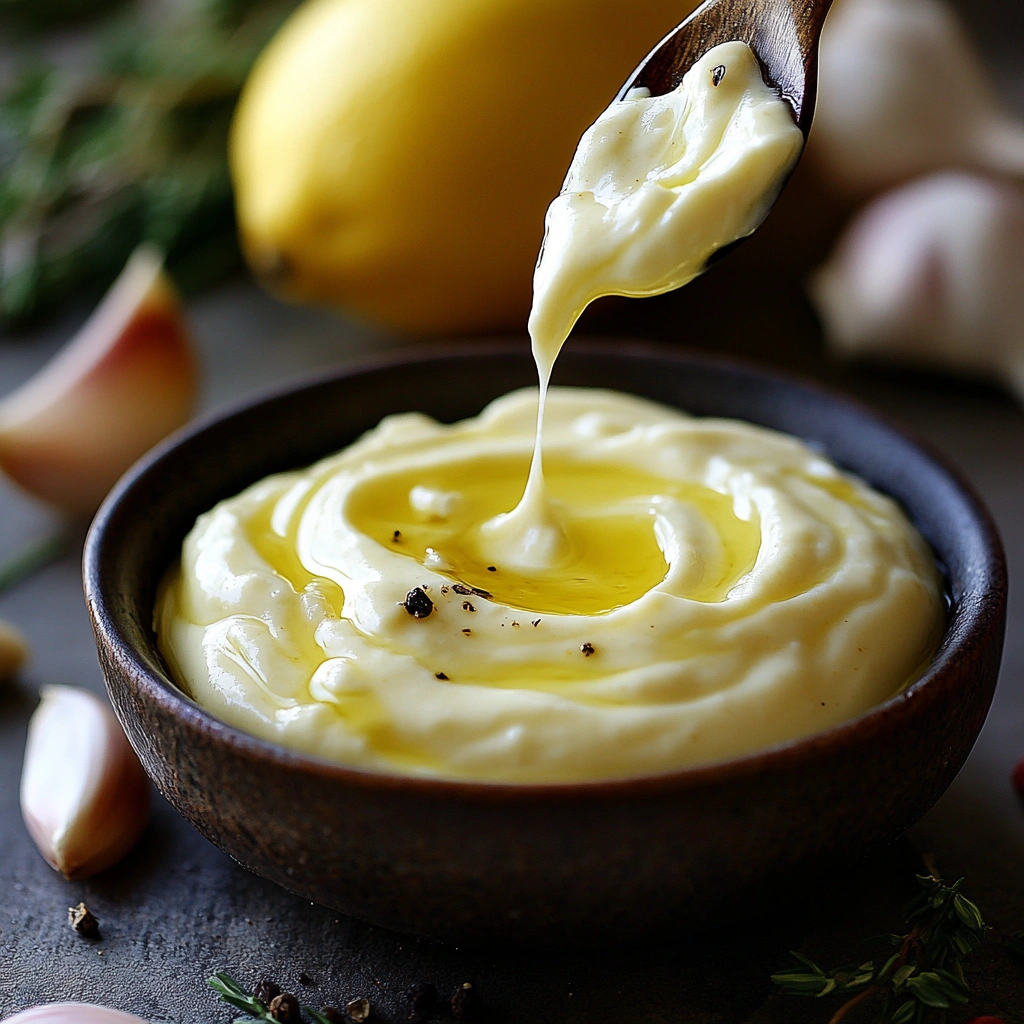
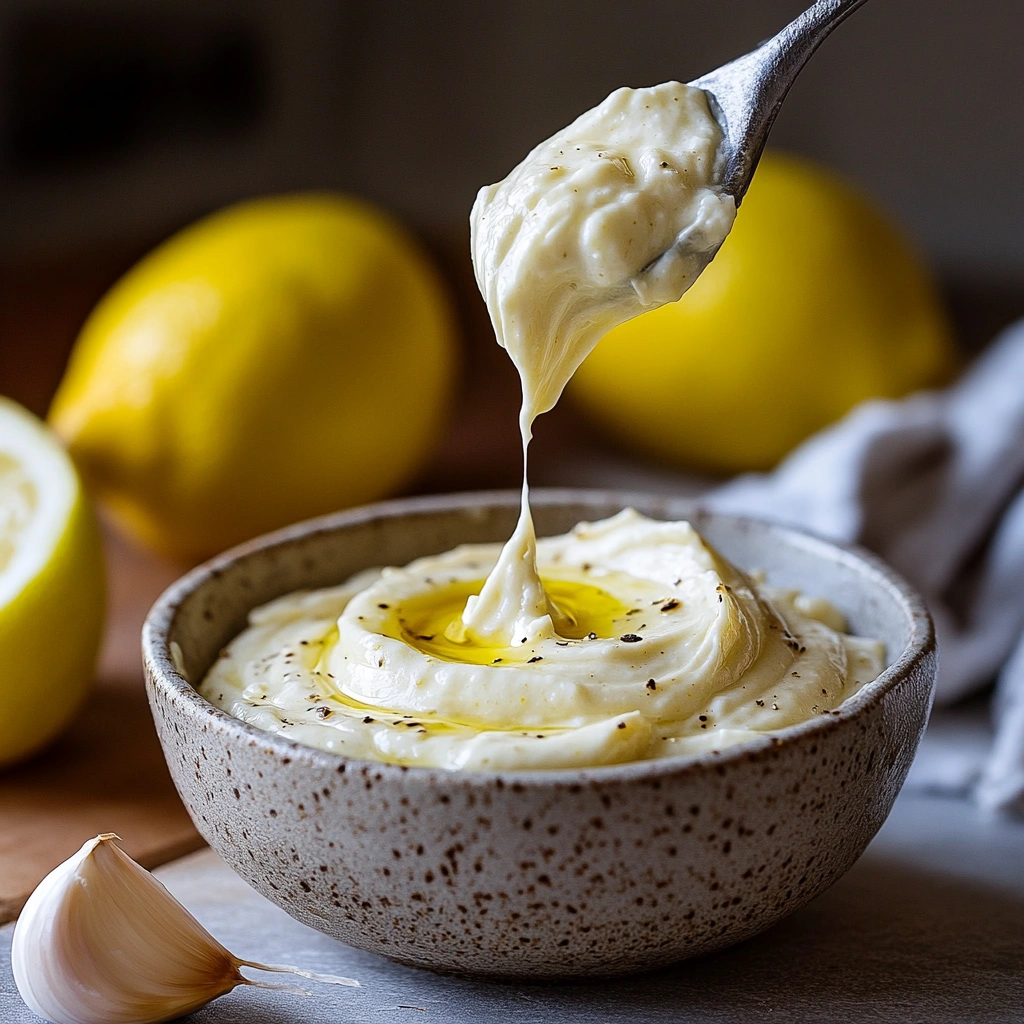
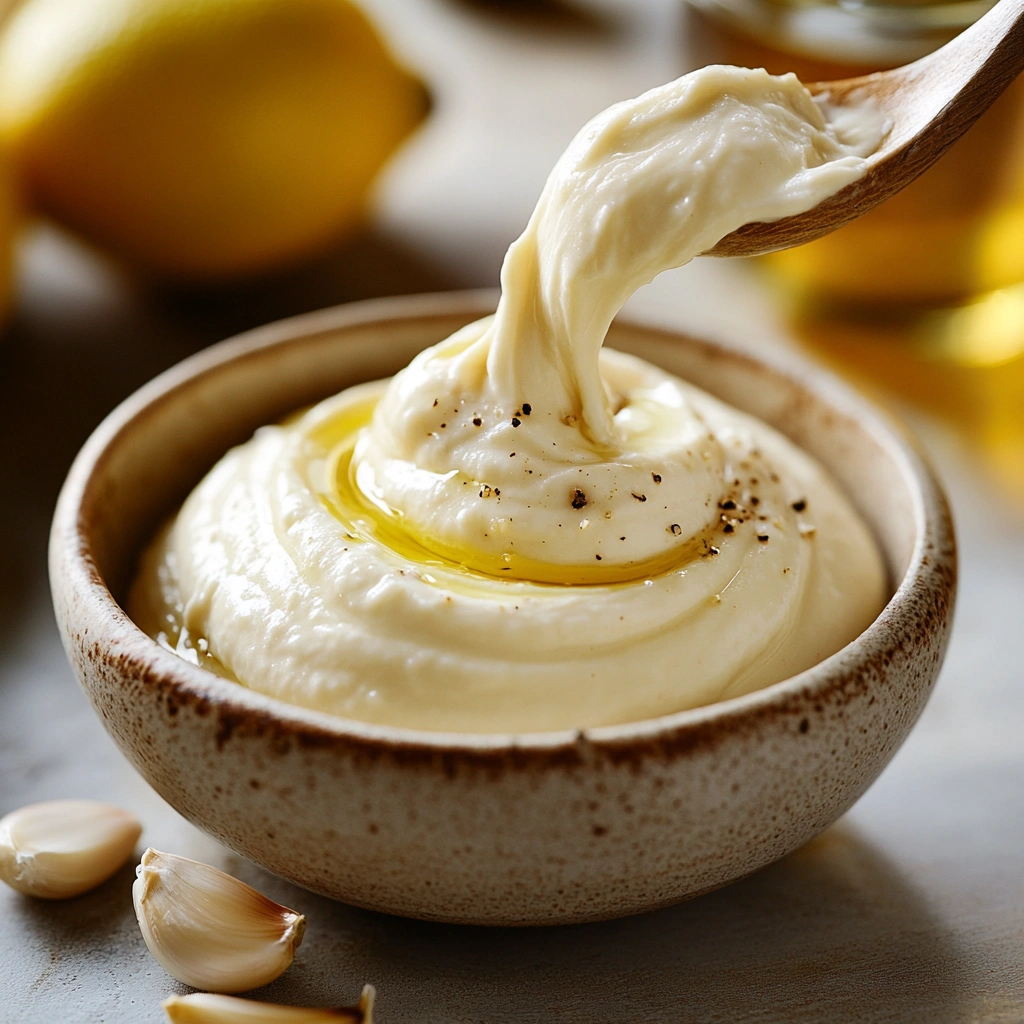
Garlic aioli is a rich, creamy, and intensely flavorful sauce that has become a favorite condiment in many kitchens around the world. Known for its bold garlic taste and velvety texture, this sauce is often used as a dip, spread, or accompaniment to various dishes, from crispy French fries to gourmet burgers and seafood. While it has gained widespread popularity in modern cuisine, garlic aioli has deep Mediterranean roots, where it was traditionally made by emulsifying garlic with olive oil.
At its core, traditional aioli consists of just garlic and olive oil, painstakingly blended together until a thick, creamy consistency is achieved. However, modern versions, especially in American and French cooking, often incorporate egg yolks, lemon juice, and sometimes mustard to create a more stable and mayonnaise-like texture. This adaptation makes it easier to prepare while maintaining its signature garlicky punch.
Garlic aioli stands out from regular mayonnaise due to its prominent garlic flavor and, in some variations, the use of high-quality olive oil rather than neutral vegetable oils. This distinction makes it a favorite among those who appreciate bold, robust flavors in their condiments.
One of the biggest appeals of garlic aioli is its versatility. It enhances the taste of simple dishes like roasted vegetables and grilled meats while also adding depth to gourmet creations like truffle aioli or spicy chipotle aioli. Whether you’re making a classic aioli from scratch or experimenting with different flavors, this creamy sauce is a must-have in any kitchen.
Origins and History of Aioli
Aioli, a rich and garlicky emulsion, has deep Mediterranean roots and has been a staple in regional cuisines for centuries. The word aioli comes from the Provençal words ail (garlic) and oli (oil), emphasizing its two primary ingredients. Traditionally, aioli was made by grinding fresh garlic with olive oil using a mortar and pestle, resulting in a thick, pungent sauce that was both flavorful and labor-intensive to prepare.
Traditional Mediterranean Aioli
Aioli’s origins can be traced back to ancient Mediterranean cultures, particularly in regions like Catalonia (Spain), Provence (France), and parts of Italy. In these areas, it was used as a simple yet flavorful accompaniment to seafood, grilled meats, and vegetables. Unlike modern versions that include egg yolks for stability, traditional aioli relied solely on the emulsification of garlic and olive oil, requiring skill and patience to achieve the right consistency.
In Spanish cuisine, aioli (often called alioli) is commonly served with patatas bravas (fried potatoes), grilled fish, or crusty bread. In Provence, France, aioli is an essential component of the famous dish Le Grand Aïoli, a meal featuring poached fish, boiled vegetables, and hard-boiled eggs, all served with a generous dollop of the garlicky sauce.
Evolution into Modern Aioli
Over time, aioli evolved as culinary techniques changed. The biggest transformation came with the introduction of egg yolks, which helped stabilize the emulsion and made the sauce easier to prepare. This adaptation led to the modern version of aioli, which closely resembles garlic-flavored mayonnaise. Today, many restaurants and home cooks use a shortcut by mixing minced garlic with store-bought mayonnaise, though purists argue this lacks the depth of flavor found in traditional aioli.
As aioli spread beyond the Mediterranean, variations emerged, including truffle aioli, spicy aioli, and herb-infused versions. Whether served as a dip, spread, or dressing, aioli remains a beloved condiment that continues to enhance dishes around the world.
In the next section, we’ll explore the key ingredients that give garlic aioli its signature flavor and texture.
Key Ingredients in Garlic Aioli
Garlic aioli is a simple yet flavorful sauce that relies on a few key ingredients to create its creamy texture and bold taste. Each component plays an important role in balancing flavors and achieving the perfect consistency. While traditional aioli consists only of garlic and olive oil, modern variations include additional ingredients to enhance its texture and stability.
1. Garlic – The Star Ingredient
Garlic is the defining flavor of aioli, giving it its signature pungency and depth. Depending on the preparation method, the garlic can be:
- Raw – Provides an intense, sharp flavor.
- Roasted – Offers a milder, slightly sweet taste.
- Minced, mashed, or grated – Helps distribute the flavor evenly in the sauce.
2. Olive Oil or Neutral Oil
Oil is essential for emulsifying and creating aioli’s smooth texture. The type of oil used can affect the final taste:
- Extra Virgin Olive Oil – Traditional and flavorful, but can be overpowering.
- Neutral Oils (Canola, Sunflower, or Avocado Oil) – Milder in taste, making the aioli less bitter.
- A Blend of Both – Some recipes mix olive oil with neutral oils for a balanced flavor.
3. Egg Yolks – For Creaminess & Stability
Though not part of the traditional recipe, egg yolks are commonly used in modern aioli to help stabilize the emulsion, making the sauce thicker and creamier. They also add richness and a smooth texture.
4. Lemon Juice or Vinegar – For Acidity
Acidity is crucial in aioli to balance the richness of the oil and egg yolks. It also helps with emulsification.
- Lemon Juice – Adds brightness and enhances flavor.
- Vinegar (White Wine or Apple Cider Vinegar) – Provides tanginess and helps preserve the sauce.
5. Salt – Enhancing the Flavor
A small amount of salt brings out the natural flavors of the garlic and oil, making the aioli taste well-rounded.
6. Optional Add-Ins for Variations
- Dijon Mustard – Aids emulsification and adds a subtle tang.
- Herbs (Parsley, Basil, or Dill) – For a fresh twist.
- Spices (Paprika, Cayenne, or Black Pepper) – Adds depth or heat to the aioli.
With these ingredients, you can create a perfectly balanced garlic aioli, whether sticking to tradition or experimenting with modern flavors. Next, we’ll explore the step-by-step process of making garlic aioli from scratch!
How to Make Garlic Aioli from Scratch
Making garlic aioli from scratch is easier than it seems, and the result is far superior to store-bought versions. Traditional aioli is made by emulsifying garlic and olive oil, but modern recipes incorporate egg yolks for a creamier texture. Below is a step-by-step guide to preparing a classic homemade garlic aioli.
Ingredients:
- 2–3 garlic cloves (minced or grated)
- 1 egg yolk (room temperature)
- 1 cup oil (olive oil or a blend of olive and neutral oil)
- 1 tablespoon lemon juice (or white wine vinegar)
- ½ teaspoon salt (adjust to taste)
- ½ teaspoon Dijon mustard (optional, for extra stability)
Step-by-Step Instructions:
1. Prepare the Garlic
- Peel and mince the garlic finely or crush it into a smooth paste using a mortar and pestle.
- For a milder flavor, roast the garlic before mashing it.
2. Combine Egg Yolk and Acid
- In a mixing bowl, whisk together the egg yolk and lemon juice (or vinegar).
- Add a pinch of salt and mustard (if using) to help with emulsification.
3. Slowly Add the Oil
- Begin whisking the egg mixture while very slowly drizzling in the oil.
- Start with a few drops at a time, ensuring the oil is fully incorporated before adding more.
- As the mixture thickens, continue adding oil in a thin, steady stream.
4. Finish and Adjust Seasoning
- Once all the oil is incorporated, stir in the garlic.
- Taste and adjust seasoning with more salt or lemon juice if needed.
- If the aioli is too thick, add a teaspoon of water to loosen it.
5. Store Properly
- Transfer to an airtight container and refrigerate for up to 4–5 days.
- Avoid leaving aioli at room temperature for extended periods due to the raw egg content.
Common Mistakes & Fixes:
- Aioli is too thin: Whisk in another egg yolk or refrigerate for 30 minutes to thicken.
- Aioli separates: Slowly whisk in a teaspoon of water or restart with a fresh yolk and gradually add the broken mixture.
- Too strong garlic flavor: Use roasted garlic or let the aioli sit overnight to mellow.
Variations of Garlic Aioli
Garlic aioli is highly versatile, and you can customize it to match different flavors and dishes. Below are some popular variations, each offering a unique twist on the classic recipe.
1. Classic Garlic Aioli
- The traditional Mediterranean version using garlic, olive oil, and egg yolk.
- Best for seafood, roasted vegetables, and grilled meats.
2. Roasted Garlic Aioli
- Uses roasted garlic instead of raw for a milder, slightly sweet taste.
- Pairs well with sandwiches, steak, and roasted potatoes.
How to Make It:
- Roast a whole garlic bulb at 375°F (190°C) for 30–40 minutes until soft.
- Mash the roasted garlic and mix it into the aioli base.
3. Spicy Aioli (Chipotle or Sriracha Aioli)
- Adds a spicy kick using chipotle peppers, cayenne, or Sriracha.
- Great for burgers, tacos, and fries.
How to Make It:
- Stir in 1 teaspoon of Sriracha or 1 minced chipotle pepper with adobo sauce.
- Adjust heat level based on preference.
4. Herb-Infused Aioli
- Includes fresh herbs like basil, parsley, dill, or cilantro for an herby freshness.
- Ideal as a dip for veggies or a dressing for salads.
How to Make It:
- Finely chop 2 tablespoons of fresh herbs and mix them into the aioli.
5. Lemon-Dill Aioli
- Bright and citrusy, perfect for seafood dishes.
- Works well as a dip for crab cakes or shrimp.
How to Make It:
- Add 1 teaspoon lemon zest and 1 tablespoon fresh dill to the aioli.
6. Truffle Aioli
- A luxurious version infused with truffle oil for a rich, earthy flavor.
- Pairs well with fries, steak, and gourmet sandwiches.
How to Make It:
- Replace 1 tablespoon of olive oil with truffle oil and mix well.
7. Vegan Aioli
- A plant-based alternative using aquafaba (chickpea water) or cashews instead of eggs.
How to Make It:
- Blend ¼ cup aquafaba with 1 cup oil, 1 minced garlic clove, and 1 tablespoon lemon juice.
- Alternatively, blend soaked cashews with garlic and lemon juice for a creamy texture.

Best Dishes to Serve with Garlic Aioli
Garlic aioli is a versatile condiment that enhances the flavor of a wide variety of dishes. Whether used as a dip, spread, or sauce, its creamy texture and bold garlic flavor make it a favorite in many cuisines. Here are some of the best dishes to serve with garlic aioli:
1. As a Dip
- French Fries & Sweet Potato Fries – The rich, garlicky aioli pairs perfectly with crispy fries, adding a gourmet touch.
- Onion Rings & Mozzarella Sticks – A delicious alternative to ketchup or marinara sauce.
- Grilled Vegetables – Dip roasted or grilled zucchini, bell peppers, and asparagus for extra flavor.
- Crudité Platter – Serve with raw veggies like carrots, celery, and cherry tomatoes for a fresh, flavorful snack.
2. As a Spread for Sandwiches & Burgers
- Gourmet Burgers – Use aioli instead of mayo for a bold, creamy twist.
- Chicken & Turkey Sandwiches – Enhances the flavor of grilled or roasted meats.
- Paninis & Wraps – Spread on bread or tortillas for extra creaminess.
3. With Seafood
- Grilled or Fried Fish – Complements dishes like fish tacos, grilled salmon, and fish & chips.
- Shrimp & Crab Cakes – A perfect dipping sauce for seafood appetizers.
- Lobster Rolls – Adds richness to the classic lobster roll filling.
4. With Grilled & Roasted Meats
- Steak & Chicken – A great alternative to traditional sauces like chimichurri.
- Lamb & Pork Chops – Balances the richness of red meat.
5. As a Salad Dressing or Drizzle
- Caesar Salad Alternative – Use aioli instead of dressing for a thicker texture.
- Drizzled on Grain Bowls – Works well with quinoa, rice, or roasted veggie bowls.
Storing and Shelf Life of Garlic Aioli
Proper storage is essential to maintain the freshness and safety of homemade garlic aioli. Since aioli contains raw egg yolks, it is highly perishable and requires careful handling.
1. How to Store Garlic Aioli
- Refrigeration is Key – Always store aioli in an airtight container in the fridge.
- Keep it Cold – Avoid leaving it at room temperature for more than 2 hours.
2. Shelf Life of Homemade Garlic Aioli
- Freshly Made Aioli: Lasts 3 to 5 days in the refrigerator.
- Store-Bought Aioli: Can last up to 2 weeks after opening, but check the label.
- Aioli with Roasted Garlic: Slightly longer shelf life, about 5-7 days, since roasted garlic has lower moisture content.
3. Signs of Spoilage
- Unpleasant Smell – A sour or rancid smell indicates spoilage.
- Separation or Curdling – If the texture changes drastically, it’s best to discard it.
- Off-Color – If it turns darker or has mold, throw it away immediately.
4. Can You Freeze Garlic Aioli?
- Freezing is not recommended because it causes separation and changes the texture.
- If you must freeze, blend it again after thawing, but the consistency may not be the same.
FAQs About Garlic Aioli
1. What is the difference between aioli and mayonnaise?
Aioli is traditionally made by emulsifying garlic and olive oil, while mayonnaise is an emulsion of egg yolk, neutral oil, and vinegar or lemon juice. Modern aioli often includes egg yolk, making it closer to mayonnaise but with a stronger garlic flavor.
2. Can I make garlic aioli without eggs?
Yes! A vegan aioli can be made using:
- Aquafaba (chickpea water) – Whipped with oil to mimic the creamy texture.
- Cashews – Blended with garlic, oil, and lemon juice.
- Silken Tofu – A low-fat alternative for a creamy consistency.
3. How do I fix aioli if it separates?
- Whisk in 1 teaspoon of water to help bring it back together.
- Start with a fresh egg yolk in a clean bowl, then slowly add the broken aioli while whisking.
4. Is garlic aioli healthy?
Garlic aioli is high in healthy fats from olive oil, but it is also calorie-dense. Using moderate portions and opting for heart-healthy oils can make it a healthier choice. Garlic also offers antioxidant and antimicrobial benefits.
5. What type of oil is best for making aioli?
- Extra Virgin Olive Oil – Traditional but can be overpowering.
- Neutral Oils (Canola, Avocado, Sunflower) – Create a milder aioli.
- Blend of Both – Best for balancing flavor and smooth texture.
6. Can I make garlic aioli in advance?
Yes! Aioli tastes even better after resting for a few hours as the flavors meld. Store it in an airtight container in the refrigerator for up to 5 days.
7. How do I make a lighter version of garlic aioli?
- Use Greek yogurt instead of oil for a lower-calorie option.
- Reduce oil and add more lemon juice to cut down on fat content.
8. Why does my garlic aioli taste too strong?
- Use roasted garlic instead of raw for a milder flavor.
- Let the aioli sit overnight—the garlic will mellow with time.
9. Can I make aioli without mustard?
Yes, but mustard helps stabilize the emulsion. If skipping it, whisk more slowly and carefully to prevent separation.
10. What’s the best way to roast garlic for aioli?
- Cut the top off a whole garlic bulb, drizzle with olive oil, and wrap in foil.
- Roast at 375°F (190°C) for 30–40 minutes until soft.
- Mash the roasted cloves and mix them into your aioli for a sweeter, milder flavor.

Garlic Aioli – The Creamy, Garlicky Sauce
Description
Garlic aioli is a rich, creamy, and garlicky sauce that originated in the Mediterranean. Traditionally made by emulsifying garlic and olive oil, modern versions often include egg yolks, lemon juice, and Dijon mustard for a smoother, more stable texture. This versatile condiment enhances a wide range of dishes, from crispy fries and sandwiches to seafood and grilled meats. With variations like roasted garlic aioli, spicy aioli, and truffle-infused aioli, it can be customized to suit any taste. Whether used as a dip, spread, or dressing, garlic aioli is a simple yet flavorful addition to any meal.
Ingredients
- ½ cup mayonnaise (use high-quality for best flavor)
- 1 large garlic clove, minced (or roasted for a milder flavor)
- 1 teaspoon lemon juice
- ½ teaspoon Dijon mustard
- Salt, to taste
Optional Add-Ins:
- 1 teaspoon olive oil (for extra richness)
- ¼ teaspoon smoked paprika (for depth)
- A pinch of cayenne (for heat)
Instructions
Step 1: Mix the Ingredients
In a small bowl, whisk together mayonnaise, minced garlic, lemon juice, Dijon mustard, and a pinch of salt. Stir until smooth and creamy.
Step 2: Taste & Adjust
Give it a taste—want it tangier? Add more lemon juice. Need a little heat? Sprinkle in some cayenne. Let it sit for 5–10 minutes to let the garlic flavor develop.
Step 3: Serve & Enjoy
Use immediately or refrigerate for up to a week. Serve with fries, burgers, seafood, or roasted veggies.
Notes
- Traditional vs. Modern Aioli: Classic aioli consists only of garlic and olive oil, while modern versions incorporate egg yolk for creaminess.
- Oil Matters: Extra virgin olive oil provides a bold flavor, while neutral oils like canola or avocado create a milder taste. A blend of both works well for balance.
- Garlic Strength: Raw garlic gives a strong punch, while roasted garlic provides a sweeter, more mellow taste.
- Emulsification Tip: Add oil slowly while whisking to prevent the aioli from separating.
- Storage: Homemade aioli lasts 3–5 days in the refrigerator but should never be left at room temperature for long periods due to the raw egg content.
- Customization: Easily adaptable with herbs, spices, or alternative ingredients like aquafaba for a vegan version.
- Pairing Suggestions: Ideal for dipping fries, spreading on sandwiches, drizzling over grilled meats, or serving with seafood.


