

A Deliciously British Classic with a Chocolatey Makeover
I’ll be honest—there’s something about a Victoria sponge that feels like home. It’s that quintessentially British cake that makes any table instantly feel more welcoming. But sometimes, you want to give a little wink to tradition… something that says, “Yes, I love the classics—but I also have a serious thing for chocolate.” That’s where this Chocolate Hazelnut Victoria Sponge Cake comes in.
Think of it as your favorite tea-time sponge, only dressed up with rich cocoa and a swirl of velvety hazelnut spread. It’s comforting, nostalgic, and just a little bit indulgent—kind of like slipping into your coziest sweater and realizing there’s chocolate waiting for you in the kitchen.
The first time I made this cake, I was trying to impress a friend who claimed she wasn’t “into chocolate desserts.” (I know, shocking.) By the end of the evening, there wasn’t a crumb left on her plate. That’s when I knew this recipe was a keeper.
So, grab your mixing bowls and let’s get started on this cozy chocolate-hazelnut creation. It’s easy, it’s gorgeous, and it’s bound to win over anyone who tastes it—yes, even the so-called non-chocolate lovers.
🍫 Ingredients You’ll Need
For the Sponge:
-
4 large eggs
-
200g unsalted butter, softened
-
200g caster sugar
-
170g self-raising flour
-
30g cocoa powder
-
1 tsp baking powder
-
50g ground hazelnuts (optional but adds that lovely nutty depth)
-
2 tbsp milk
For the Filling and Decoration:
-
150g chocolate hazelnut spread (like Nutella)
-
Icing sugar, for dusting (optional but pretty)
👩🍳 Let’s Bake It!
Step 1: Preheat and Prep
Start by preheating your oven to 180°C (fan 160°C). Grease and line two 20cm round cake tins with baking parchment. This recipe makes two perfect layers that will sandwich together beautifully later on.
Step 2: Cream the Butter and Sugar
In a large mixing bowl, beat together the butter and caster sugar until it’s pale, creamy, and fluffy. This is one of those steps that really matters—don’t rush it. The air you beat in here helps give that lovely light sponge texture.
Step 3: Add the Eggs
Crack in the eggs one at a time, beating well after each addition. If the mixture starts to look a bit curdled, don’t panic—that’s normal. It’ll smooth out once you add the dry ingredients.
🍫 Step 4: Combine the Dry Ingredients
In a separate bowl, sift together the self-raising flour, cocoa powder, and baking powder. This ensures there are no lumps and that everything is evenly mixed.
Gently fold the dry ingredients into the wet mixture using a spatula or large spoon. You don’t want to overmix—it should look smooth but still airy. Add in the ground hazelnuts if you’re using them. They add a lovely, subtle nutty flavor and make the sponge extra tender.
Finally, stir in the milk to loosen the batter just a little. The texture should be smooth and spreadable—not too thick, not too runny.
Step 5: Bake the Sponges
Divide the batter evenly between the prepared tins, smoothing out the tops so they bake evenly. Pop them into your preheated oven for 20–25 minutes, or until a skewer inserted into the center comes out clean.
When you pull them out, your kitchen will smell like a mix of chocolate, hazelnuts, and happiness. Trust me, it’s hard to resist cutting into them right away—but patience will reward you later.
Step 6: Cool Completely
Let the cakes cool in their tins for about 10 minutes before turning them out onto a wire rack. They need to be completely cool before you assemble; otherwise, the filling will melt and slide right out.
The Magic Happens – Assembling and Decorating Your Cake
Once your cakes are cool and your kitchen smells divine, it’s time for the best part—putting it all together.
Step 7: Spread That Hazelnut Goodness
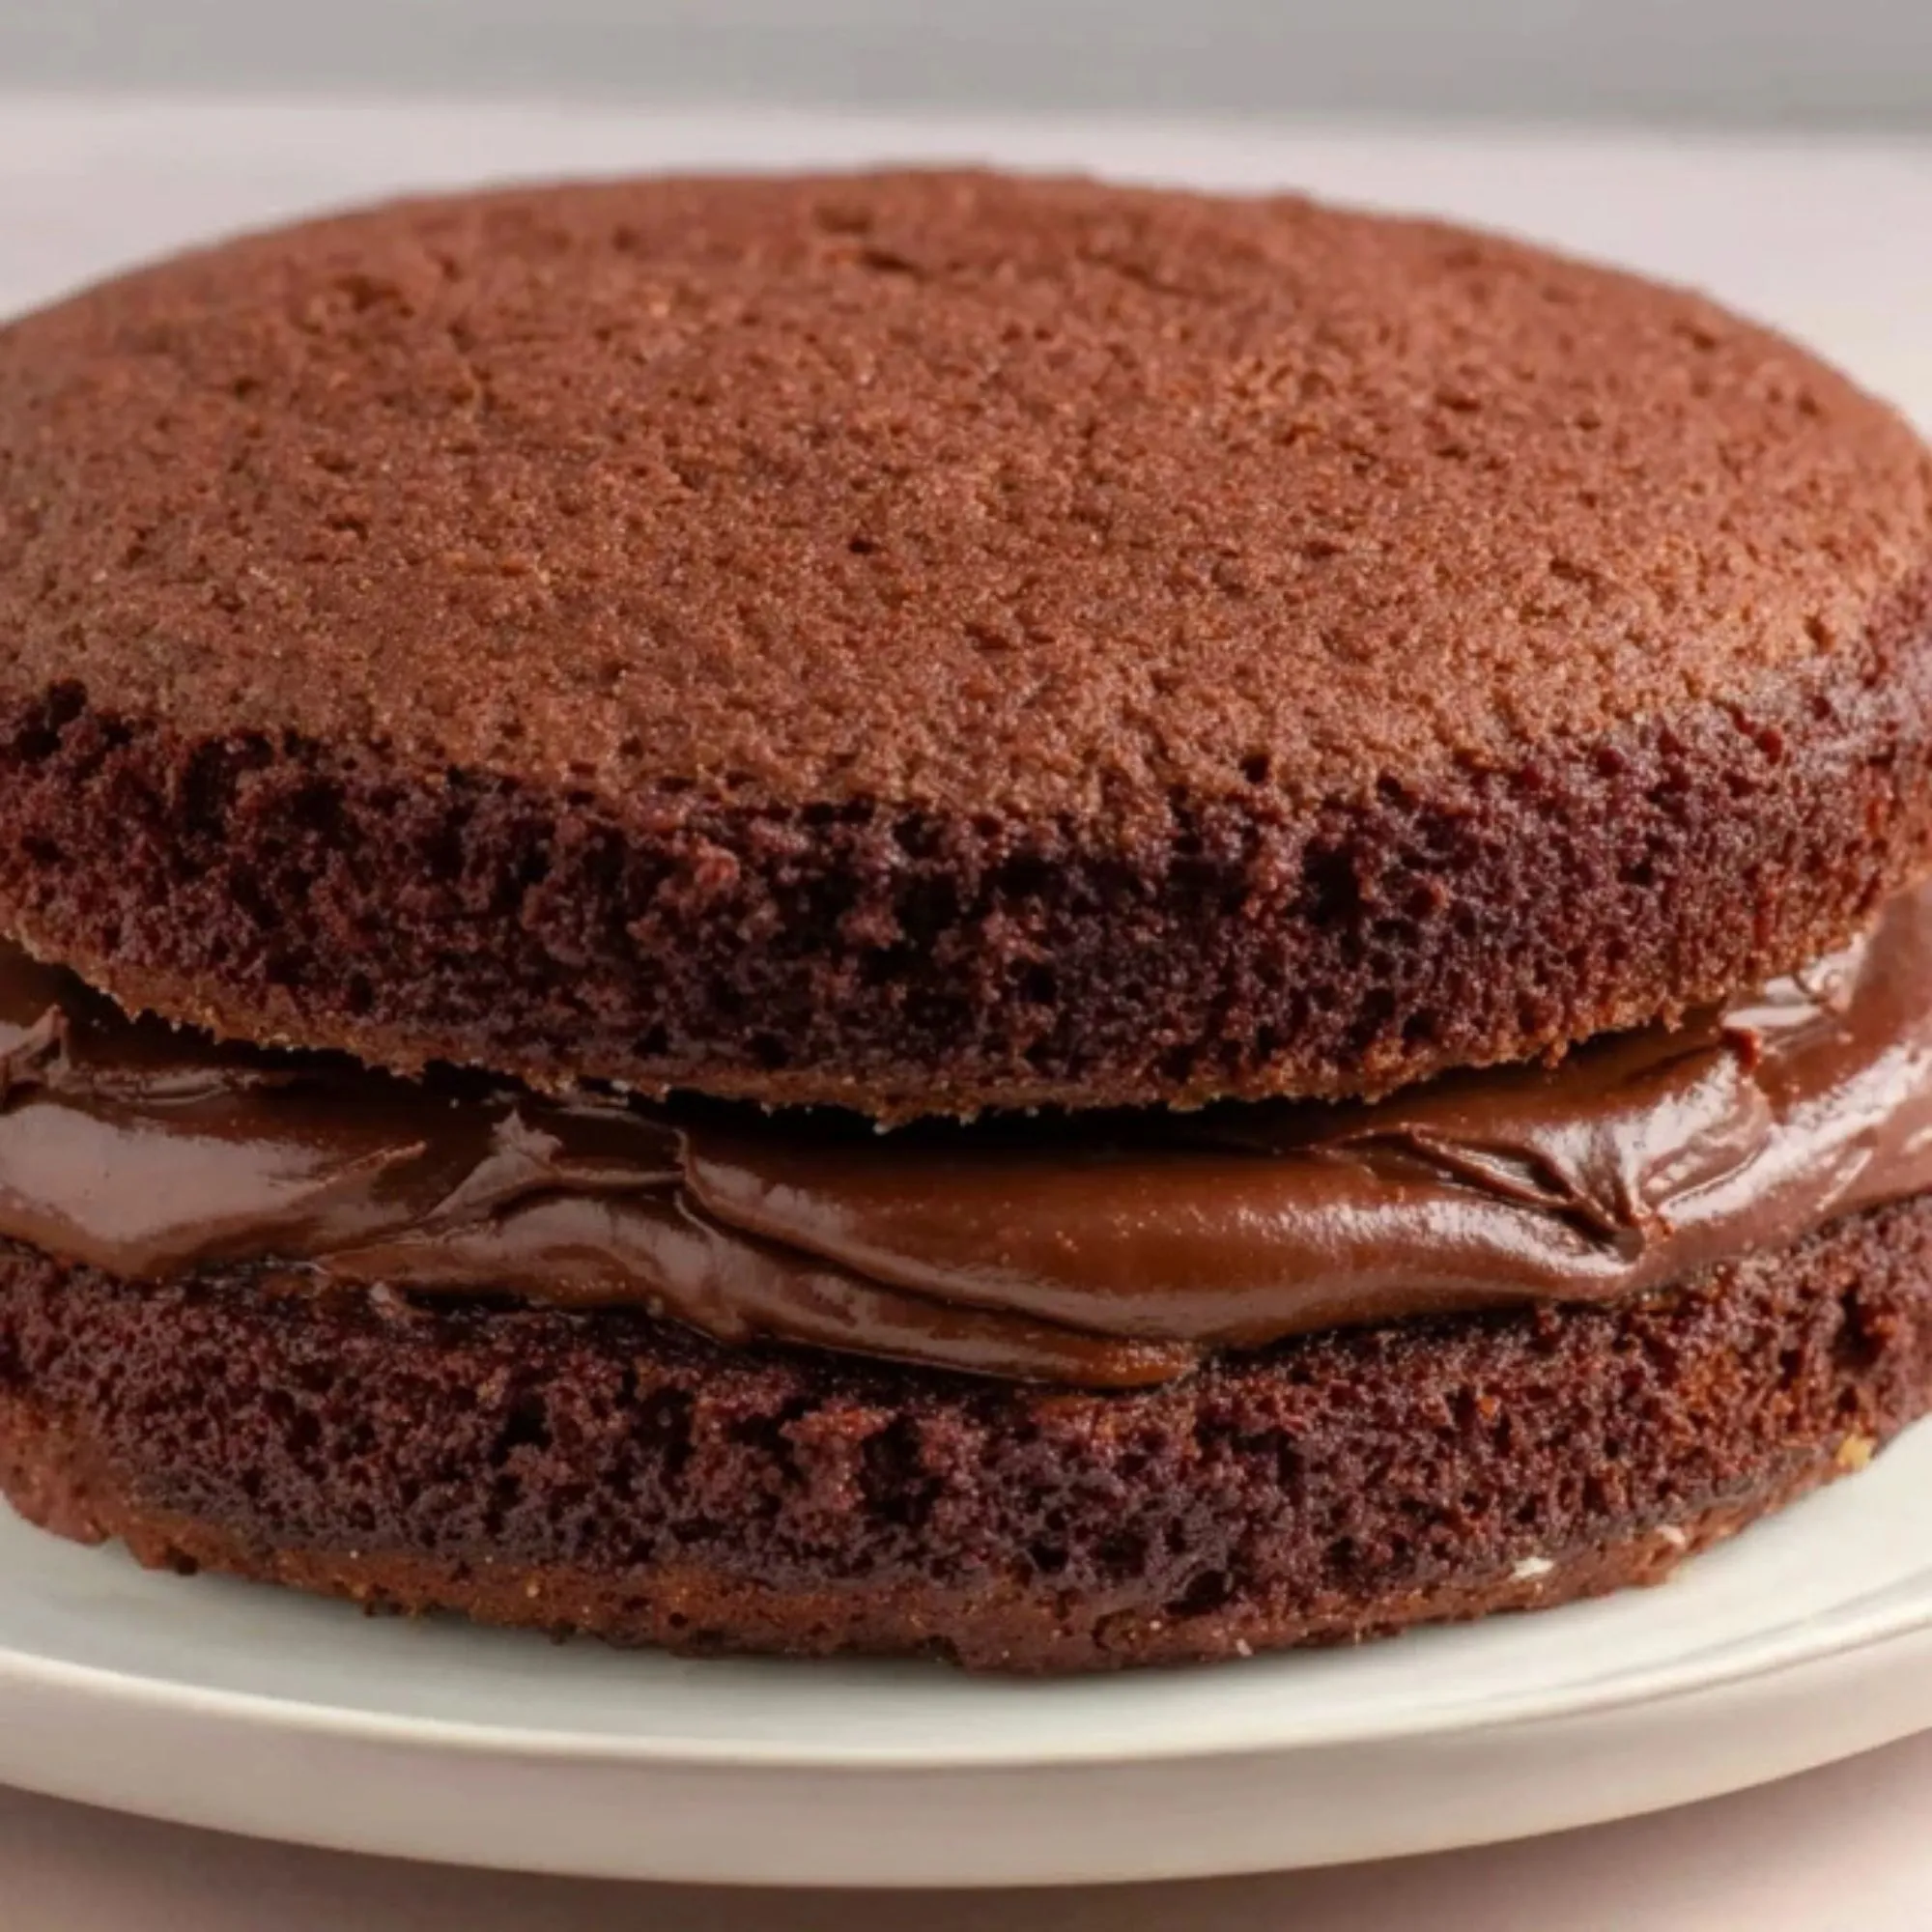
Take your first sponge and place it top-side down on a serving plate. This gives you a nice, flat surface for spreading. Using an offset spatula or the back of a spoon, generously spread 150g of chocolate hazelnut spread over the top. Don’t skimp here—this is where all the indulgence lives.
Place the second sponge gently on top, pressing just enough to hold them together but not so much that the filling oozes out.
Step 8: Dust and Admire
For that classic Victoria sponge look, dust the top with icing sugar. You can also drizzle a bit of melted chocolate over the top if you’re feeling fancy. Either way, it’ll look beautiful and taste incredible.
💡 Baker’s Tips & Variations
-
Add crunch: Sprinkle a handful of chopped roasted hazelnuts between the layers for extra texture.
-
Go creamier: Mix a spoonful of whipped cream or mascarpone with the hazelnut spread for a lighter filling.
-
Make it festive: Add a hint of orange zest to the batter—chocolate and orange together are pure magic.
-
For gluten-free bakers: Swap the self-raising flour for a good-quality gluten-free blend and add an extra ½ teaspoon of baking powder.
And there you have it—a decadent, rich, and incredibly easy Chocolate Hazelnut Victoria Sponge that looks like it came straight from a bakery window.
This cake is perfect for birthdays, Sunday gatherings, or just when you need a slice of something special with your afternoon tea.
FAQ
1. Can I make this cake in advance?
Absolutely! You can bake the sponges a day ahead. Just wrap them tightly in plastic wrap once cooled and store at room temperature. Assemble just before serving for the freshest taste.
2. How should I store leftovers?
Keep the assembled cake covered in an airtight container at room temperature for up to 2 days, or in the fridge for up to 4. Let it come to room temperature before serving for the best texture.
3. Can I freeze the sponges?
Yes! Wrap the cooled layers in cling film and freeze for up to 3 months. Defrost them completely before assembling.
4. What can I use instead of Nutella?
Any chocolate-hazelnut spread works. Or, for a twist, try a chocolate almond or pistachio spread—equally delicious!
5. My sponges turned out dense—what went wrong?
Dense cakes usually happen from overmixing the batter or not creaming the butter and sugar long enough. Beat that butter until it’s truly pale and fluffy before adding eggs.
6. Can I make it as cupcakes instead?
Definitely! Divide the batter into cupcake liners and bake for 15–18 minutes. Spread a dollop of hazelnut spread on top once cool.
7. What’s the best way to serve it?
This cake is lovely with a strong cup of English breakfast tea or coffee. It’s also heavenly with a scoop of vanilla ice cream.
Conclusion: A Slice of Chocolatey Bliss
There’s something truly special about this Chocolate Hazelnut Victoria Sponge Cake—it’s the perfect blend of comfort and indulgence. It nods to the timeless British classic we all know and love, while giving it that modern, chocolate-filled twist we crave.
Whether you’re baking it for a celebration or a quiet Sunday afternoon treat, this cake delivers every time: moist sponge, rich flavor, and that irresistible nutty sweetness in every bite.
So go ahead—tie on your apron, preheat that oven, and treat yourself (and your lucky guests) to this irresistible creation. And if you do bake it, let me know how it turns out! There’s always room for another slice and another story in the kitchen.


")