

Crispy baked chicken wings have become a go-to favorite for home cooks and party hosts alike. They deliver the irresistible crunch of deep-fried wings without the mess or extra calories that come with frying. Whether you’re watching the game, hosting friends, or simply craving comfort food, baked wings satisfy every time. Their golden-brown skin, juicy interior, and ability to pair with endless sauces and seasonings make them incredibly versatile. Unlike fried versions, baked wings are less greasy and easier to prepare in large batches, making them ideal for any occasion. Plus, you can enjoy all the flavor without the guilt of heavy oils. This guide will show you how to get that crispy texture straight from your oven using smart techniques and pantry-friendly ingredients. If you’re ready to master one of the most crowd-pleasing appetizers out there, read on and discover how to make crispy baked chicken wings that everyone will love.
What Makes Chicken Wings Crispy in the Oven?
The secret to crispy chicken wings in the oven comes down to three key elements: dry skin, high heat, and the right coating. First, moisture is the enemy of crispiness. Patting the wings completely dry ensures the skin can render and brown properly. Second, baking at a high temperature—typically around 425°F or higher—helps the fat under the skin melt away, leaving behind a crisp surface. Using a wire rack also allows air to circulate around the wings for even cooking. Finally, a light dusting of baking powder—not baking soda—is a game-changing addition. Baking powder helps draw out additional moisture and raises the pH level of the skin, promoting browning and that signature crunch. Together, these methods mimic the crispiness of deep-frying without any oil splatter. With the right prep and baking strategy, your oven can turn out wings that are just as crispy and flavorful as any fried version.
Ingredients Needed for Perfect Crispy Wings
Creating perfectly crispy baked chicken wings starts with just a handful of simple ingredients. Here’s what you’ll need:
-
Chicken wings: Fresh or thoroughly thawed, with tips removed and wings separated into flats and drumettes.
-
Baking powder: This is key for crispiness—make sure it’s aluminum-free and not baking soda.
-
Kosher salt: Enhances flavor and helps draw out moisture.
-
Black pepper: For subtle heat and depth.
-
Garlic powder & paprika: Adds aroma and a hint of smoky flavor.
-
Optional spices: Cayenne pepper for heat, lemon pepper for zest, or dried herbs for added complexity.
Choosing good-quality wings with skin intact is crucial, as the skin is what crisps up during baking. Keeping the ingredients simple allows the natural flavor and texture of the chicken to shine, while still giving you room to customize later with sauces or dry rubs.
Prep Like a Pro: Cleaning, Drying & Seasoning
Proper preparation is essential for achieving crispy baked chicken wings. Begin by thoroughly drying the wings with paper towels. This step is often skipped, but it’s critical—removing surface moisture ensures that the skin can crisp up in the oven. If you have time, let the wings rest uncovered in the refrigerator for a few hours or overnight to air-dry even more.
Next, transfer the dried wings to a large bowl or resealable bag. Sprinkle them with aluminum-free baking powder, not baking soda, and season with kosher salt, black pepper, garlic powder, and paprika. Use about 1 tablespoon of baking powder for every 2 pounds of wings. Toss well to evenly coat each piece.
At this stage, you can let the wings sit at room temperature for 15–30 minutes. This allows the seasoning to penetrate and the baking powder to start breaking down the skin for optimal crisping. If you’re planning ahead, marinating or dry-brining the wings in the fridge overnight can boost both texture and flavor. A well-prepped wing is the foundation of that golden, crunchy bite everyone craves.
Best Baking Method for Crispy Wings
Getting the baking technique right is just as important as the ingredients. Start by preheating your oven to 425°F. Place a wire rack on top of a rimmed baking sheet and lightly grease it with oil or cooking spray. The rack elevates the wings so hot air can circulate around them, resulting in even cooking and maximum crisp.
Arrange the wings in a single layer on the rack, leaving space between each piece. Overcrowding will cause the wings to steam rather than bake. Bake the wings on the middle oven rack for 20 minutes, then flip them using tongs and bake for another 20–25 minutes until golden and crisp. For extra crunch, move the wings to the top rack during the final 5 minutes or broil briefly while keeping a close eye to avoid burning.
Oven performance can vary, so check doneness with a meat thermometer—internal temperature should reach 165°F. Once done, let the wings rest for a few minutes before serving. This method guarantees a crispy exterior with juicy, flavorful meat inside, all without a single drop of frying oil.

Classic Recipe: Crispy Baked Chicken Wings (Step-by-Step)
Here’s a foolproof recipe to make crispy baked chicken wings that rival any takeout. Follow these steps for consistently crunchy results.
Ingredients:
-
2 lbs chicken wings, separated and patted dry
-
1 tbsp aluminum-free baking powder
-
1 tsp kosher salt
-
½ tsp black pepper
-
1 tsp garlic powder
-
1 tsp smoked paprika
-
Optional: ½ tsp cayenne pepper for heat
Instructions:
-
Prep the Wings
Preheat your oven to 425°F (220°C). Line a rimmed baking sheet with foil and place a wire rack on top. Lightly grease the rack. Pat the wings completely dry using paper towels. -
Season
In a large bowl, combine the baking powder, salt, pepper, garlic powder, paprika, and cayenne (if using). Add the wings and toss to coat evenly. Make sure each wing is covered in the seasoning mix. -
Arrange
Place the wings in a single layer on the prepared rack, making sure they’re not touching to allow even air flow. -
Bake
Bake for 20 minutes, then flip each wing and continue baking for another 20–25 minutes, or until the skin is golden brown and crispy. For extra crispiness, move the tray to the top rack for the final 5 minutes or broil briefly. -
Serve
Let the wings rest for 5 minutes before serving. Toss in your favorite sauce or enjoy them plain with dips on the side.
This recipe yields flavorful, crispy wings that are juicy on the inside and perfect for any occasion.
Flavor Variations & Sauce Ideas
While classic baked wings are delicious on their own, adding flavor through sauces and rubs takes them to the next level. Here are some popular and creative options to try:
1. Buffalo Sauce
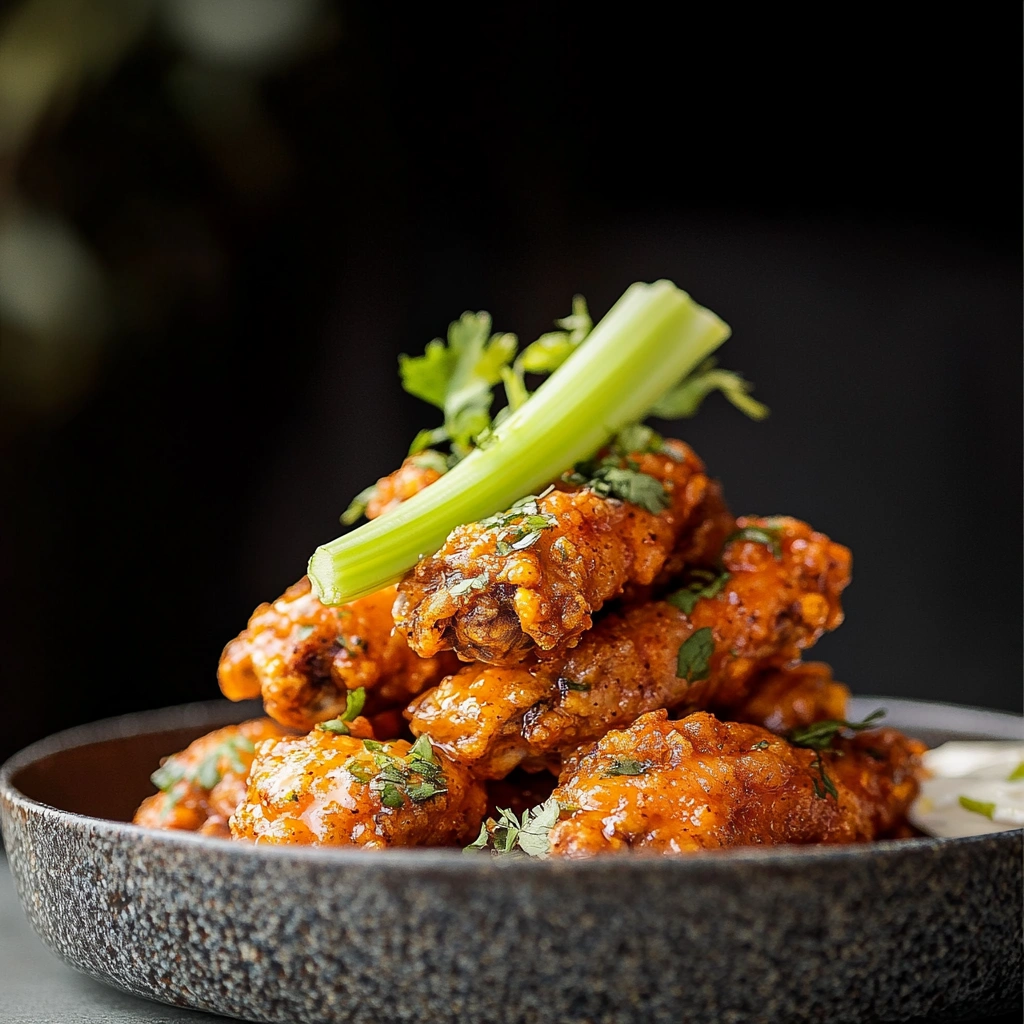
A mixture of hot sauce, melted butter, and a splash of vinegar creates that iconic tangy heat. Toss freshly baked wings in warm Buffalo sauce just before serving.
2. Garlic Parmesan
Combine melted butter, minced garlic, and grated Parmesan cheese. Add a pinch of Italian seasoning for extra depth. Toss wings in this mixture while still hot.
3. Honey BBQ
Mix equal parts honey and BBQ sauce for a sticky, sweet glaze. Bake for 5 extra minutes after saucing for caramelization.
4. Lemon Pepper
Toss wings in melted butter and lemon pepper seasoning after baking for a bright, zesty flavor.
5. Korean Gochujang Glaze
For something bold, mix gochujang, soy sauce, rice vinegar, garlic, and a bit of honey. Heat gently and coat wings after baking.
6. Dry Rub Options
Try combinations like Cajun seasoning, jerk spice, or five-spice powder. Apply the rub before baking for a crispy, flavorful crust.
Tips for Saucing:
Always sauce wings after baking to maintain crispiness. For thick sauces, warm them slightly before tossing to ensure even coating. Whether sweet, spicy, or savory, the right sauce turns your crispy wings into something unforgettable.
Serving Suggestions & Side Dishes
Crispy baked chicken wings are versatile and can be served in countless ways. Here are some classic and creative serving ideas to complete the meal:
1. Dips
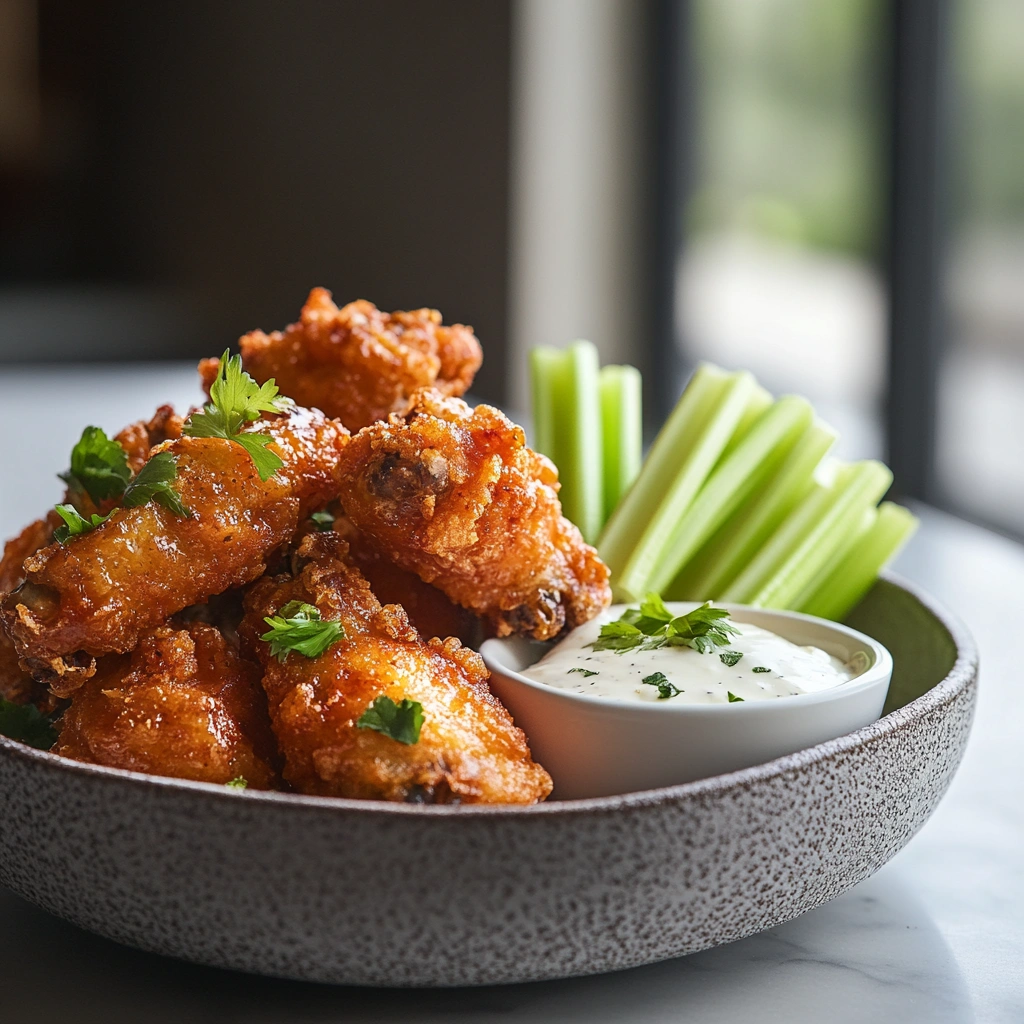
Serve wings with cooling dips like ranch or blue cheese dressing. Spicy mayo or sriracha aioli adds a modern twist.
2. Vegetables
Balance the richness of the wings with crisp celery and carrot sticks. Cucumber spears or bell pepper slices also work well.
3. Game Day Platters
Pair with nachos, sliders, or soft pretzels for a crowd-pleasing spread. Arrange wings on a large tray with assorted sauces for easy sharing.
4. Full Meal
Serve alongside side dishes like mac and cheese, roasted potatoes, or cornbread for a more substantial dinner.
5. Fresh Salads
Lighten things up with a side salad. A tangy coleslaw or arugula salad with vinaigrette complements the rich wings.
No matter the occasion, crispy wings shine as both an appetizer and the main attraction.
Common Mistakes to Avoid
Even experienced cooks can run into issues with baked wings. Avoid these common mistakes to get perfect results every time:
1. Not Drying the Wings
Moisture is the enemy of crispiness. Always pat wings dry before seasoning. Better yet, let them air-dry in the fridge for a few hours.
2. Using Baking Soda Instead of Baking Powder
Baking soda gives an off taste and doesn’t crisp skin the same way. Make sure you’re using aluminum-free baking powder.
3. Overcrowding the Baking Sheet
Crowded wings will steam instead of bake. Always leave space between pieces and use a wire rack to let air circulate.
4. Baking at Too Low a Temperature
Low heat won’t render the fat effectively. Stick to 425°F or even 450°F for best results.
5. Adding Sauce Too Early
Sauce should be added after baking to preserve the crispy skin. Adding it before will lead to soggy results.
Correcting these simple errors can make the difference between soggy and perfectly crispy wings.
Storage & Reheating Tips
Leftover wings store well, but keeping them crispy requires the right technique.
Refrigeration
Let wings cool completely before storing in an airtight container. Keep in the refrigerator for up to 4 days.
Freezing
For longer storage, freeze wings on a baking sheet until solid, then transfer to a freezer-safe bag. They’ll keep for up to 2 months.
Reheating
Avoid the microwave—it softens the skin. Instead, reheat wings in a 375°F oven for 10–15 minutes or in an air fryer at 350°F for 5–8 minutes. This restores the crisp without drying out the meat.
With the right method, baked wings taste just as good the next day.
FAQs About Crispy Baked Chicken Wings
Q1: How do you keep chicken wings crispy after baking?
Let them rest on a wire rack, not a plate, to avoid trapping steam. Reheat in the oven or air fryer to revive crispiness.
Q2: What makes chicken skin crispy in the oven?
Drying the skin, using baking powder, and baking at a high temperature all contribute to crisp skin.
Q3: Can I bake frozen wings directly?
You can, but results are less consistent. It’s best to thaw wings completely for even cooking and better texture.
Q4: Are baked wings healthier than fried wings?
Yes. Baked wings use significantly less oil and have fewer calories and fat compared to deep-fried versions.
Q5: Do you put sauce on wings before or after baking?
Always sauce after baking. This keeps the skin crispy and prevents it from getting soggy during cooking.
These common questions help ensure success for beginners and seasoned cooks alike.
Conclusion: Master the Crispy Baked Chicken Wing Game
Crispy baked chicken wings are proof that you don’t need a deep fryer to enjoy perfectly crunchy, flavorful wings at home. With a few smart techniques—like drying the wings, using baking powder, and baking at high heat—you can achieve restaurant-quality results right from your oven. Whether you stick to classic Buffalo or explore bold new flavors, the possibilities are endless. Best of all, these wings are healthier, easier to make, and perfect for any occasion. Now that you’ve got the tools and the know-how, it’s time to preheat that oven and get cooking.
Print
Crispy Baked Chicken Wings
Description
These crispy baked chicken wings are the ultimate crowd-pleaser—golden brown, crunchy on the outside, and juicy on the inside, all without deep frying. Perfect for game day, family dinners, or any casual gathering, this healthier method uses baking powder and high heat to deliver a satisfyingly crisp texture. Toss them in your favorite sauce or enjoy them seasoned and straight from the oven. Easy to prepare, minimal mess, and incredibly versatile, this recipe is a must-have in your weeknight rotation.
Ingredients
- 4 pounds chicken wings , halved at joints, wingtips discarded
- 2 Tablespoons baking powder* , aluminum free
- 3/4 teaspoon salt
- 1/2 teaspoon cracker black pepper
- 1 teaspoon paprika
- 1 teaspoon garlic powder
- 1/3 cup Frank’s Wings Hot Sauce
- 1 1/2 cups light brown sugar
- 1 Tablespoon water
Instructions
-
Adjust your oven rack to the upper-middle position. Preheat oven to 425 degrees F.
-
Line a baking sheet with aluminum foil and place a wire rack (I use a cooling rack) on top. Spray the rack with non-stick spray.
-
Use paper towels to pat the wings dry and place them in a large bowl. It’s important to dry them REALLY well!
-
Combine the salt, pepper, garlic powder, paprika, and baking powder in a small bowl. Then sprinkle the seasoning over the wings, tossing to evenly coat.
-
Arrange wings, skin side up, in single layer on prepared wire rack.
-
Bake on the upper middle oven rack, turning every 20 minutes until wings are crispy and browned. The total cook time will depend on the size of the wings but may take up to 1 hour.
-
Remove from oven and let stand for 5 minutes. Transfer wings to bowl and toss with sauce.
For Buffalo sauce:
-
In a medium saucepan over medium heat stir together all sauce ingredients. Mix well until sugar has dissolved.
-
Remove from heat and allow to cool to room temperature before adding to wings (or prepare the sauce ahead of time and refrigerate).
Notes
-
Dry thoroughly: For the crispiest wings, make sure to pat them dry with paper towels. You can also refrigerate them uncovered for a few hours to remove even more moisture.
-
Don’t skip the rack: Baking the wings on a wire rack ensures air circulates evenly around each piece, helping them crisp up perfectly.
-
Use baking powder, not baking soda: This is key. Baking powder raises the pH level of the chicken skin, enhancing browning and texture.
-
Flavor options: These wings are a blank canvas—try lemon pepper, garlic parmesan, Buffalo, honey BBQ, or Korean-style sauces after baking.
-
Storage: Store leftovers in an airtight container in the fridge for up to 4 days. Reheat in the oven or air fryer to bring back the crisp.
-
Make ahead: Season the wings a day in advance and refrigerate to save time and deepen flavor.


")