

A Sweet Slice of British Nostalgia
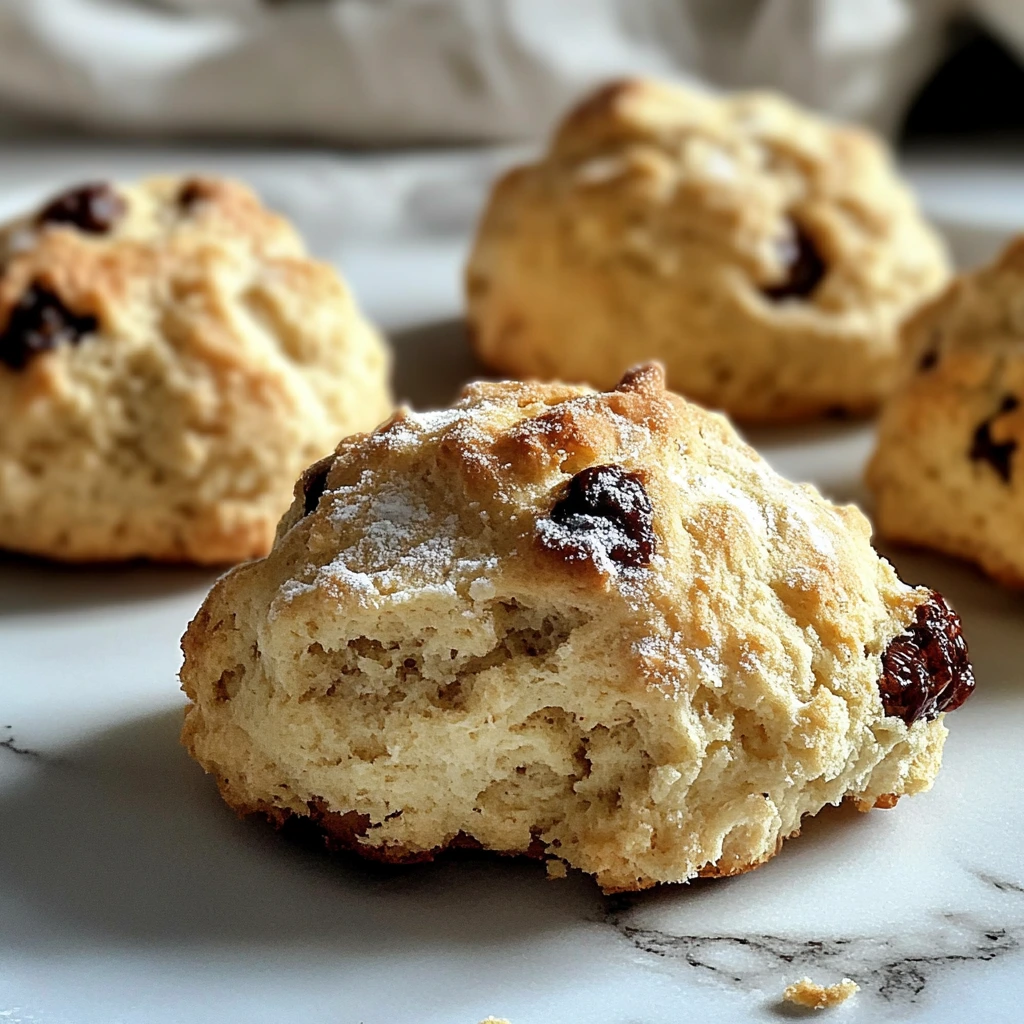
If you grew up in a British home — or even if you’ve just spent a rainy afternoon in a cozy tearoom — chances are you’ve had the pleasure of biting into a classic rock bun. These little golden mounds are crisp on the outside, soft and fluffy on the inside, and speckled with sweet, chewy fruit. Just the smell of them baking is enough to transport you straight back to childhood teatimes and handwritten recipe cards.
Honestly, rock buns are one of those bakes I turn to when I want something simple, nostalgic, and soul-warming. No stand mixer. No chilling dough. Just a bowl, a fork, and a few pantry staples. I’ve made these countless times with my kids (and okay, a few solo batches when I needed a quiet moment and something sweet with my cuppa).
And while I love a good modern twist (hello, chocolate chips and orange zest), there’s just something magical about the original — that perfect, buttery crumble paired with pops of dried fruit and a generous sugar crust on top. Let’s jump in and get baking!
Ingredients You’ll Need
Here’s everything you need to whip up a batch of these teatime treasures:
-
225g self-raising flour
-
100g unsalted butter, chilled and cubed
-
75g caster sugar
-
100g mixed dried fruit (think sultanas, currants, glacé cherries)
-
1 medium egg, beaten
-
2 tbsp whole milk
-
½ tsp mixed spice (optional, but totally worth it)
-
1 tsp lemon zest (optional, for a citrusy kick)
-
Demerara sugar, for sprinkling on top
This recipe makes about 8–10 buns, depending on how big your scoops are. Each one clocks in at roughly 220 calories — which, in my opinion, is just right for an afternoon pick-me-up.
Step-by-Step: Let’s Get Baking
1. Preheat and Prep
Start by preheating your oven to 200°C (fan). Line a baking tray with parchment paper — nothing fancy needed here, just a single layer will do.
2. Rub in the Butter
In a large mixing bowl, add your self-raising flour and cold, cubed butter. Now comes the fun (and slightly messy) part: rub the butter into the flour with your fingertips until it looks like fine breadcrumbs. Don’t overthink it — if a few small lumps of butter are left, they’ll melt into the dough and make it deliciously crumbly.
Tip: The colder the butter, the better. If it starts to soften too quickly, pop the bowl in the fridge for a few minutes.
3. Add the Dry Ingredients
Once your mixture is breadcrumb-like, stir in the caster sugar, mixed dried fruit, mixed spice, and lemon zest if you’re using it. The lemon zest is optional, but I love the brightness it brings to the rich fruitiness.
Coming up next in Part 2: We’ll bring the dough together, shape our rustic little buns, and bake them to golden perfection. Plus, I’ll share a few fun twists and tips you can try if you’re feeling creative! Keep reading…

Bringing It All Together + Tips for the Best Rock Buns
So we’ve rubbed the butter into the flour, stirred in all the sweet bits, and the kitchen already smells a bit like Sunday afternoons. Now comes the part where it all comes together — and trust me, it’s easier than you think. These aren’t fancy bakery buns. They’re rustic, a little rough around the edges, and that’s exactly how we like them.
4. Make the Dough
Next, make a little well in the center of your dry mixture and pour in your beaten egg and 2 tablespoons of whole milk. Use a fork to gently mix everything together. The dough should start to clump — you’re aiming for a stiff, crumbly texture, not a wet, sticky one.
Don’t be tempted to add more liquid. It’s not bread dough — you’re not kneading or shaping it smoothly. That rough, uneven look is what gives rock buns their name!
5. Shape Your Rock Buns
Now for the fun part: use two spoons (or clean hands if you don’t mind getting messy) to drop heaped spoonfuls of the dough onto your prepared tray. Leave a bit of space between each bun. They won’t spread out like cookies, but they do puff up slightly.
You should get around 8 to 10 buns depending on how generous you are with your scoops.
6. Sprinkle and Bake
Sprinkle each bun with a generous pinch of demerara sugar. This gives them that gorgeous golden crunch on top — absolutely essential, in my opinion.
Pop the tray into your preheated oven and bake for 15–20 minutes, or until the buns are lightly golden and feel firm to the touch. They should look a little cracked and rustic, just like they should.
Let them cool on a wire rack, though I won’t blame you if one (or two) get eaten warm straight from the tray. They’re heavenly that way.
Tips and Twists
These buns are charmingly simple, but you can definitely have fun with them. Here are a few ways to switch things up:
-
Fruit Swaps: No currants? Try chopped apricots, raisins, dried cranberries, or even dates.
-
Go Citrus: Add orange zest instead of lemon for a warmer, festive twist.
-
Chocolate Lovers: Mix in a handful of dark chocolate chips for a modern upgrade (kids love this version).
-
Spice it Up: A pinch of cinnamon or nutmeg alongside the mixed spice gives a deeper flavor.
-
Dairy-Free: Sub in plant-based butter and milk — it works beautifully!
And the best part? These buns are best eaten the same day, so they’re perfect for spontaneous baking. But if you do have leftovers, just warm them for a few seconds in the microwave to bring them back to life.
Next Up: FAQs + Final Thoughts →
You’ve got the recipe — now let’s tackle your questions and wrap things up with a cozy conclusion!
FAQ + Final Thoughts
Frequently Asked Questions
1. Can I freeze rock buns?
Yes! Let them cool completely, then freeze in a zip-top bag. Defrost at room temperature and refresh in a warm oven for 5–7 minutes.
2. Why are they called rock buns?
It’s all about the texture and look — their rustic, craggy tops resemble little rocks! But don’t worry, they’re soft and tender on the inside.
3. Can I use plain flour instead of self-raising?
Absolutely. Just add 2 tsp of baking powder to your plain flour to mimic self-raising flour.
4. My dough seems too dry. Should I add more milk?
Not necessarily. Rock bun dough is supposed to be stiff and crumbly. Only add a splash more milk if it won’t hold together at all.
5. How do I store leftovers?
Keep them in an airtight container at room temperature for 1–2 days. They’re best eaten fresh, but microwaving for 10 seconds helps revive them!
6. Can I make them gluten-free?
Yes — use a gluten-free self-raising flour blend, and make sure all other ingredients (especially the dried fruit) are certified gluten-free.
7. What’s the best way to serve rock buns?
Warm, with a cup of tea. Some folks like to split them and add a little butter, but they’re lovely as-is too!
Final Thoughts
There’s something so comforting about these humble little buns. They don’t shout for attention. They don’t need fancy toppings or frosting. But every bite delivers that buttery, fruity warmth we all crave from time to time.
Whether you’re baking them for a family teatime, a nostalgic weekend treat, or just because your cupboard happens to have all the right bits — classic rock buns always hit the spot.
I’d love to know if you give this recipe a go! Leave a comment, share your own fruity twists, or tag me if you snap a photo. Happy baking!
Print
Classic Rock Buns Recipe: Easy, Fruity, and Perfect with Tea!
- Total Time: 35 minutes
Description
This easy classic rock buns recipe is a nostalgic British bake, filled with dried fruit and topped with sugar — perfect for teatime and ready in 35 minutes!
Ingredients
-
225g self-raising flour
-
100g unsalted butter, chilled and cubed
-
75g caster sugar
-
100g mixed dried fruit (sultanas, currants, glacé cherries)
-
1 medium egg, beaten
-
2 tbsp whole milk
-
½ tsp mixed spice (optional)
-
1 tsp lemon zest (optional)
-
Demerara sugar, for sprinkling
Instructions
-
Preheat oven to 200°C (fan) and line a baking tray with parchment paper.
-
Rub cold butter into flour with fingertips until mixture resembles breadcrumbs.
-
Stir in sugar, dried fruit, mixed spice, and lemon zest (if using).
-
Make a well in the center and add egg and milk. Mix with a fork to a stiff dough.
-
Drop heaped spoonfuls of dough onto tray using two spoons. Leave space between each.
-
Sprinkle tops generously with demerara sugar.
-
Bake for 15–20 minutes, until golden and firm to the touch.
-
Cool on a wire rack (or enjoy warm!).
Notes
-
Butter must be cold for the best crumbly texture.
-
Use any dried fruit — or swap in chocolate chips for a twist.
-
Rock buns are best the same day but can be reheated.
-
Add extra spice or citrus zest to change up the flavor profile.
- Prep Time: 15 minutes
- Cook Time: 20 minutes


")