

Sweet Spiced Heaven – Let’s Make This Dreamy Biscoff Traybake
If you’re anything like me, you’ve probably caught yourself spoon-deep in a jar of Biscoff spread at least once (or five times) this week. It’s okay—no judgment here. There’s just something irresistible about that sweet, slightly spiced caramelized biscuit flavor. So when I say this Biscoff traybake is the dessert to try if you’re a Biscoff lover, I really mean it. It’s soft, fluffy, and topped with a luscious layer of Biscoff buttercream that’s honestly hard to stop eating straight from the bowl.
This traybake is perfect when you want something easy but impressive. Whether you’re baking for a weekend treat, a party, or just because you need cake today (we’ve all been there), this one’s going to hit the spot.
Why You’ll Love This Biscoff Traybake
-
Effortless and fuss-free – No layers, no piping bags, just simple goodness.
-
Full of flavor – Every bite is packed with the warming notes of Biscoff.
-
Feeds a crowd – This recipe yields 12 generous slices, perfect for sharing (or not… your call!).
Let’s dive right in and start with the cake base. Trust me, you’ll be amazed at how easy it is.
Ingredients for the Cake:
-
200g unsalted butter, softened
-
200g caster sugar
-
3 large eggs
-
1 tsp vanilla extract
-
200g self-raising flour
-
1 tsp baking powder
-
150g Biscoff biscuits, crushed (save a few for decorating)
Step-by-Step: Making the Cake
1. Prep Your Tray and Preheat the Oven
First things first, get that oven on! Preheat it to 180°C (fan). Line a baking tray—roughly 20x20cm—with baking paper. This helps the cake come out cleanly and keeps cleanup easy (bonus points for no scrubbing later).
2. Cream Together the Butter and Sugar
In a large mixing bowl, add 200g softened butter and 200g caster sugar. Beat them together until pale, fluffy, and creamy. This step sets the stage for a light, tender cake, so don’t rush it.
Tip: If your butter’s still a bit firm, a quick 10-second microwave zap helps without melting it.
3. Add the Eggs One at a Time
Crack in 3 large eggs, one at a time, beating well between each addition. This helps the batter stay smooth and avoid curdling. Stir in 1 tsp of vanilla extract for that extra hit of sweetness.
4. Fold in the Dry Ingredients
Sift in 200g self-raising flour and 1 tsp baking powder, then gently fold everything together with a spatula or wooden spoon. Be careful not to overmix—you want a soft, airy cake, not something dense.
5. Add Crushed Biscoff Biscuits
Now for the magic: stir in most of the 150g of crushed Biscoff biscuits, saving a little to sprinkle on top later. The crushed biscuits melt slightly into the batter during baking, giving you sweet little bursts of that signature Biscoff flavor throughout the cake.
6. Bake It
Pour the batter into your prepared tin and smooth the top with the back of a spoon. Pop it into your preheated oven and bake for 20-25 minutes, or until a skewer inserted in the center comes out clean.
Tip: All ovens vary, so start checking around the 20-minute mark just to be safe.
Let the cake cool completely in the tray before frosting—this is the hardest part, I know, but totally worth the wait.
Creamy Biscoff Buttercream & Decorating That Makes This Traybake Irresistible
Alright, your kitchen probably smells amazing right now. That soft, buttery Biscoff cake is cooling on the counter, and honestly, the only thing standing between you and dessert heaven is the frosting. And oh, what a frosting it is.
This Biscoff buttercream is ridiculously creamy, not too sweet, and absolutely packed with that unmistakable spiced caramel flavor we all know and love. Plus, it comes together in just a few minutes—no fancy equipment required.
Ingredients for the Biscoff Buttercream:
-
200g Biscoff spread
-
200g unsalted butter, softened
-
2–3 tbsp milk (as needed, to loosen the texture)
Making the Buttercream
1. Soften and Beat the Butter
In a large bowl, beat 200g softened butter until pale and fluffy. If your butter isn’t soft enough, your frosting might end up a little lumpy, so don’t skip this step!
Tip: You can use an electric hand mixer or a stand mixer for this, but a sturdy spatula and a little elbow grease work fine too.
2. Add the Biscoff Spread
Scoop in 200g of Biscoff spread and continue to beat until it’s fully combined with the butter. The texture should be smooth, creamy, and completely irresistible. Try not to eat it all straight from the bowl—save some for the cake!
3. Adjust the Consistency
Add 2–3 tablespoons of milk, one spoon at a time, mixing between each addition. You’re aiming for a spreadable, silky texture that glides easily over the cake. Not too thick, not too runny.
Note: Depending on your room temperature, you might need a little more or less milk—just go slowly and feel it out.
Frosting the Cake
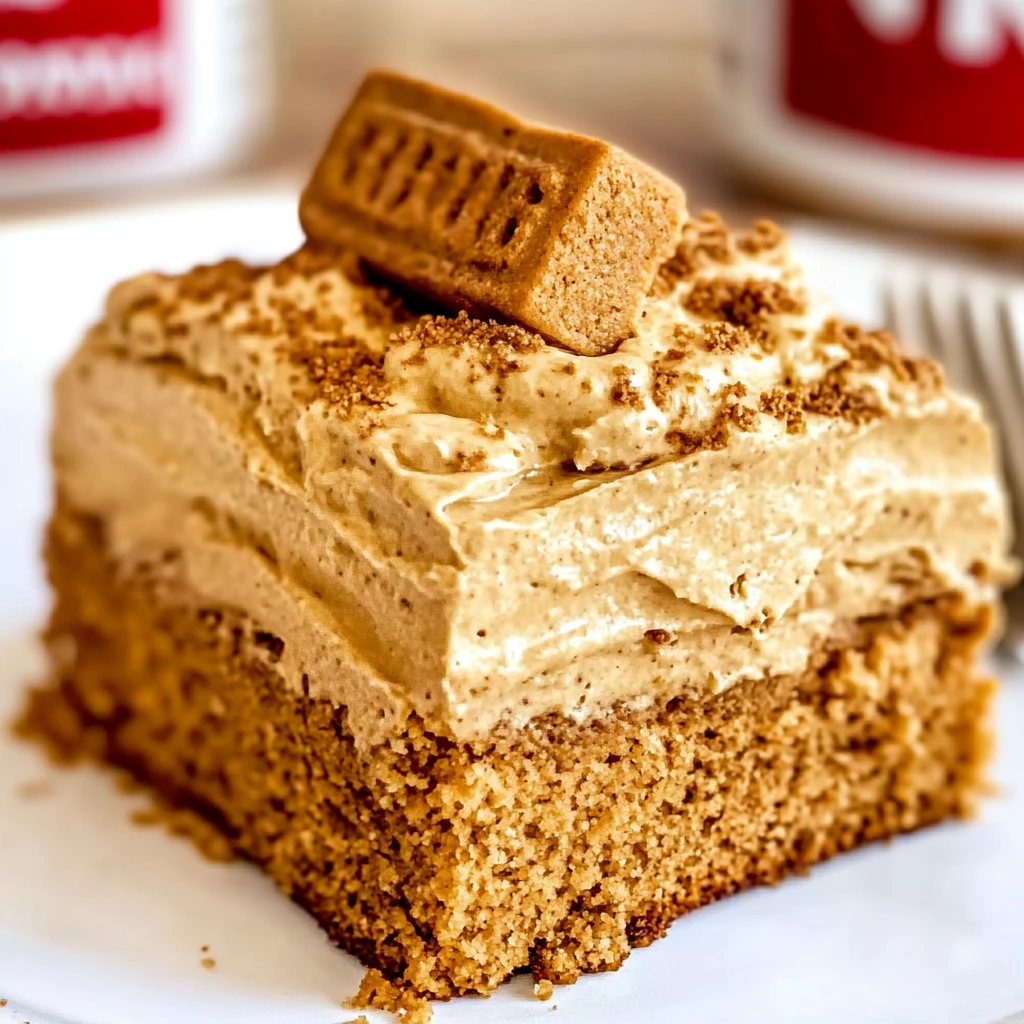
Once your cake is completely cool (and I mean completely—no cheating here or your buttercream will melt), spread the Biscoff buttercream generously over the top using a spatula or the back of a spoon. Don’t worry about making it perfect. That swirled, rustic look is half the charm of a good traybake.
Sprinkle the remaining crushed Biscoff biscuits over the top. If you’re feeling extra, you can break a few whole biscuits in half and press them lightly into the top for decoration. It adds that “I know what I’m doing” bakery look without any actual baking wizardry.

Optional Add-Ons and Variations
Want to mix things up? Here are a few fun twists to make this traybake your own:
🍫 Chocolate Drizzle
Melt some white or milk chocolate and drizzle it over the frosted cake for a stunning (and tasty) finish.
🍌 Biscoff & Banana Combo
Fold half a mashed banana into the batter for a banana bread-style twist. The warm banana flavor pairs beautifully with the spiced Biscoff notes.
🧁 Turn It Into Cupcakes
Pour the batter into cupcake liners instead of a tray and reduce the baking time to 15–18 minutes. Perfect for individual portions!
🍨 Serve with Ice Cream
Warm a slice slightly and top it with a scoop of vanilla ice cream for a next-level dessert.
Storage Tips
This Biscoff traybake keeps well, which makes it a great make-ahead option for parties or meal prep treats:
-
Room Temperature: Store in an airtight container for up to 3 days.
-
Fridge: Keeps for 5–6 days, though the buttercream will firm up a bit.
-
Freezer: You can freeze the unfrosted cake for up to 2 months. Just wrap tightly in cling film and defrost overnight before frosting.
Coming up in Part 3: I’ll answer some of the most common questions about this Biscoff traybake and wrap things up with a few final thoughts (and a little encouragement for all you hesitant bakers out there!).
Your Biscoff Traybake Questions Answered + Final Thoughts
You’ve baked the cake, whipped up that dreamy buttercream, and maybe even added your own twist—now you’re probably staring at your creation, wondering, “Should I really wait until after dinner to cut into this?” (The answer is no. You’ve earned it.)
But before we wrap things up, let’s tackle a few frequently asked questions. Whether you’re wondering about substitutions or storage, I’ve got you covered.
Frequently Asked Questions About Biscoff Traybake
1. Can I use plain flour instead of self-raising flour?
Yes, you can! Just use 200g of plain flour and add 2 teaspoons of baking powder (instead of 1). Make sure to sift it well to keep the cake light and fluffy.
2. What if I don’t have a 20x20cm tray?
No problem. You can use a slightly larger or smaller tin—just keep in mind that the baking time may vary. A larger tray will give you a thinner cake (check around 18 minutes), while a smaller one will be thicker and might need closer to 30 minutes.
3. Can I make this recipe dairy-free?
Absolutely! Swap out the butter for a dairy-free alternative (like a vegan baking spread) and use a plant-based milk in the buttercream. The Biscoff spread itself is already dairy-free, which is a nice bonus.
4. How do I know when the cake is done baking?
Look for a golden top and a skewer that comes out clean when inserted in the center. The edges may pull away slightly from the tin—that’s another good sign it’s ready.
5. Can I make the buttercream ahead of time?
Yes! You can make it a day or two in advance. Just store it in the fridge in an airtight container. Let it come to room temperature before spreading it over the cake, and give it a quick whip to bring it back to that fluffy texture.
6. Is there a gluten-free version of this recipe?
Sure is! Just replace the self-raising flour with a gluten-free self-raising blend, and make sure your Biscoff biscuits are a certified gluten-free version (or swap them out entirely for another crunchy, spiced gluten-free biscuit).
7. Can I double the recipe for a larger crowd?
You bet. Double all the ingredients and bake in a larger tray (about 30x20cm). The baking time might increase slightly—start checking at the 25-minute mark and add time as needed.
Final Thoughts: Give This Biscoff Bake a Go!
If you’re someone who loves cozy flavors, buttery cakes, or just anything involving a spoon and a jar of Biscoff, this traybake is going to become a go-to in your kitchen. It’s simple enough for beginner bakers, yet impressive enough to serve to guests—and trust me, it disappears fast at any gathering.
I’ve made this more times than I can count, and it always brings a little smile (and usually a request for the recipe). So whether you’re baking to share or just treating yourself (again, no judgment), I hope you give this Biscoff traybake a try.
And if you do? Let me know how it went! I’d love to hear if you added any fun twists, or if your kids/friends/co-workers fought over the last piece. Don’t forget to leave a comment and share your bake—it makes my day to see your creations.
Until next time, happy baking! 💛
Print
Biscoff Traybake Recipe: Soft, Buttery Cake with Creamy Biscoff Frosting
- Total Time: 40 minutes
Description
If you’re a fan of that irresistible caramelized cookie flavor, this Biscoff traybake is about to become your new favorite bake. Featuring a light, buttery sponge packed with crushed Biscoff biscuits and topped with a silky Biscoff buttercream, it’s the perfect treat for any occasion. Whether you’re baking for a party, family dessert, or just because it’s Tuesday, this traybake is easy to make and full of cozy flavor. Simple ingredients, no-fuss prep, and guaranteed to impress every Biscoff lover!
Ingredients
For the Cake:
-
200g unsalted butter, softened
-
200g caster sugar
-
3 large eggs
-
1 tsp vanilla extract
-
200g self-raising flour
-
1 tsp baking powder
-
150g Biscoff biscuits, crushed (save a few for topping)
For the Buttercream:
-
200g Biscoff spread
-
200g unsalted butter, softened
-
2–3 tbsp milk (adjust for consistency)
-
Extra crushed Biscoff biscuits, for decorating
-
Optional: Whole Biscoff biscuits, for topping
Instructions
-
Preheat your oven to 180°C (fan) and line a 20x20cm baking tray with parchment paper.
-
In a large bowl, cream together the butter and caster sugar until light and fluffy.
-
Add the eggs one at a time, beating well after each addition. Stir in the vanilla extract.
-
Sift in the self-raising flour and baking powder, then gently fold to combine.
-
Stir in the crushed Biscoff biscuits, reserving a small handful for decorating later.
-
Pour the batter into the prepared tin and smooth the top evenly.
-
Bake for 20–25 minutes, or until a skewer inserted in the center comes out clean.
-
Let the cake cool completely in the tray before frosting.
Make the Buttercream:
-
In a large bowl, beat the softened butter until creamy and pale.
-
Add the Biscoff spread and beat until fully combined and smooth.
-
Gradually add milk, 1 tablespoon at a time, until you reach a soft, spreadable consistency.
-
Spread the buttercream over the cooled cake, swirling it with a spoon or spatula.
-
Sprinkle the reserved crushed Biscoff biscuits on top and add whole biscuits if desired.
-
Slice into 12 squares and enjoy!
Notes
-
Make sure your cake is completely cool before frosting to avoid melting the buttercream.
-
This recipe can be doubled for a larger tray or halved for smaller servings.
-
Store in an airtight container at room temperature for 2–3 days or in the fridge for up to 5 days.
-
For added flair, drizzle melted white or milk chocolate over the top before serving.
- Prep Time: 15 minutes
- Cook Time: 25 minutes


")